Shockingly Easy Focaccia Recipe

on May 26, 2020, Updated Aug 14, 2026
This post may contain affiliate links. Please read my disclosure for more info.
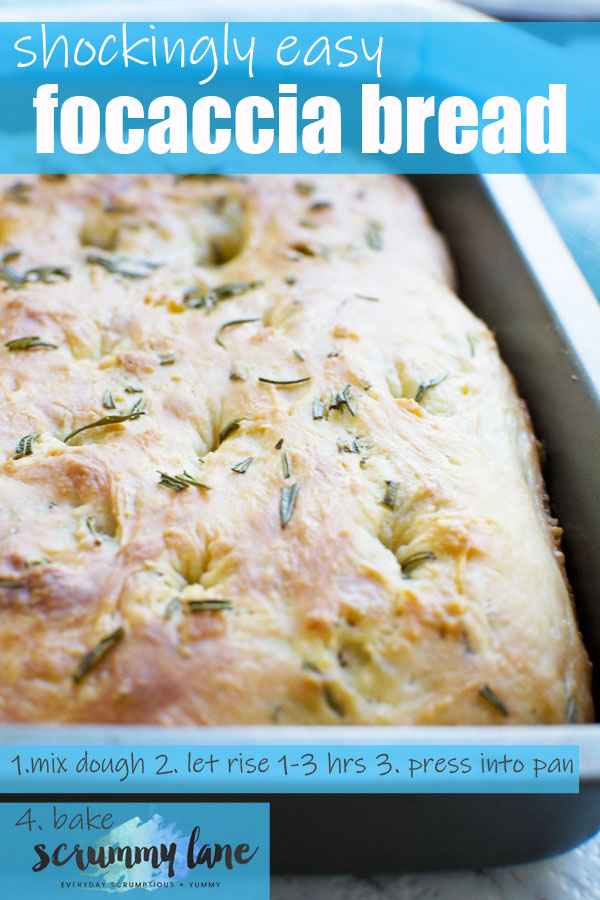
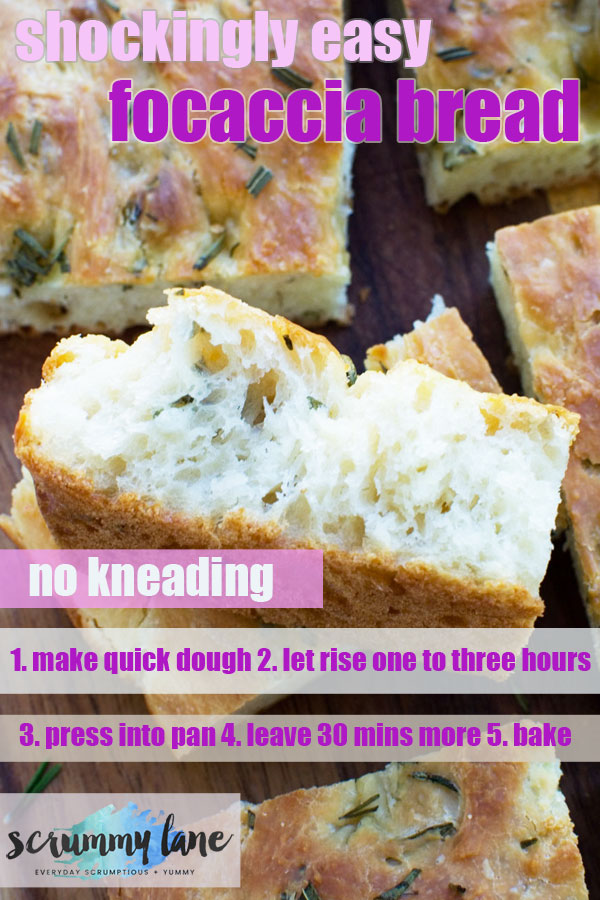
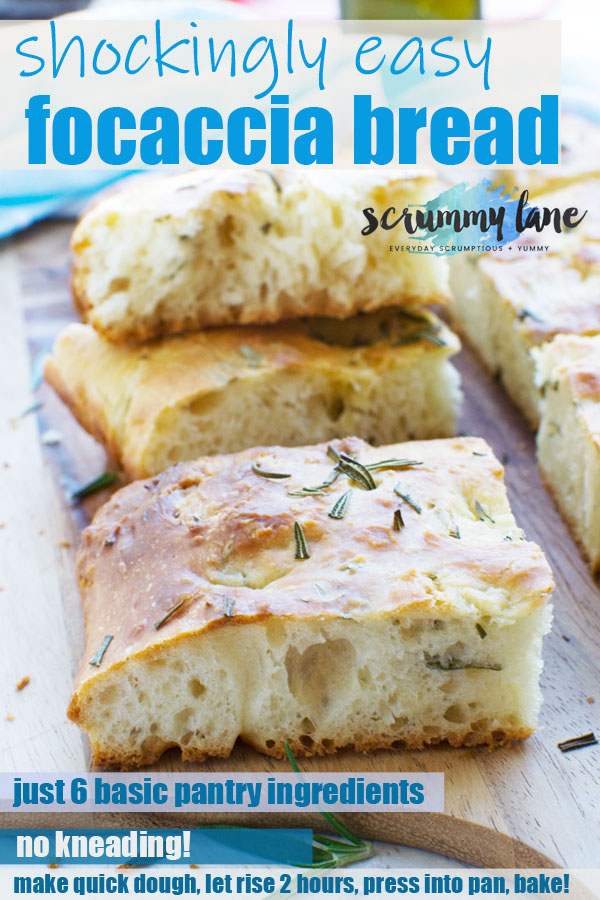
Think homemade bread is too hard? Think again. This shockingly easy focaccia takes about 10 minutes to mix, requires no real kneading, and can hang out in your fridge for up to a week until you’re ready to bake it. Then all you have to do is press the dough into a pan and bake. Out comes beautifully crispy, golden focaccia with a soft, fluffy middle and a kitchen that smells incredible.
The easiest no-knead focaccia recipe
If homemade bread making has been in the ‘too hard’ category in your head for years, that might be about to change. I’ve boldly called this recipe for one of everyone’s favorite types of Italian bread ‘shockingly easy’ for several reasons.
Firstly, you can make the dough in minutes – roughly about ten minutes. You need a few minutes to get your 6 basic ingredients together, a few more minutes to add them all to a big bowl, and a final few minutes to mix them and gather them together into a ball.
It also rises relatively quickly and is super easy to shape in a cake pan or baking dish. Leave to rise for one to three hours (depending… I’ll explain!). And this is the part I love the most. You can prep it ahead! Just pop the bowl of dough in the fridge overnight. Or – wait for it – for UP TO A WEEK until you’re craving some fresh and fluffy focaccia.
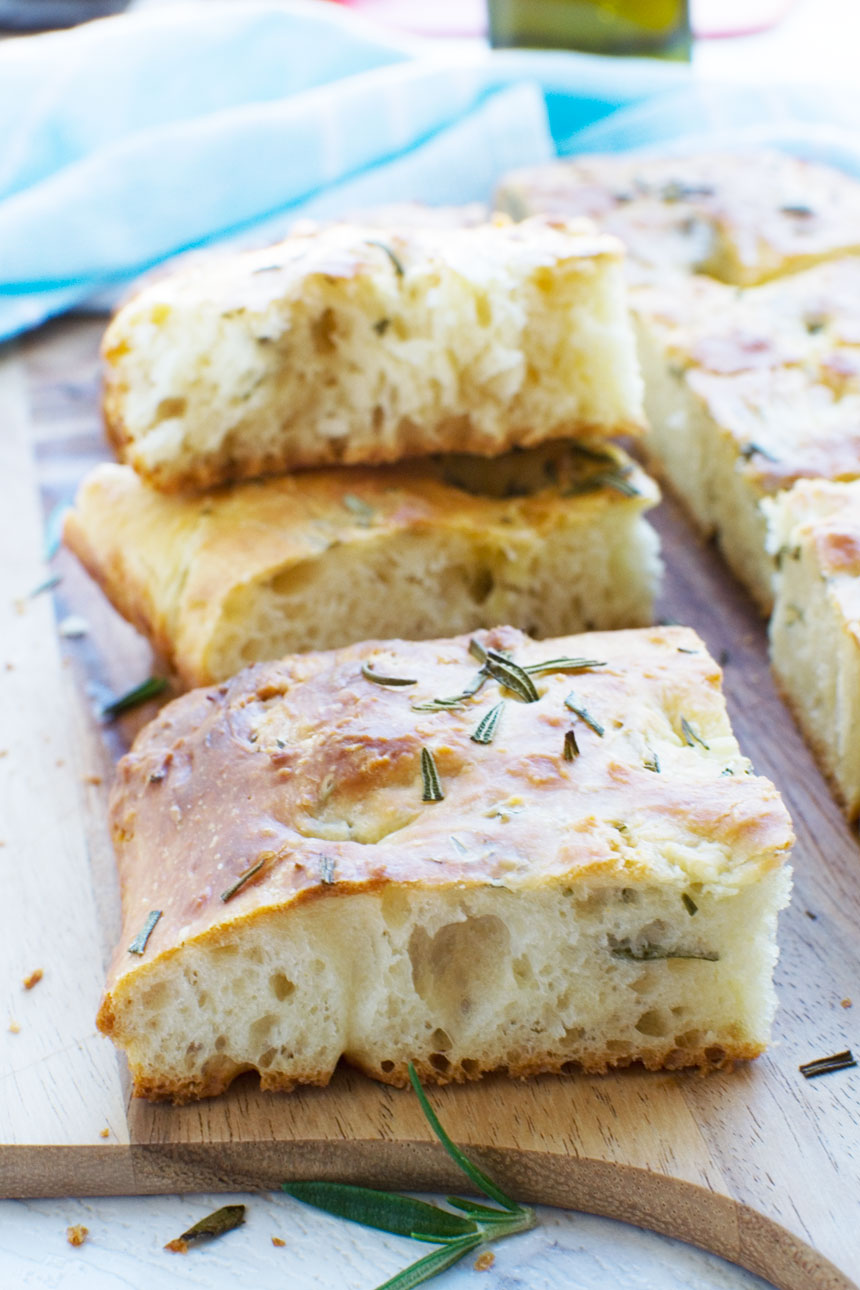
This bread comes out beautifully crunchy on the outside, and soft and fluffy on the inside – every time. Delicious! I’m very confident this recipe can convert you too into a smug homemade bread making champ! Please let me know in the comments section how you get on.
📌Recipe snapshot
- Prep: 15 minutes
- Cook: 20 minutes
- Serves: 4 to 6
- Key ingredients: bread flour (best) or all-purpose flour (just fine), sugar (just half a tablespoon), instant yeast, salt, olive oil, water, fresh rosemary (or alternatives: see recipe),
- Why you’ll love this: 10-minute dough, very little kneading, rises in 1 to 3 hours, easy to shape, easy to prep ahead (up to a week!)
5* Review
“I have always wanted to make bread but put it in the too hard basket. This recipe is AMAZING!!!!!! So easy, so delicious. I put garlic butter in half and chilli oil and flakes on the other. Thank you, Helen.
The “nothing hard gets made in this kitchen” mum.” (Theresa)
About the ingredients
You’ll find a full list of ingredients with amounts in the recipe card below. But here’s a summary of what you need to know.
- Bread flour: If you can, use ‘strong white bread flour’ which has more protein and generally produces a better bread. However, if all you have is all-purpose flour, that will work just fine.
- Sugar: Just half a tablespoon in the dough gives the yeast a little bit of food to get going, and also helps with browning. If you like, replace it with honey.
- Yeast: I like to use ‘instant dry yeast’ for quickness, but ‘dry yeast’ is fine, too – the dough might just take about 15 minutes longer to rise.
- Salt: This is essential for taste.
- Olive oil: I suggest using extra virgin olive oil, because it’s part of the flavor.
- Water: The water should be ‘tepid’ which means when you dip your finger in it will almost feel like nothing – neither hot nor cold.
- For optional but recommended toppings choose from: fresh or dried herbs, olives, more olive oil, cherry or sundried tomatoes, pesto, garlic etc (see more suggestions below!)
How to make an easy focaccia bread
You are just a few very simple steps away from fresh bread heaven.
Step 1: Gather your six dough ingredients. Mix them together in a big bowl.
Step 2: Gather into a ball. You may need to work the dough for a few seconds with your hands.
Step 3: Cover the bowl and leave to rise for one to three hours. The dough has risen enough when it’s roughly doubled in size. You can just leave it on the kitchen counter if you like. The warmer the temperature, the faster it’ll rise.
Step 4: Mix some herbs or chopped olives into the dough if you like (I like rosemary). Roughly press the dough into a smallish baking tin or dish.
Step 5: Let the dough ‘prove’ (or rest) for a final 30 minutes before it goes into the oven.
Step 6: Press little ‘dimples’ into the dough with your fingers. Add any toppings you want to add, a drizzle of olive oil and a bit of salt. Bake for 20 to 25 minutes.
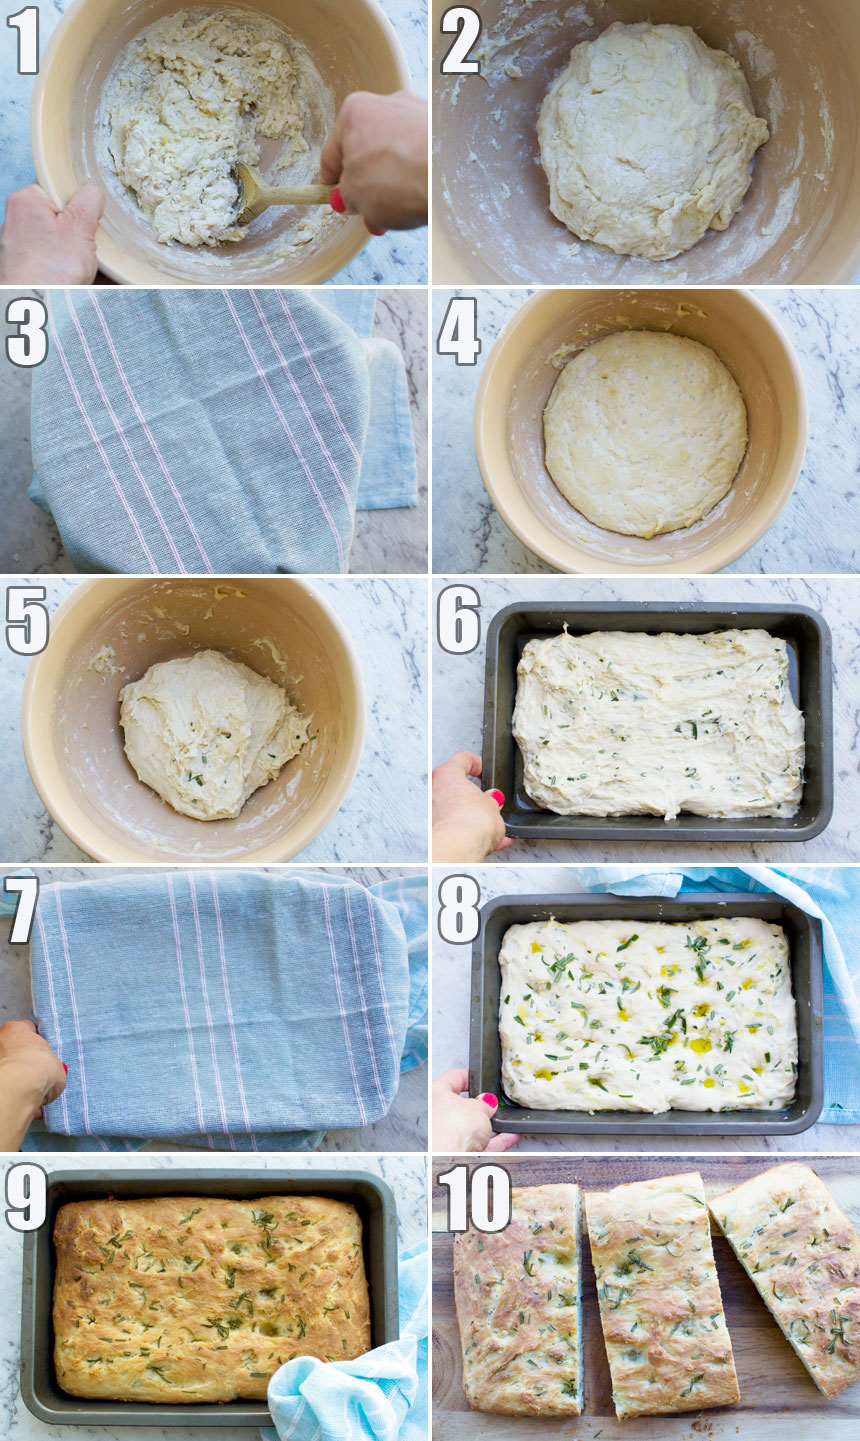
Then eat! Make a delicious sandwich, or check out the other ways to eat focaccia below.
Helen’s Top Tips
- The dough is supposed to be on the wet and sticky side. If it’s too sticky to handle, however, just add a tiny bit more flour. Just enough to bring it into a ball.
- If you’d like your dough to rise quickly, here’s a simple trick: Switch on your oven to the ‘keep warm’ or similar setting (turn it on to a low heat, basically). When it’s heated up a little bit (not too much), turn the oven off and open the door. Place your covered bowl of dough inside. Just make sure it isn’t too hot in there – you don’t want the temperature to be above about 32C/90F or you’ll kill the yeast.
- Don’t worry if the dough seems quite stretchy and difficult to push into the corners of your pan. It doesn’t have to be perfect – it’ll still bake up to perfection.
Serving ideas
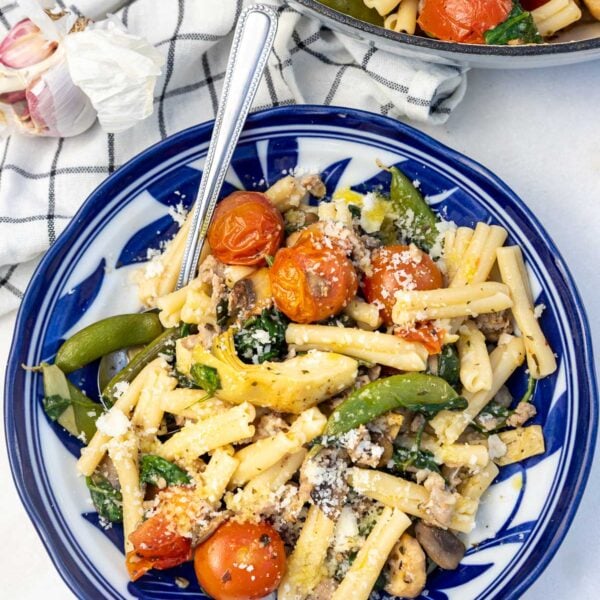
- When Mr. Scrummy and I lived in the UK, we got into the habit of buying pre-packaged focaccia bread to have with meals like this sausage pappardelle or sheet pan sausage gnocchi with peppers and tomatoes, this amazing baked chicken with chorizo and tomatoes, this one pan chicken pizzaiola (25-minute meal!) and this traditional Greek salad. Try these recipes with your homemade easy focaccia!
- My mouth is watering at the very thought of serving this homemade focaccia with any kind of casserole, soup (try Greek lentil soup or butternut squash and tomato soup!), one pot meal, salad, and more. You have to try it!
But there are so many more ways to enjoy this quick and easy bread:
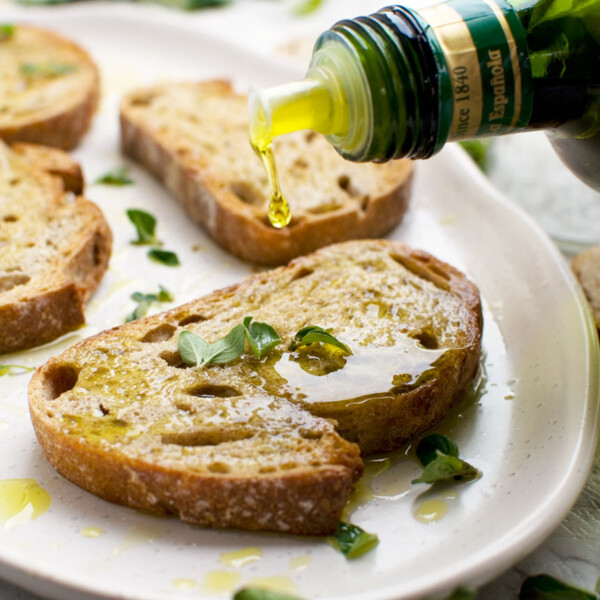
- Need an easy appetizer? Serve small slices of focaccia warm and with a simple olive oil and balsamic vinegar or balsamic glaze ‘dipping sauce’. If you’re feeling a bit fancier, try this delicious recipe for lemon butter sauce.
- Need a slightly fancier appetizer or side dish? Try topping the focaccia dough with simple tings like halved cherry tomatoes, olive oil and crushed garlic, caramelized onions, or different cheeses before baking. (see long list of more ideas below!)
- Make a simple but delicious sandwich. Slice the focaccia loaf into 4 or 6 slices – depending on how hungry you are! – and fill with your favourite sandwich fillings. My fave is tuna salad. Don’t forget the salt and pepper – it makes all the difference.
- Use it to make a focaccia pizza. Add your favourite toppings and grill/broil until lightly golden and bubbling. Yum. You can even make it in your air fryer, if you like. Simply follow the instructions to make 10-minute air fryer naan pizza, but use focaccia instead!
- Make grilled cheese sandwiches if you have leftovers the next day. Or make focaccia croutons for a soup or salad. Toss in olive oil, herbs and salt and pepper and bake for 8 to 10 minutes at 180C/355F until golden brown.
- Make focaccia art if you’re feeling artistic and want to impress everyone. Forever. Here’s a tutorial on focaccia bread art if this idea interests you!
- Serve on the side with a ‘dinner salad’ such as this amazing feta and pumpkin salad, or this quick beetroot salad with feta and walnuts.
All these ideas are great. BUT… my absolute favourite way to eat this is as this Italian toasted veggie sandwich. You just have to try it!
Focaccia topping ideas
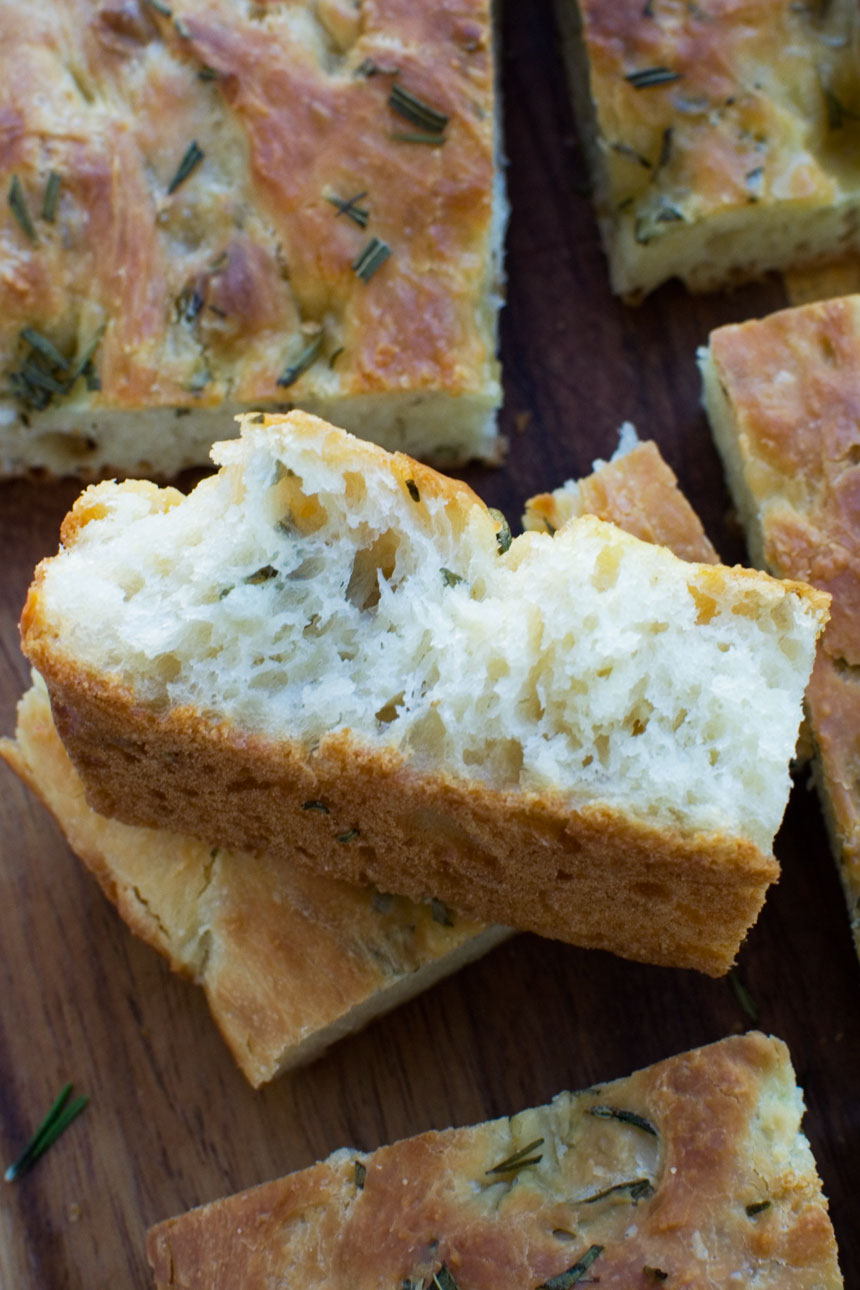
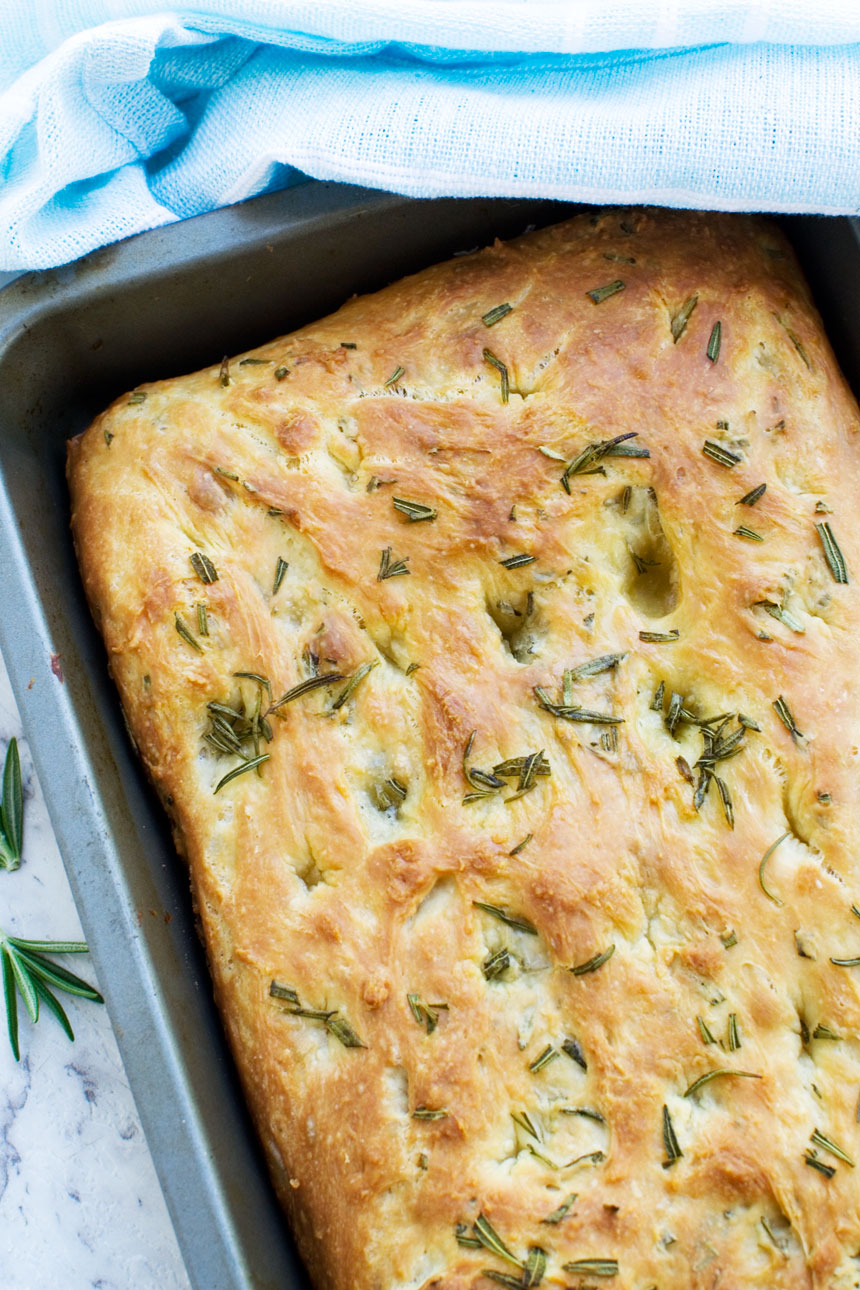
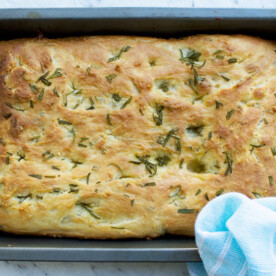
Usually I just knead a bit of chopped fresh rosemary into my bread, then I sprinkle more on the top. Because we have the world’s biggest rosemary bush in our garden! Then I sprinkle with sea salt and drizzle with more olive oil. I also sneakily drizzle with yet more olive oil after it comes out of the oven.
You can make focaccia fancy with so many other yummy toppings, though – before or after baking (it’s up to you!). Here are some ideas, but really the possibilities are endless:
- any kind of fresh or dried herbs you have or like (I love rosemary and thyme, but any herbs work)
- parmesan cheese either in the dough and/or on the top
- other kinds of cheese such as feta, goat’s cheese, mozzarella, ricotta, blue cheese or cheddar
- tomatoes of any and every description – cherry, on the vine, roasted, semi-dried, sundried… (although it’s best to sprinkle sundried or semi-dried tomatoes on the top AFTER baking, or they can burn in the oven)
- onions caramelised with a bit of balsamic vinegar
- olives, either chopped or whole (without the stone, of course)
- garlic butter – mmmmm!
- jarred artichokes or red peppers
- asparagus!
- little bits of cooked bacon, salami, sausage, pepperoni or prosciutto (best to add these after the bread’s baked so that they don’t burn)
- sliced chilies
- grapes or sliced apples!
- sesame seeds or pine nuts
- mushrooms (cooked)
- roasted eggplant/aubergine or zucchini/courgette
- any kind of spice and/or herb mixes from your pantry!
Recipe FAQs
Leave it to rise for longer. It should roughly double in size. Is your house quite cold today? If so, turn on the oven on a low or ‘keep warm’ setting. As soon as it’s warmed up a little, turn it off and open the door. Pop covered bowl of bread inside.
It only needs to be slightly warm in there. The ideal temperature for dough to rise is between 25 and 32 degrees centigrade (80 to 90F). Higher temperatures than this will kill the yeast.
If your dough still isn’t rising, there are several possible reasons for this. Try popping it into the fridge until the next day, and baking it anyway.
Yes! This is one of the many great things about this recipe. Make the dough in the evening, then pop it into the fridge either in a bowl covered with cling wrap/plastic wrap or in a big food bag. Your dough will rise very slowly overnight. The next day, take it out of the fridge a couple of hours before you want to shape it so that it can come to room temperature again. Then press it into a baking pan and proceed with the recipe as normal!
Unbelievably, you can keep the dough in the fridge for up to a week! Some say even longer! How clever is that?
Enjoy it the same day if possible, but focaccia bread will keep well for 2 days if wrapped well. I usually eat mine as is on the day of baking and if there are any leftovers the next day (IF!) I make a toasted sandwich with it – yum!
If there are still leftovers (unlikely, but it happens) I freeze big slices of it in portions. The bread is best eaten within a month but it keeps pretty well for 3 to 6 months.
You actually can! You can freeze it for up to 3 months if you want to. Let it rise as if you are going to bake it immediately, then punch it down, rub it with a little olive oil (to stop it sticking to the wrapping) and freeze it in a freezer bag. Let it defrost thoroughly before pressing into a pan and proceeding with the recipe as normal.
More shockingly easy breads


Shockingly Easy Focaccia Recipe
Ingredients
- 2 cups white flour, (I usually just use plain flour, but strong bread flour may yield even better results!)
- ½ tablespoon sugar
- 1 teaspoon yeast, ('Instant' dry yeast is best, but just 'dry yeast' is fine too. It may take up to 15 minutes longer to rise, however.)
- 1 teaspoon salt
- 2 tablespoons olive oil, plus extra for greasing the pan and drizzling over at the end
- 1 cup tepid water, (it should feel neither warm nor cold, almost like nothing)
- 3 tablespoons fresh rosemary, optional, chopped finely
- balsamic vinegar and more olive oil, optional – for dipping!
Instructions
- Add the first 5 ingredients to a large bowl. Pour over the water.2 cups white flour, ½ tablespoon sugar, 1 teaspoon yeast, 1 teaspoon salt, 2 tablespoons olive oil, 1 cup tepid water
- Stir vigorously with a wooden spoon until everything is combined and a ball of dough starts to form.
- Add a tiny bit more flour if the dough is still really sticky (but not too much – you want the dough to be on the wetter/stickier side). Then, with floured hands, knead just enough times to gather into a smooth ball of dough.
- Lift up the dough while you spray or brush a little oil over the bottom and sides of the bowl. Then cover the bowl of dough with a clean tea towel and leave to rise for 1 to 3 hours, or until roughly doubled in size (or leave for longer – see note below for details). If you leave the dough in a warm place it will rise faster (again, see notes below).
- Sprinkle 2 tablespoons of the chopped rosemary over the dough and mix it in with floured hands (optional). Add any other mix-ins at this point.3 tablespoons fresh rosemary
- Press the dough into a rectangular or circular cake pan or baking dish. I usually use a 10 x 7 inch cake pan or an 8 inch circular cake tin. Roughly push the dough right to the edges.
- Cover with a tea towel again and leave for about 30 minutes more. After 20 minutes, preheat the oven to 220C / 430F.
- Push your thumb into the dough in a few places to make indentations. Then sprinkle over the rest of the rosemary, if using. Drizzle over about a tablespoon of olive oil. Grind over some sea salt (optional).
- Bake for 20 to 25 minutes or until the bread is golden on top and has started to pull away from the sides of the pan.
- Serve warm with a meal, slice into 4-6 and make sandwiches, or slice into fingers and serve with a dish of olive oil and balsamic vinegar as an appetizer. The bread is best eaten the same day, but you can make a toasted sandwich or croutons the next day. You can also freeze leftovers for 3 to 6 months (but best eaten within a month).balsamic vinegar and more olive oil











This looks brill, Helen! Could I bake this bread using plain wholemeal flour, instead of the white flour? I know wholemeal flour does make recipes a bit drier – so maybe I should add a bit more oil to the dough? I just don’t use plain white flour anymore – it is really bad for raising your blood sugar, as it is a refined carbohydrate. I’d like to give it a go with the wholemeal flour, though. I don’t think I have ever seen wholemeal focaccia in the shops – or wholemeal gnocchi, either. The world is just too keen on refined carbs!
Hi Deirdre! Thank you so much for your question! I do think this is best made with white flour, but you can certainly replace a portion of the white flour with wholemeal. Try 1½ cups white flour + ½ cup wholemeal flour, or even 50/50. The texture might be slightly more dense, but I do think it will work. You might also like to leave it a bit longer to rise before baking. Do let me know if you try it! 🙂
I have always wanted to make bread but put it in the too hard basket. This recipe is AMAZING!!!!!! So easy, so delicious. I put garlic butter in half and chilli oil and flakes on the other. Thank you Helen.
The “nothing hard gets make in this kitchen” mum.
Ahhh this is so good to hear, Theresa! Thanks so much for letting me know – it’s the biggest compliment that you found the recipe easy and it turned out so well for you!
Found it! Lol. Hiding in plain sight on step 7.
Ah glad you found it, Christine!
Just made focaccia! Turned out great! Got worried that the dough was too wet but I stuck with your recipe method and it turned out great!
Thank you so much for the feedback, Sejal. It’s reassuring to hear that it worked out well for you. I love this bread, too!
Have made this and so easy to make. Loved it and making again today. Best ever.
So happy to hear this, Mary. I love making this too. So easy!
Can I use gluten free flour?
Hello Jo-Anne! Yes, you can. However, you may get a different result depending on which brand you use. You may have to experiment a little with different gf flours to see which you like best. I’d start with a well known all-purpose GF flour (such as Bob’s Red Mill or King Arthur if you’re in the US) and go from there! Good luck and I’d love to know how you get on! 🙂
Love this recipe. So easy to make, so versatile and my kids think I’m some sort of master-baker thanks to it.
But you are, Chris, I’m sure of it! 😉 Ahhh that’s so great to hear. You’ve made my day with this. Happy baking! P.S. Another great one for impressing people with very little effort is my quick cinnamon scrolls. They’ll be worshipping at your feet after that one.
Messed up using active dry yeast. I guess it will never rise. Had no idea I needed to use instant yeast
Hello Barbara! How did it turn out in the end? Active dry yeast should be fine – it will just take around 15 minutes longer to rise that’s all. Alternatively if it really doesn’t look like it’s rising you can cover well and put it in the fridge overnight until the next day. In any case this recipe is pretty forgiving. However I will make the instructions in the post clearer regarding the yeast! 🙂
Working on a Saturday (booooo). Idly thought about this. had the ingredients. went for it – what a winner! my dough was really wet despite a lot of additional flour, I know different flours are so tricky in what they absorb. in the end I gave up any thought of kneading it and just left it to rise! it was still rather gooey when I put it into the oven tray but turned out great. so delicious!!! thank you.
Hi Katy! Yes, the dough is definitely on the sticky side! I’m so glad it worked out well for you and love that you were dreaming about it at work haha! I do that too… Thank you so much for the helpful feedback!