Easy Chocolate Pots (5-Minute Recipe!)
on Feb 11, 2021, Updated Dec 07, 2022
This post may contain affiliate links. Please read my disclosure for more info.
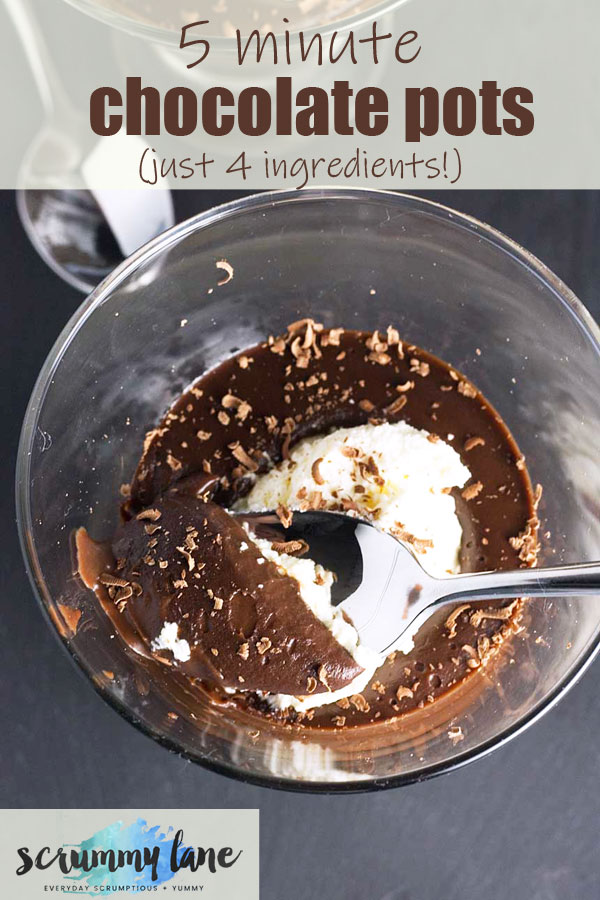
You’re only 5 minutes and 4 ingredients away from a ridiculously simple no bake chocolate dessert that impresses every time. Easy chocolate pots (AKA chocolate pots de crème!) are rich and smooth, and a perfect make ahead dessert for dinner parties!
No water baths, raw eggs or whisking of ingredients necessary!
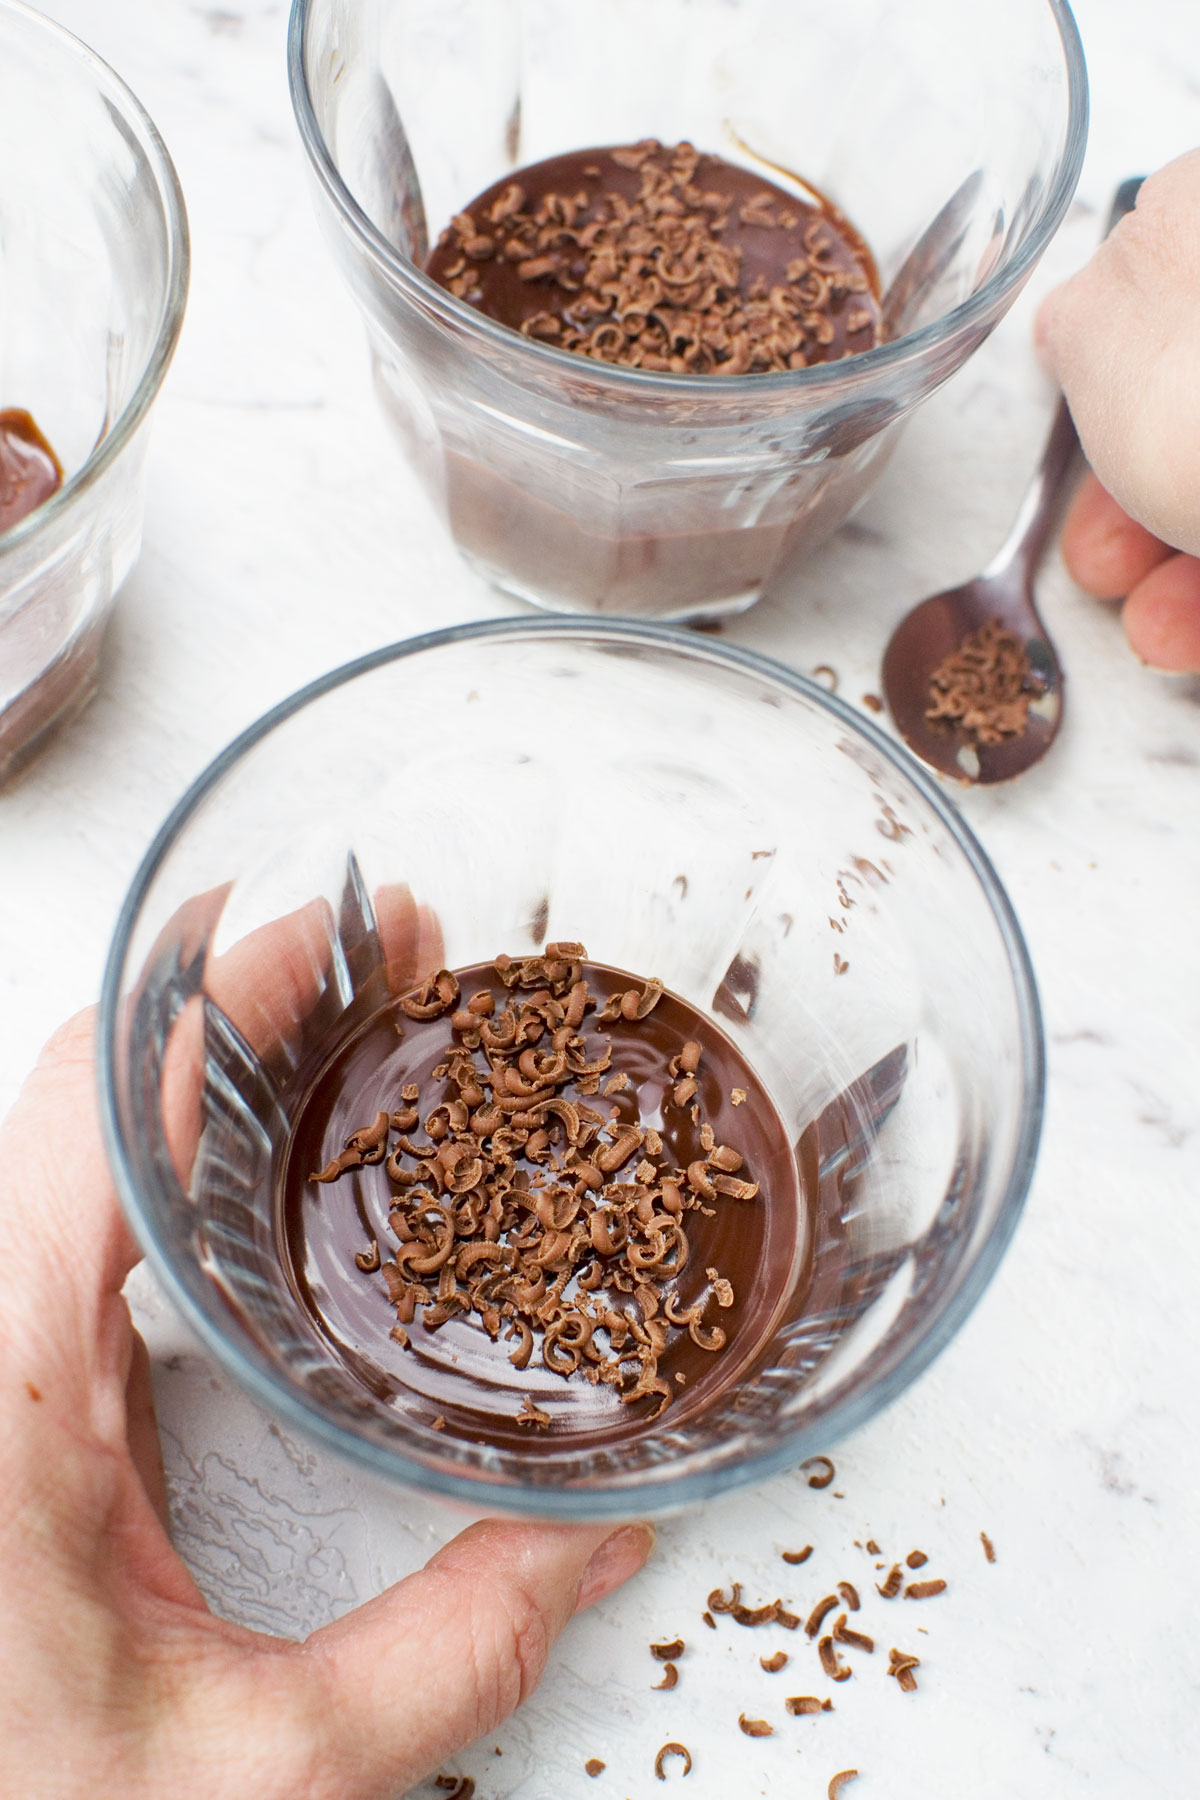
Table of Contents
Why it’s the best chocolate pots recipe
I love discovering and posting ‘cheat’ recipes that impress guests but take literally minutes to throw together.
Take these very quick and easy Scrummy Lane dessert favourites, for instance:
- 6-ingredient gooey Swedish chocolate cake
- easy magic lemon pudding (just 5 ingredients)
- 10-minute no bake chocolate truffle cake
But I really think these 5-minute chocolate pots (otherwise known as pots de crème, ‘pots of cream’ or even chocolate posset!) give all of these a run for their money.
In fact may I suggest that this is the best recipe for this traditional French dessert? Why?
- It’s a no bake recipe with no cooking required (apart from boiling the kettle and microwaving the chocolate, which doesn’t count).
- The delicious pudding or custard like pots are made in (literally) 5 minutes. No fiddly separating of eggs or whipping of cream.
- It’s a perfect make ahead dessert.
- With only 4 simple ingredients, it’s also egg free and gluten free.
- It’s a rich, velvety crowd pleaser with a smooth and creamy texture. But the added water reduces the actual amount of cream you need to add.
The 4 ingredients
You’ll find a full list of ingredients with amounts in the recipe card below. But here’s a summary of what you need to know.
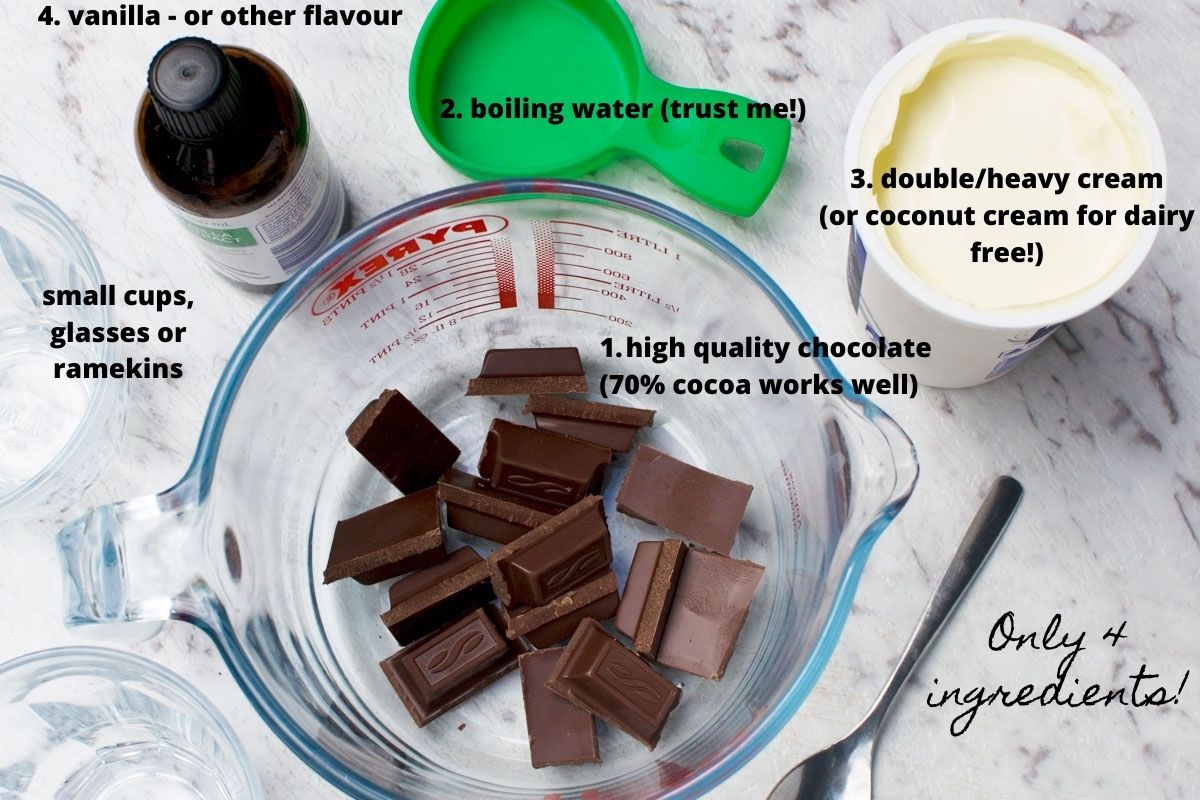
chocolate (of course!)
There’s a lot of flexibility here.
My favourite thing to do is to use a mixture of dark and milk chocolate, in a ratio of about 2 to 1. But you can use all dark chocolate or all milk if you prefer.
On the whole it’s best to use good quality chocolate with at least 40% cocoa solids in. For the richest, most luxurious tasting custard, I prefer to use dark chocolate with at least 60 to 70% cocoa. If you use a poor quality chocolate there’s a chance the desserts won’t set as well.
The recipe even works with flavoured chocolate such as mint or orange. Just don’t use white chocolate as you need a different recipe for that! (see below if you’d like it!)
Boiling water
Just less than half a cup (about 0.4 of a cup or 95ml). It might seem like too much as you’re adding it, but just trust me. It’s OK!
Cream
Use double or heavy cream, or even thickened cream if you’re in Australia. If you use thickened cream, you’ll find your desserts will set quite fast.
Otherwise just be patient. Make the desserts well ahead of when you need them – either in the morning or the night before. Cover and pop in the fridge until you’re ready to serve dessert.
Note that you can even make a delicious dairy free version of these by using coconut cream! For a naughty and very luxurious version, how about Bailey’s Irish cream? 😉
Vanilla or other flavouring (if you like)
Just a teaspoon. I usually add vanilla essence, but mint, orange or even a teaspoon of instant coffee added to the boiling water would work well too. But this isn’t essential!
How to make them
I spotted this pots de crème recipe in a little cookbook by an organic chocolate company called Green and Blacks years ago. I thought about jotting it down, but didn’t even need to.
The recipe’s so easy, I just remembered it.
5 steps, 5 minutes:
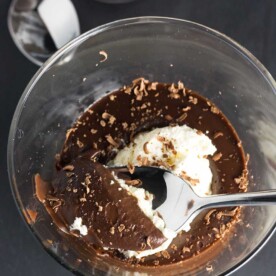
Step 1: Melt chocolate in the microwave (2 MINUTES at the most).
Step 2: Stir just under a half of a cup boiling water into the melted chocolate (1 MINUTE). It goes stiff and grainy when you first start adding the water. Don’t worry! Just keep stirring until smooth.
Step 3: Whisk in just under a half of a cup double cream (about HALF A MINUTE).
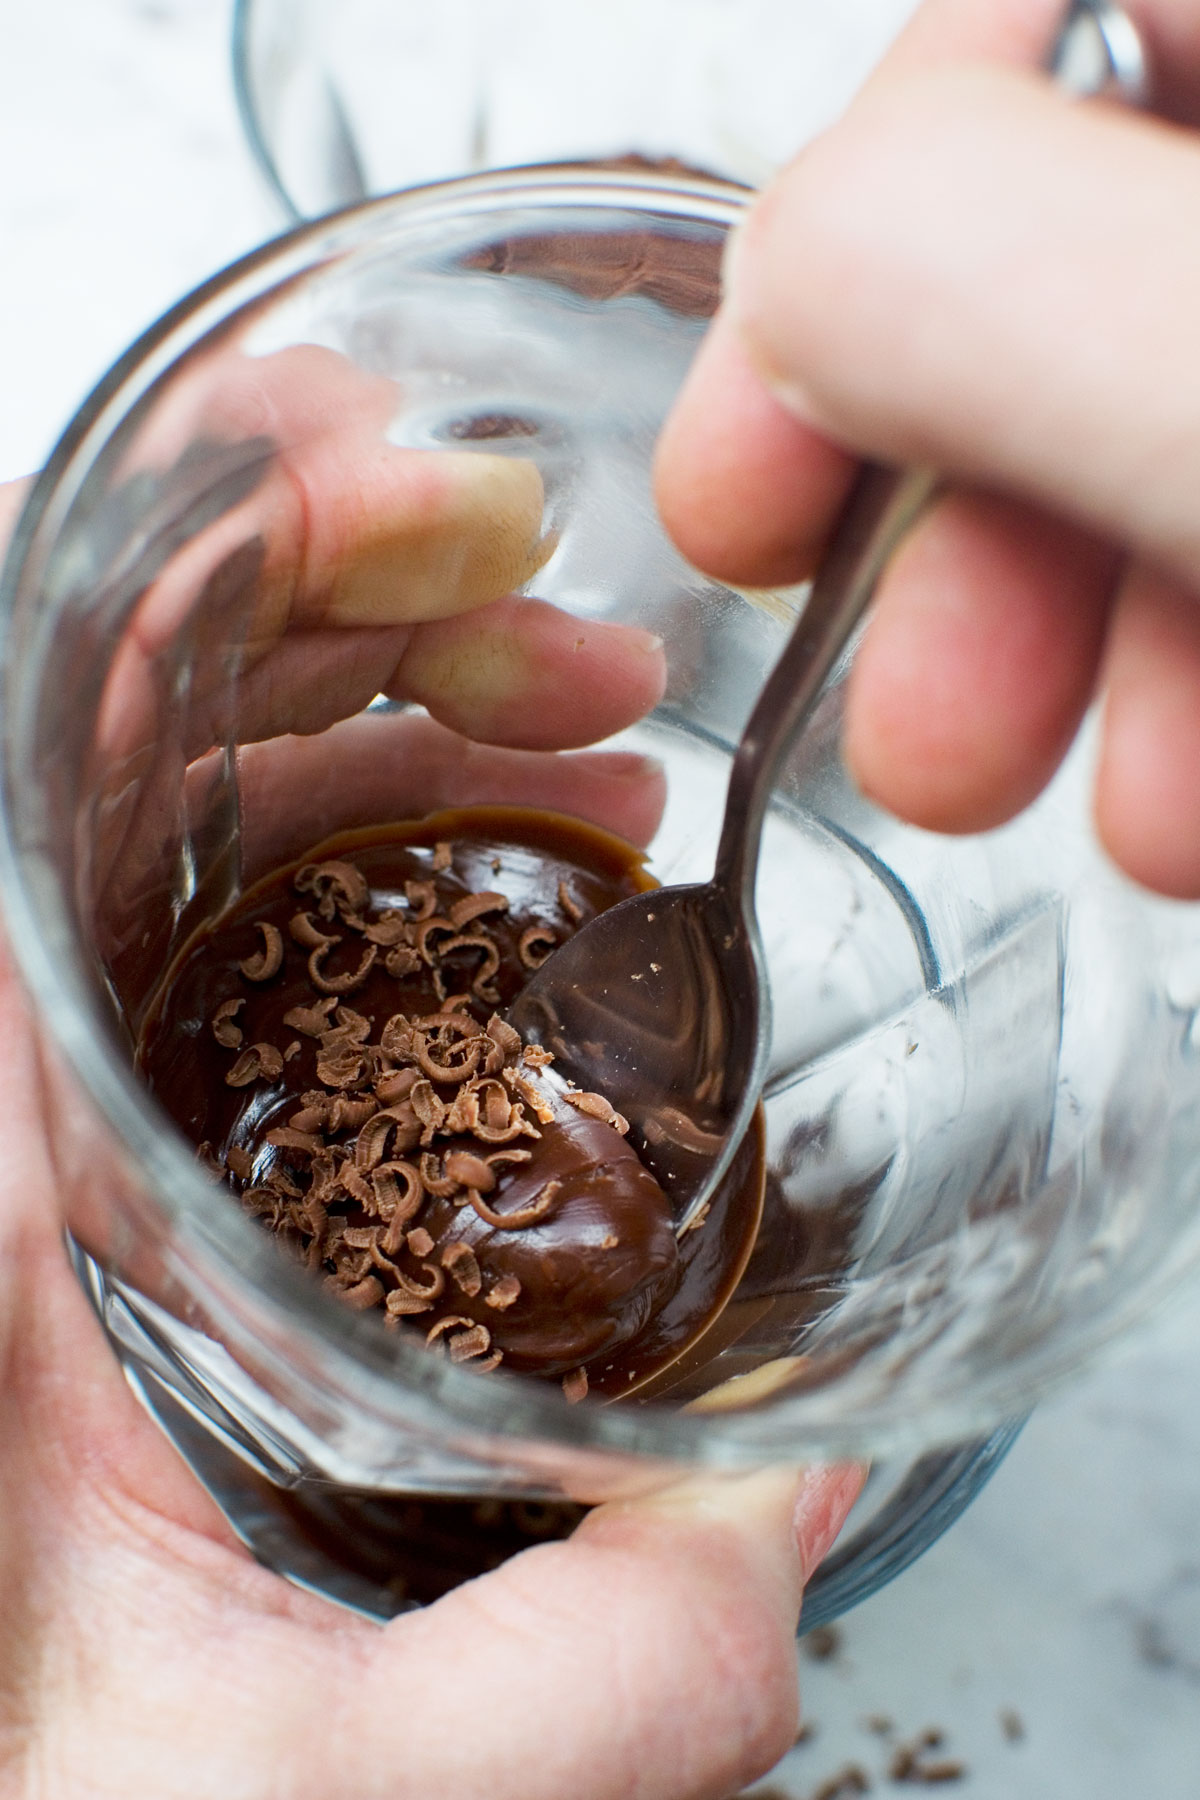
Step 4: Pour into shot glasses or espresso cups or similar (1 MINUTE tops).
Step 5: Leave to set in the fridge and … enjoy!
These desserts are a perfect make ahead dessert for a dinner party. Ideally, make them in the morning for an evening dinner party. Or make them the night before. They’ll keep well covered in the fridge for up to a week.
What do they taste like?
This is a rich dessert, as you can imagine. But not overly so. Chocolate pots are like a chocolate ganache, but with the bit of added water they’re more like a luxury smooth chocolate pudding.
They’re not super thick or super thin either – they’re somewhere in between. How thick they are will depend on the exact type of chocolate and cream used. And that’s completely OK!
Variations
Keep them plain, or add flavours!
Adding a teaspoon of vanilla extract works well. Other flavours you can add include:
- peppermint essence (or use mint flavoured chocolate)
- orange zest (or use orange flavoured chocolate)
- instant coffee (add a teaspoon into the boiling water)
- a large pinch of sea salt
If you’re more of a white chocolate kind of person, you’ll be happy to know I also have a white chocolate pots recipe here on the blog (the ingredient amounts vary slightly!).
How to serve them
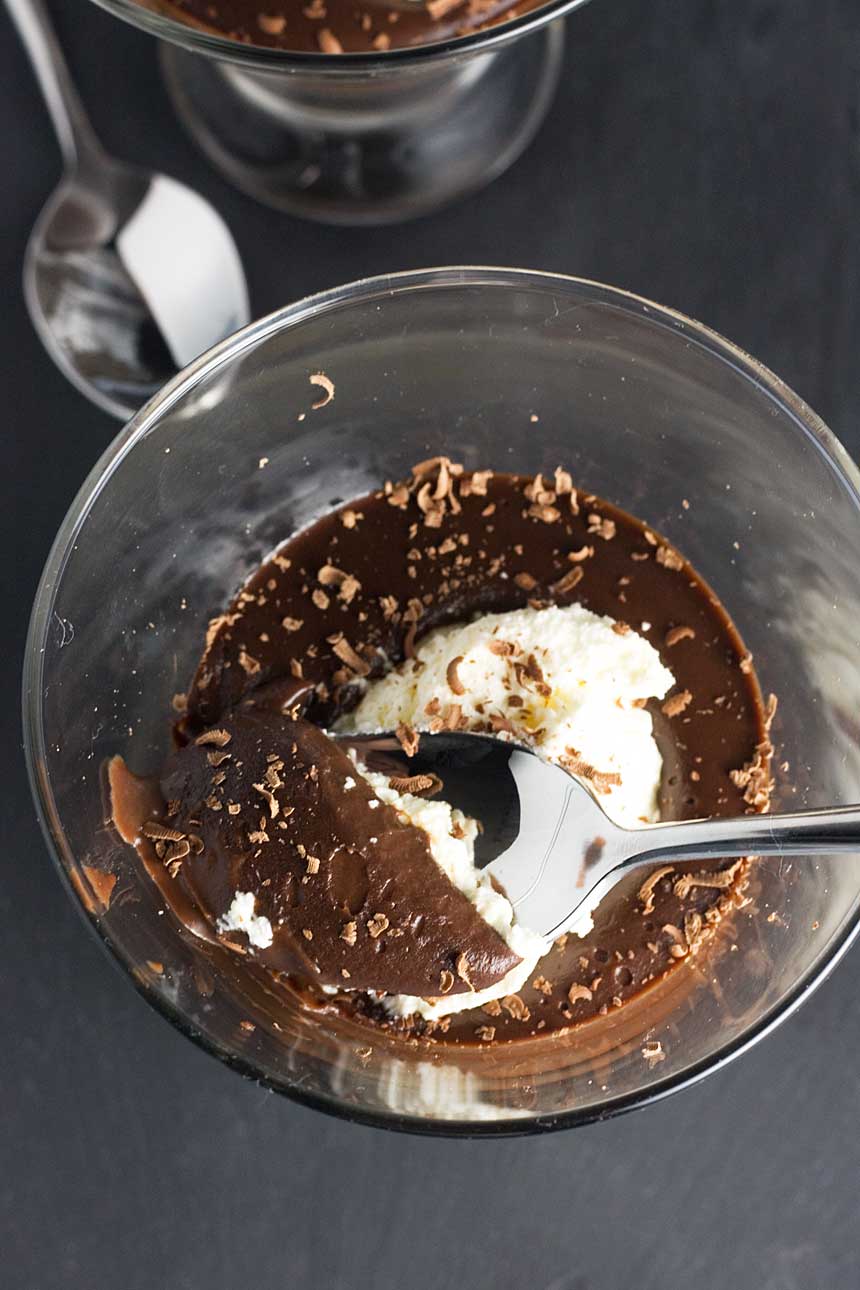
I usually keep things simple. When the desserts are set, I sprinkle grated chocolate on the top of the custards, just to make them look pretty and elegant. Cocoa powder would work, as well.
But if you like for special occasions (such as Valentine’s Day!) you can be a bit fancier:
- Serve the desserts with whipped cream on top.
- Serve with a piece of fancy shortbread. Store bought is fine. Alternatively, there’s a beautiful recipe for macadamia shortbread in this post for lemon posset!
- Pile some fresh raspberries or blueberries on the top.
- Sprinkle some crushed caramels and a little sea salt on the top.
- Push one of these amazing chocolate candy orange slices on top of each dessert!
The decadent desserts are very silky and rich so they’re best served in small portions. These glasses (affiliate link) would be perfect for serving! Cute coffee cups or small ramekins work well too.
What people are saying and FAQ
This is one of my older recipes that I’ve updated several times after feedback from readers.
Just made this recipe and it was amazing. Thank you so much, Helen. I used 70% chocolate, double cream, and a touch of satsuma zest. They set perfectly after a little while in the fridge and are absolutely smooth and wonderful.
Julie *****
This is a fabulous way to get a quick chocolate fix. Love the dark and milk chocolate combination. Perfect for a dinner party!
Sandra *****
More things to know (recipe FAQ)
Generally people love this recipe, but here are some commonly asked questions that might help you to make chocolate pots perfectly the first time… and every time after that!
I usually make chocolate pots with either good quality dark chocolate or a mixture of dark chocolate and milk chocolate. On the whole, these work with any kind of chocolate (try orange or mint flavor!). Above all, try to choose good quality with at least 40% cocoa solids. 70% is even better.
No. The ratio of chocolate to water and cream is different. If you’d like to make some white chocolate pots, use this white chocolate pots de creme recipe instead.
Sometimes the chocolate mixture is quite thin when you pour it into the glasses or cups. Other times it’s a bit thicker, depending on the type of chocolate and cream you use. Don’t worry! Just leave them to set for longer. All day or overnight is perfect.
Once again, the ‘thickness or thinness’ can depend on the exact type of chocolate and cream. If they seem a bit ‘too’ thick when you take them out of the fridge, especially if you’ve let them set overnight, just take let them sit out on the counter for a while before serving. But remember they’ll be delicious anyhow, even if a little thicker than you were expecting/hoping.
Use double cream (UK) or heavy cream (US) for the best results. In Australia there’s also a type of cream called thickened cream, which is perfect! Using this helps the desserts to set faster. For a dairy free version use coconut cream.
Nope. They usually need time to set. Make them in the morning for an evening dinner party. This way they have all day to set in the fridge. Alternatively, make them the night before. just cover and leave in the fridge until you’re ready to serve them. On the other hand, if you’re a little short on time, cover well and pop into the freezer for an hour or two.
Actually, you can! Cover the chocolate custard really well with plastic wrap and aluminium foil, and freeze for up to a month. Let defrost in the fridge overnight. In fact, frozen chocolate pots are also a thing so you could even try eating them frozen if you like.
Give them a try! There’s no way your guests will realise they only took you only 5 minutes to make!
More recipes using double cream!
In case you have leftovers!
- 15-minute creamy pesto chicken (this is a delicious midweek meal, and only uses a little cream so it isn’t too heavy)
- creamy garlic parmesan potatoes (dauphinoise potatoes)
- 6-ingredient mini quiche lorraine (perfect for parties, and freeze really well!)
- white chocolate baked cheesecake (another super easy but impressive dessert)
More impressive but easy desserts
- 5-minute chocolate banana ice cream (healthy nice cream!)
- 6-ingredient gooey Swedish chocolate cake (you’ve got to try this!)
- When strawberries are in season, try either angel food cake with strawberries, or strawberry brownies
- Easy magic lemon pudding (the most controversial recipe on my blog!) or its little sister recipe aka this chocolate self saucing pudding (lower sugar recipe!)
- If you’re looking for gluten free options, these gluten-free brownies (one bowl) are my go-tos!
- 7 layer bars (magic bars!) or biscoff blondies (with ice cream!)
Looking for more 5 minute no bake desserts? Check out this list of 21 awesome 5-minute no bake desserts. Or see ALL of my easy desserts here.
Easy Chocolate Pots (5-Minute Recipe!)
Ingredients
- 7 ounces chocolate , (save 1 piece to grate over at the end)
- 0.4 cups boiling water, (just under ½ cup or 95ml)
- 0.4 cups heavy cream , (again, just under ½ cup, so about 95ml) heavy cream = double cream (UK), thickened cream also works well (Australia)
- 1 teaspoon vanilla essence, (optional)
to serve (optional)
- whipped cream, just a little, for the top
- fancy shortbread
Instructions
- Break all of the chocolate except for 1 piece up into a medium bowl, then melt in the microwave in 30-second spurts. I find 1.5 minutes is about right.
- Add the water little by little, stirring until you have a smooth paste.
- Whisk in the cream and vanilla or any other flavouring (if using).
- Pour into shot glasses or similar and let set in the fridge (for at least 6 hours or overnight). Take them out of the fridge for a while to 'warm up' a little before serving if they seem really solid. They'll keep in the fridge for up to a week.
- Just before serving, grate the piece of chocolate you saved finely. Top each chocolate pot with a small sprinkle. If you like add a spoonful of whipped cream to the top of each chocolate pot, and then sprinkle over the chocolate (optional).


Hi I’m thinking of making this, could you use terrys chocolate orange chocolate bars? Thank you 😃
Ooh yes absolutely! Let me know how you get on. P.S. I’m just about to slightly update this post (probably within the next few days). There’ll be an updated video and some extra notes added to the post. Hope they’re helpful (if I get there in time!) 🙂
I’ve made it but changed the chocolate I did lint half dark chocolate half milk chocolate, it set over night and it’s rock solid .. what have I done wrong lol😩😂
Hi Liv! Just take it out of the fridge and let it ‘warm up’ a little before serving. Did you use thickened cream by any chance? I do find the results vary quite a lot depending on type of chocolate/cream but it’s always delicious and goes down well! I think it will still be delicious 🙂
Liv, I’ve very slightly updated the recipe to make it just under a half cup of water and cream rather than a third, just in case you were wondering! It really depends on the type of chocolate/cream used, but don’t worry, your desserts will still be delicious if you leave them out in the kitchen for a while before serving. They won’t be like solid chocolate, they’ll be like a thicker ganache. Yummy. Let me know what you think!
Helen, many thanks for the recipe, the chocolate pots went down very well! Everyone was very complementary, so will make again!
Hello Jennifer, and thank you so much for letting me know you made these and that it went well! I’m so glad you enjoyed them!
Hi Helen,
Whipped these up this afternoon because my daughter was coming for dinner. Wow! What a success! I had to show her the recipe. Thanks again 🙂
Hi, have you tried making these with cadburys dairy milk?
Hi Saf! I haven’t, but I think the recipe would still work. I would ‘possibly’ reduce the amount of water a little as Cadbury’s has a lower cocoa content. I really don’t see why not though. Do let me know how you get on if you do give it a go.
So I did make it with the same amount of water in the recipe, as I saw your your message too late…
It did take quite long to set, I had to put them in the freezer for a little while. So reducing the water makes sense, I guess…
Nevertheless, they tasted amazing, and loved by all, will definitely make it again. Xx
Hi Saf! This recipe can sometimes take a bit of experimentation because of differences in chocolate type/quality, but it sounds like you got good results in the end! Thanks for letting me know how you got on!
Hi Julie,
Whipped these up this afternoon because my daughter was coming for dinner. Wow! What a success! I had to show her the recipe. Thanks again 🙂
Hi Jennifer! Thank you so much for such a glowing review! These work so well as a last minute but impressive dessert, don’t they? In fact we have guests coming for dinner tomorrow and I think you’ve inspired me to make these for dessert!
Just made this recipe and it was amazing. Thank you so much, Helen. I used 70% chocolate, double cream, and a touch of satsuma zest. They set perfectly after a little while in the fridge and are absolutely smooth and wonderful. I am a huge fan of delicious Greek food too and have bookmarked lots of your recipes to try. I think the skinny chicken moussaka is next after all the indulgences of Christmas! Thank you again for your clear and detailed recipes.
Hi Julie! Thank you so much for your lovely review. I love the idea of adding a bit of natural orange flavouring. I’m also so pleased you’re going to try some of my other recipes. The skinny chicken moussaka is great! Do try the Greek chicken and potatoes, too. It’s just such an easy and crowd pleasing recipe!
Thanks so much for the reply, Helen. The Greek chicken and potatoes is definitely on the list too. Another one of my favourites!
So easy ..so delicious ..made it twice now…one of hubbys favourites.
Thank you so much for the review, Jean – I so appreciate it! Did you make it for Valentine’s Day? 😉
This is a fabulous way to get a quick chocolate fix. Love the dark and milk chocolate combination. Perfect for a dinner party!
So happy you like these, Sandra, and I hope you’re tempted to give them a try some time!
I have never tried making chocolate pots, but these look so easy I have to now!
Hi Dana! You really do have to!
Hi Helen,
I am planning to make this dessert for about 15 people…so need to add to the quantity of ingredients. am a bit worried about mixing just boiled water to melted chocolate? and then adding cold cream to the warm chocolate and water mixture…will this cause any problem? any tips I need to be aware of?
Hi Ekta! My favourite way to serve this is in little shot glasses or espresso cups, as it’s delicious but rich. You could serve it with some nice shortbread or similar if you’re worried about that looking ‘enough’. This way you would only have to double or triple the recipe to get enough for 15.
As for it ‘working’, you should be OK if you follow the tips in the post. So 1) add the boiling water slowly and don’t worry when it begins to go stiff/grainy. Just keep adding the water and stirring until it’s smooth 2) add the cream slowly and stir 3) make well ahead and leave to set for at least a few hours in a cool place
You could try a small batch trial run to be sure, but you should be fine. Good luck!
Didnt work…they didnt set 😣
Aww, sorry to hear this, Marie. How long did you leave them to set for?
Mine haven’t set either after 10 hours in the fridge 😢 I knew as I was adding the water it was far too much to set! Guests will be here in a few hours, wondering if I should try them in the freezer for a little while before they arrive??
Hi Ruth. The chocolate pots should be the consistency of a rich ganache or thick chocolate sauce – they shouldn’t be either really runny or super thick.
How did they turn out in the end?
The amount of water is correct. It’s half the amount of water as chocolate, and just a bit more heavy/double cream (125ml).
I hope your dessert was OK in the end!
They were definitely not ganache texture…I now realise I used a mug rather than a cup for my measuring!! The freezer really helped though and did solve it to an extent but my guests still adored it and just couldn’t believe it was only 4 ingredients!! It was completely delicious and I can’t wait to make them again!! 😍
Hi Ruth, wow that’s a relief! Thank you so much for popping back and letting me know.
If you prefer metric (UK) measurements, there is a little button you can click just under the recipe. You may have already seen it but I just thought I’d point it out just in case!
Glad this wasn’t a total disaster after all. I was a bit worried about it for you!
Thank you so much, all turned out well 💕
So relieved, Ruth. Thanks for letting me know!
Thanks for this, sound lovely! How many does the recipe serve please? Thinking of making it for friends tomorrow. Thanks 🙂
Hello Anna! The recipe serves at least 4. It depends on the size of the glass/cup you use to serve it in. If you decided to use espresso or shot glasses, you’d be able to serve a couple more (the chocolate is quite rich, so you MAY want to keep them small, but then again… CHOCOLATE!!)
Really happy you’re going to give these a go, and hope you and your guests like them!
I made pots de creme for our Christmas dessert—you’ve made me want to make them again! Gorgeous!!!
They definitely have a luxury feel don’t they, Liz? Glad you like them! Oh, and Happy New Year Liz (better late than never!)
I’m having such a delightful time catching up on your blog, and this recipe is a perfect example of why I’ve missed you! Oh my! Gorgeous! And how many ingredients?!?! FOUR?!?! And only five minutes? Game on!
Awww, thanks, Shelley! I’ve missed you too … it’s really hard to keep up with everyone I’d like to keep up with in this fast-paced blogging world. I must pop over to see what you girls are up to, as well 🙂
I love that you are a little rebel as I would not have to wait until next holiday to get this recipe. Easy and delicious, love that. I love even more are your photos! Just stunning! I want to dig my spoon right into one of those cups.
Thank you so much for the lovely compliments, Bam! You’ve made my day. In return I give you permission to eat lots of chocolate in January! 😉