Easy Spicy Thai Peanut Butter Chicken Thighs
on Jul 26, 2021, Updated May 09, 2023
This post may contain affiliate links. Please read my disclosure for more info.
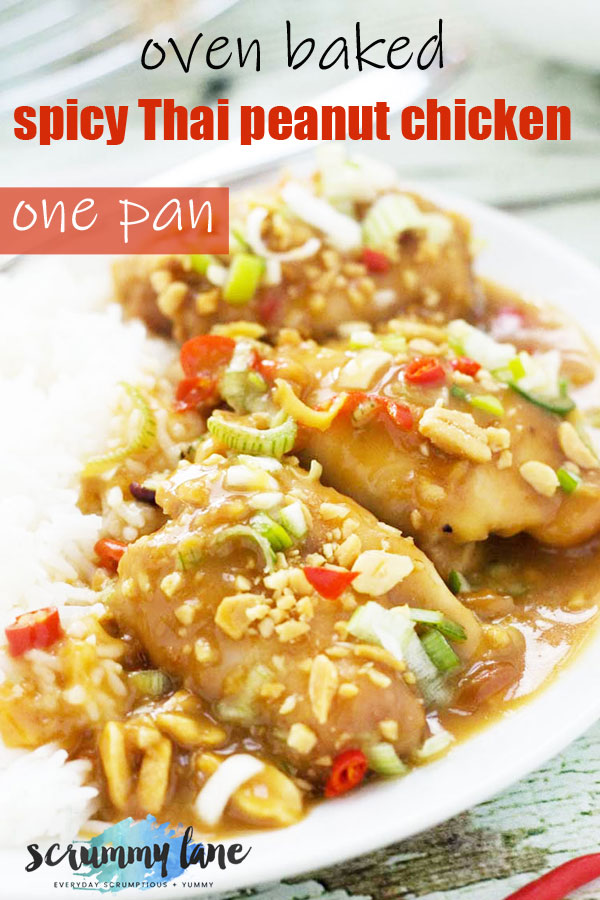
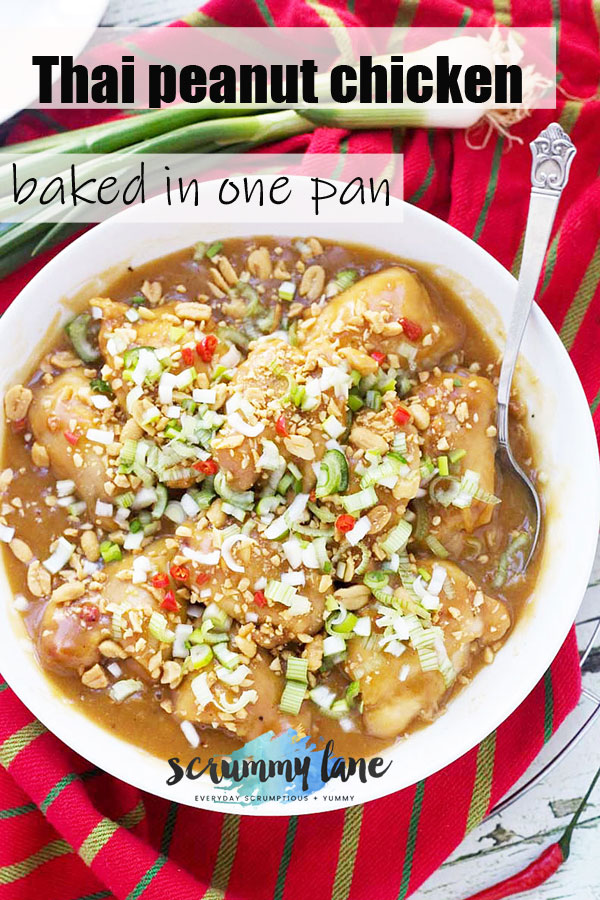
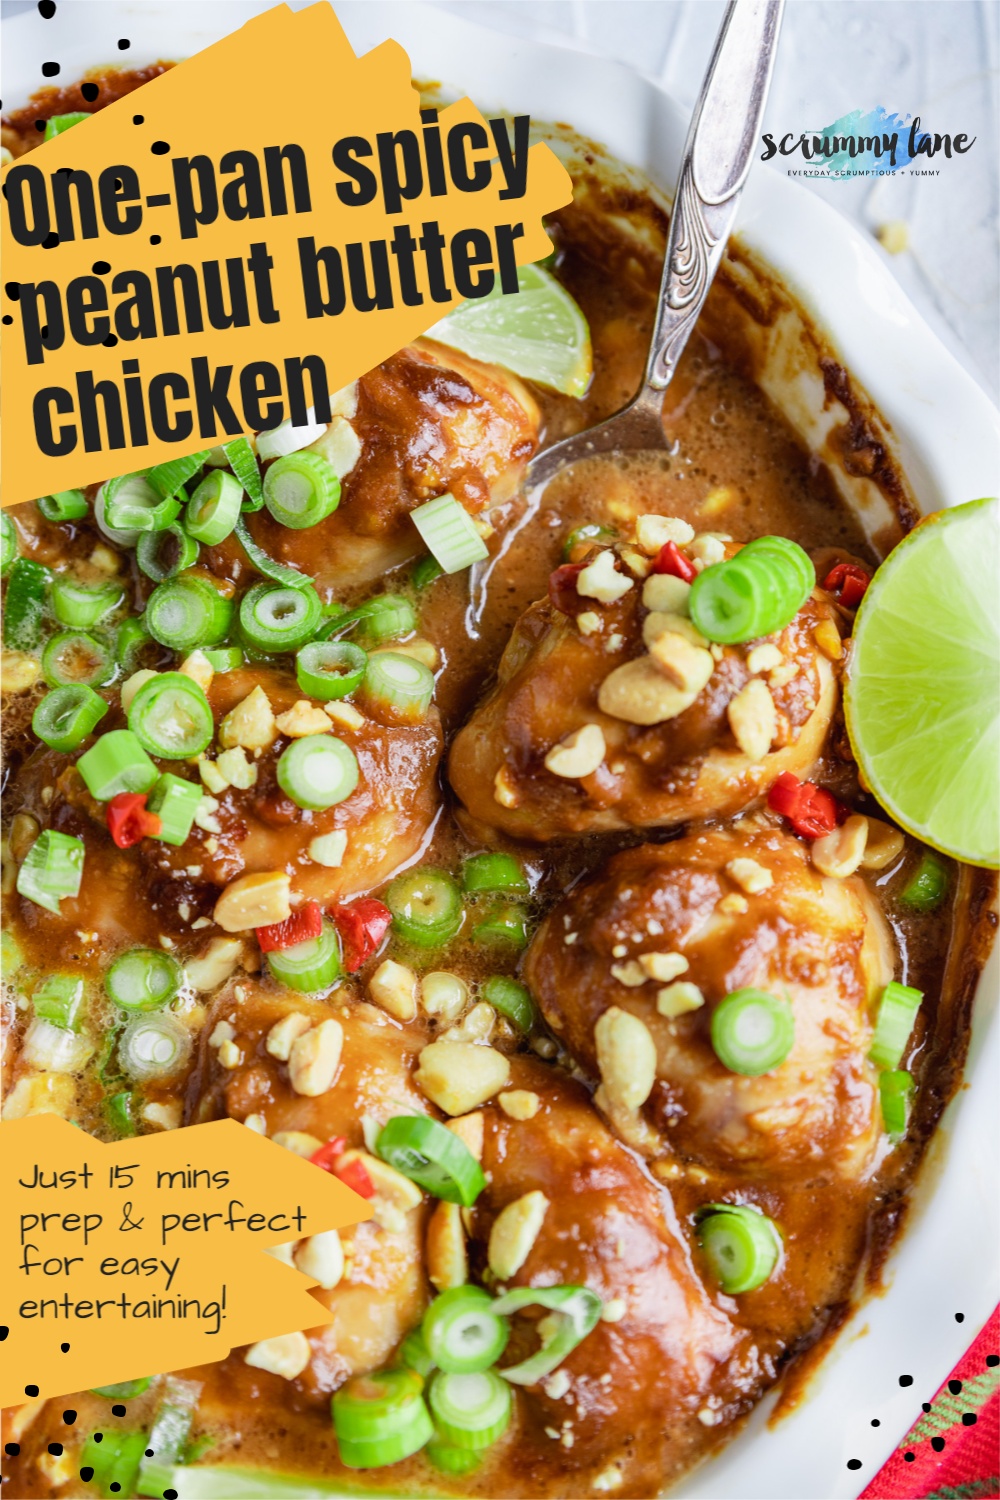
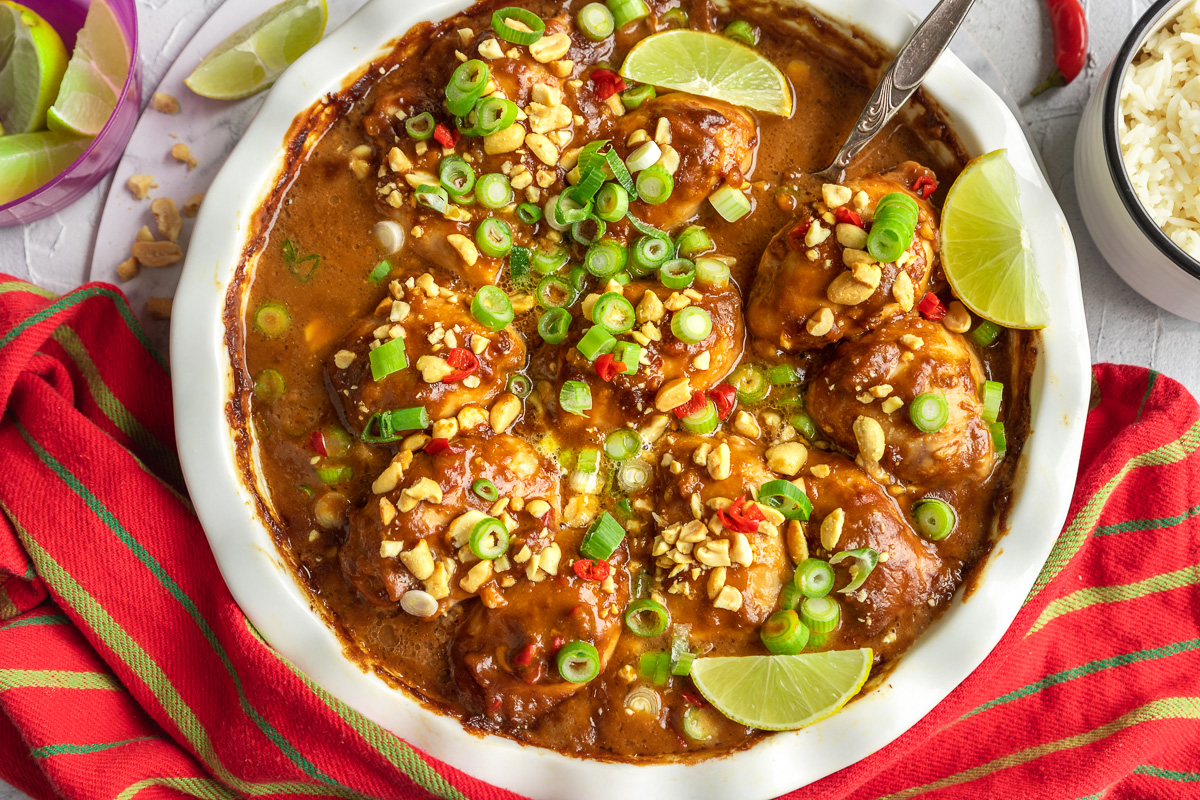
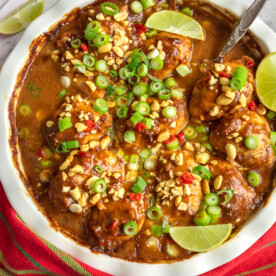
Satay lovers stop right here! This super easy spicy Thai peanut butter chicken thighs recipe is basically chicken thighs baked in a peanut satay sauce and sprinkled with colorful toppings! It’s made with just a few main ingredients, and all in one pan, so it’s perfect for no-fuss entertaining. Just 15 minutes of prep time – the oven does the rest. You’ll be dreaming about that spicy peanut butter sauce!
Why you’re going to love it
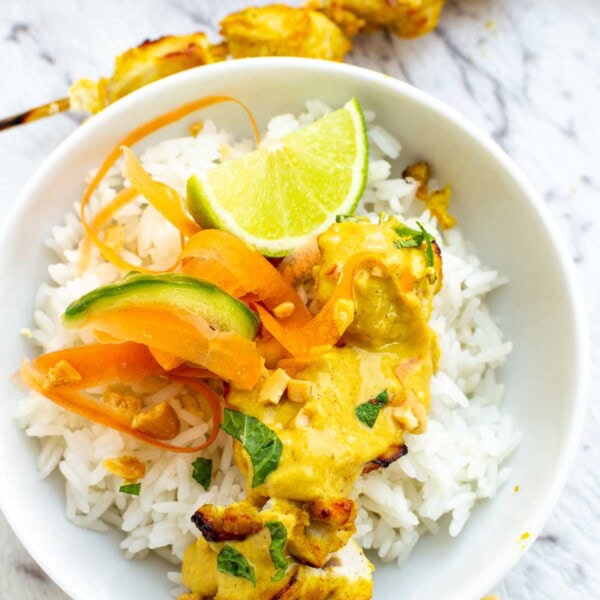
Peanut chicken recipes – love them or hate them? If you’re like me and meals with peanuts in them are your food heaven, also try this massaman chicken curry with sweet potato and peanuts. Or this easy satay chicken with rice.
You won’t go wrong with either of these peanut chicken recipes. If however you’re looking for more of a show-stopper, then I can’t recommend these spicy Thai peanut butter chicken thigh recipe enough!
Here’s why:
- It’s a one pan recipe. Perfect for midweek, but also for really easy entertaining. You can prepare it ahead, then pop the dish into the fridge until ready to cook.
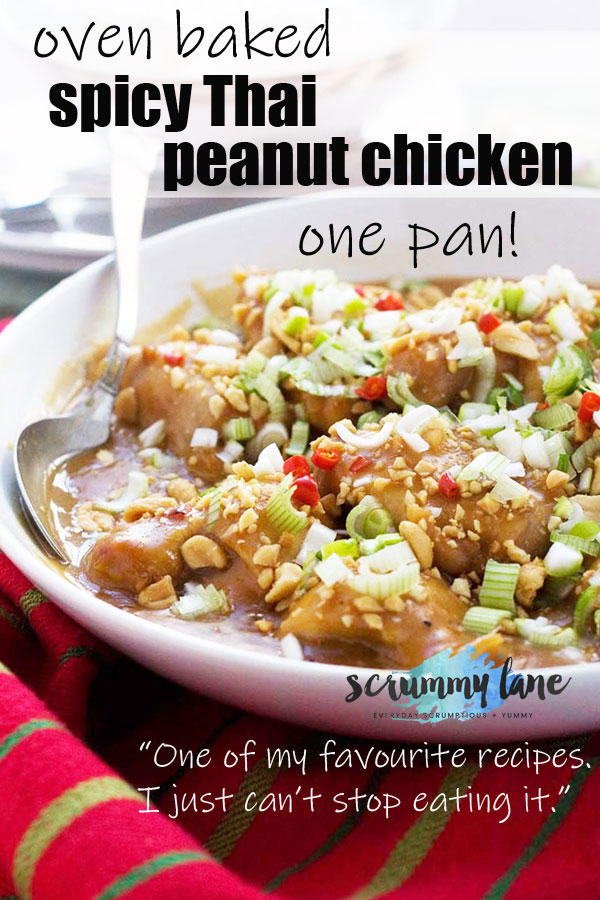
- It’s full of punchy, umami flavours. When I’m eating this, I don’t want my meal to end. There aren’t many meals I say that about (well OK, maybe this Greek chicken and potatoes).
- It’s incredibly easy recipe. It almost makes itself. All you do is whisk together a few ingredients to make the spicy peanut sauce, then pour it over chicken thighs and bake.
- No pre-cooking necessary. The icing on the cake is the toppings which add some freshness, colour, texture and extra flavour.
About the ingredients
Chicken thighs: Use boneless skinless chicken thighs. You don’t need to pre-cook them. Just lay them in a baking dish raw, pour over the sauce and bake. The number of thighs I use depends on the size, but it’s usually around 7 to 11 thighs.
Love cooking with chicken thighs? Me too! You just have to try these baked honey mustard chicken thighs too!
For the spicy peanut sauce and toppings
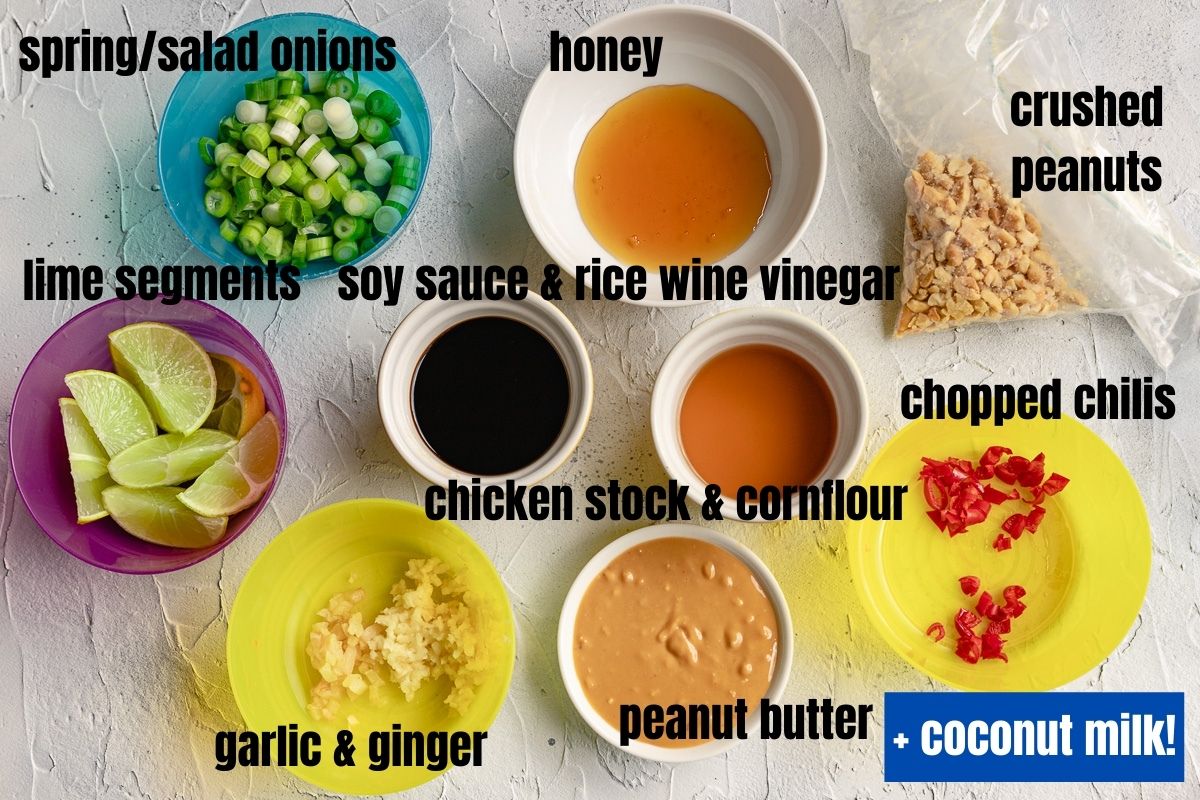
Peanut butter: I use crunchy for texture, but either smooth or crunchy is fine.
Soy sauce and rice wine vinegar: It doesn’t really matter whether you use dark or light soy sauce – I just use what I happen to have. For the rice wine vinegar I prefer Japanese Mirin, but any rice wine vinegar is fine.
Coconut milk: You need just a quarter cup. This adds a bit of creaminess to the final dish.
Chicken stock: Mix this with a little cornflour to thicken the sauce as it bakes. I find the sauce is sometimes a little thicker, sometimes a little thinner depending on the amount of chicken juices.
Garlic and ginger: I crush the garlic to add to the sauce. I finely slice a big piece of peeled ginger and add that too. No pre-cooking required!
Fresh chili: This is as much about the colour as it is the spice. So I like to use red chilis. I chop the chilis finely and scatter 2 to 3 in the sauce, and another 1 to 2 on the top, depending on how spicy you want the dish to be. Actually what I usually do is serve extra chopped chilis on the side so that those who like it spicy can add more!
Honey: For just a hint of sweetness!
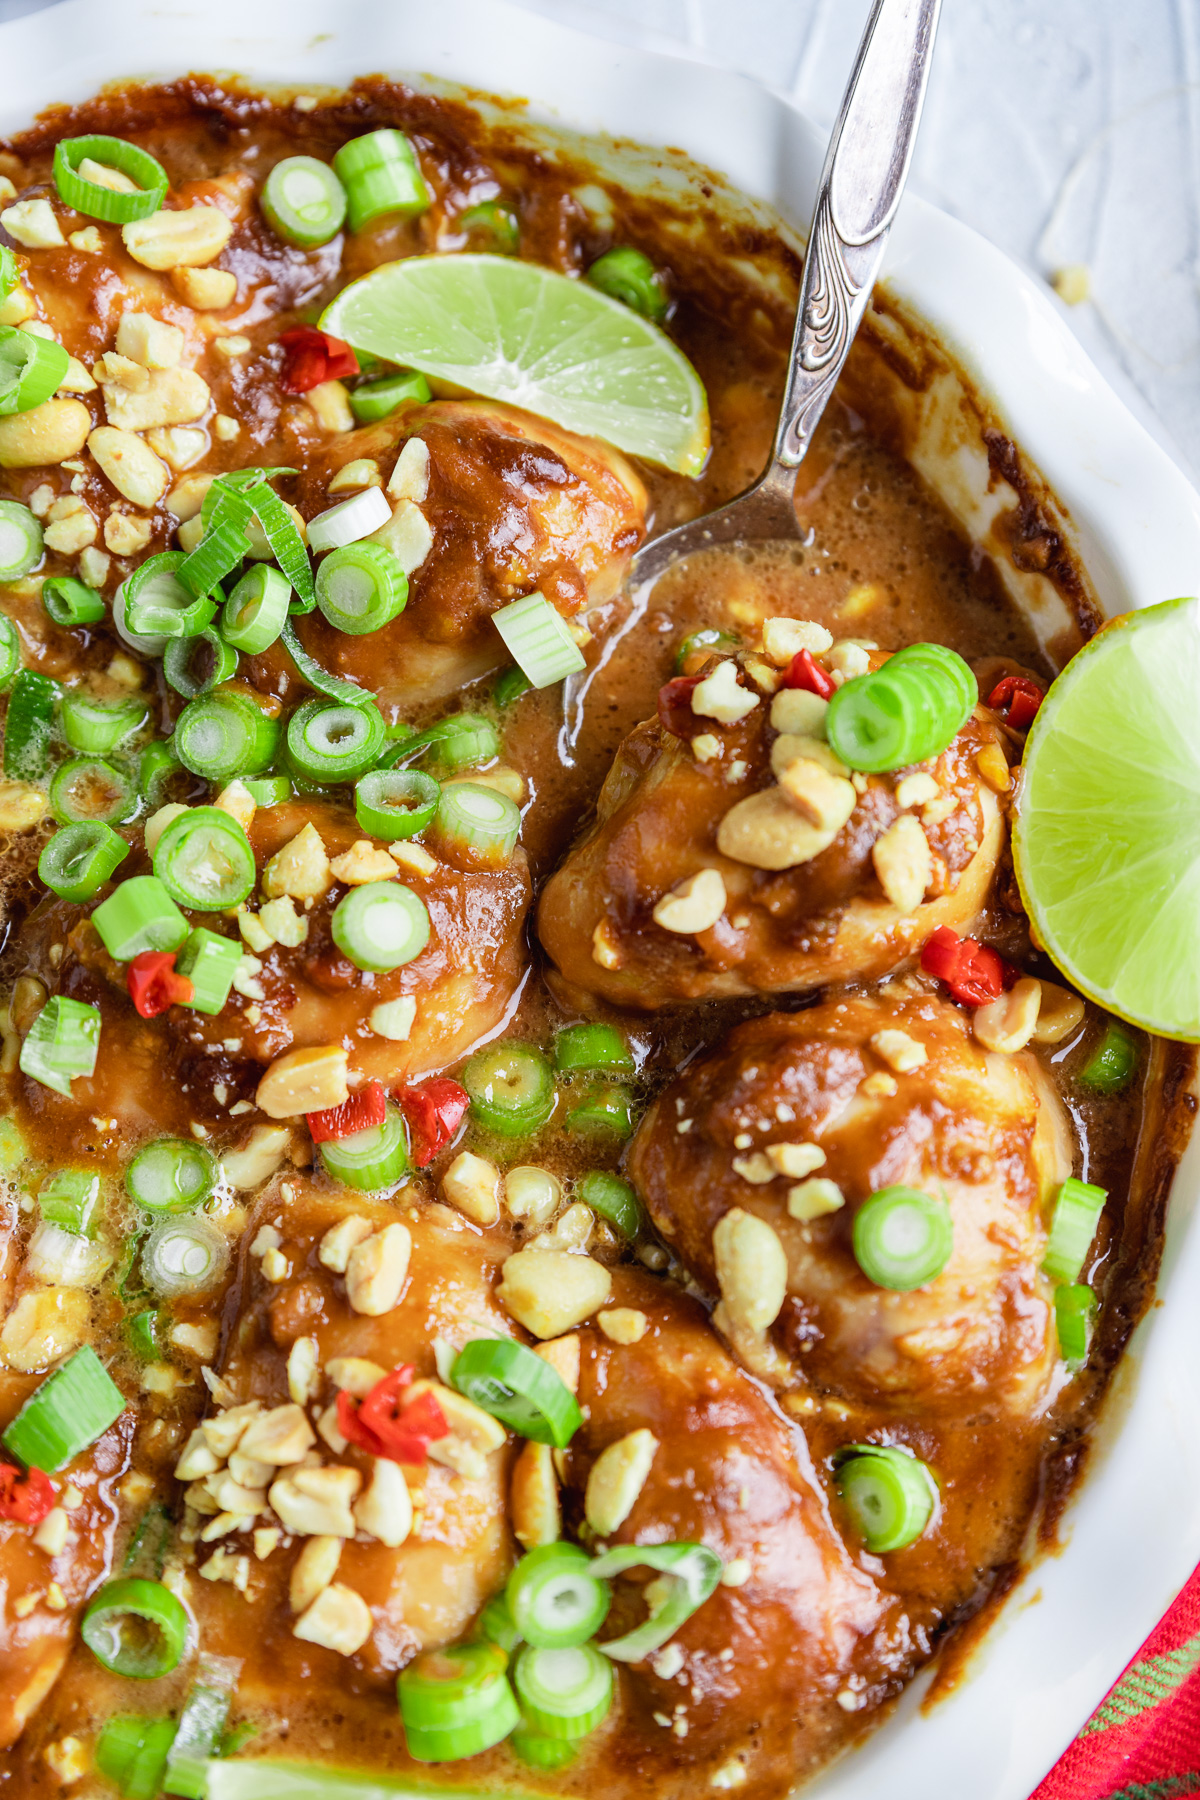
Toppings: Spring onions/Scallions, crushed peanuts, extra chopped chilis and lime segments. Don’t skip these – they really make the dish!
How to make it
There are really only 2 main steps before baking – whisk all the sauce ingredients together, then pour it over the chicken thighs.
But let’s break it down a little more!
Step 1: I usually start by blending the soy sauce and rice wine vinegar into the peanut butter.
Step 2: Then add all of the other sauce ingredients – coconut milk, chicken stock blended with cornflour/cornstarch, then the garlic, ginger, chilis and honey.
Step 3: Arrange the chicken thighs in a baking dish. The baking dish in the photo above is 9 inches, but a 9×12 inch baking dish is fine, too.
Step 4: Pour the sauce all over the chicken thighs.

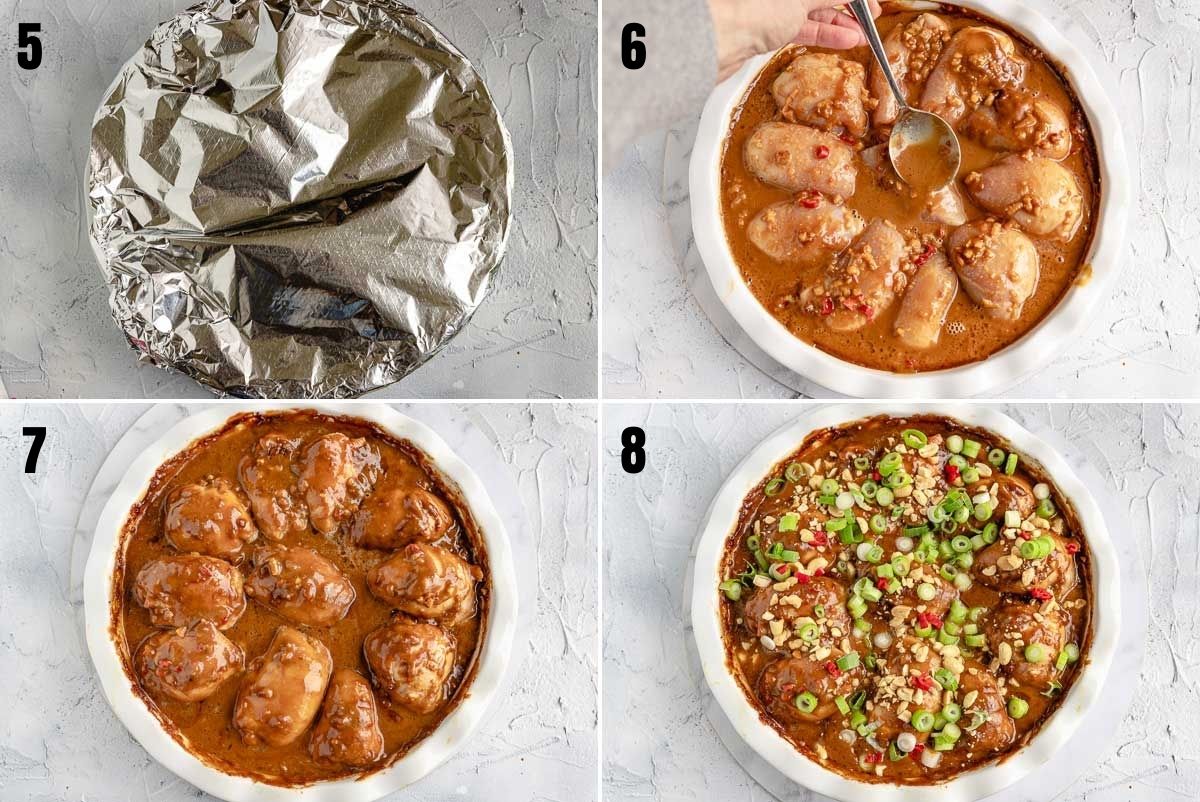
Step 5: Cover the dish with aluminium foil for the first part of cooking.
Step 6: Ten minutes before the end of the cooking time, remove the foil, spoon the sauce over the chicken again, then return to the oven to finish cooking.
Steps 7 and 8: Take the dish out of the oven. Just before serving, sprinkle over the toppings. You can either sprinkle them all over the whole dish, or over each person’s serving.
Pro tip: Wear kitchen gloves when chopping up your chilis. One time I forgot and my hands were on fire!
How to serve Thai peanut butter chicken thighs
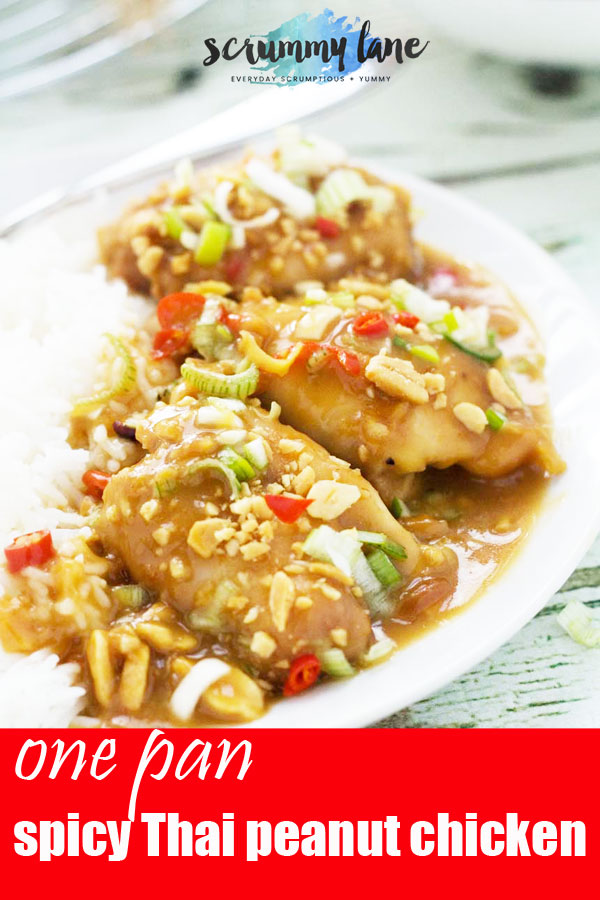
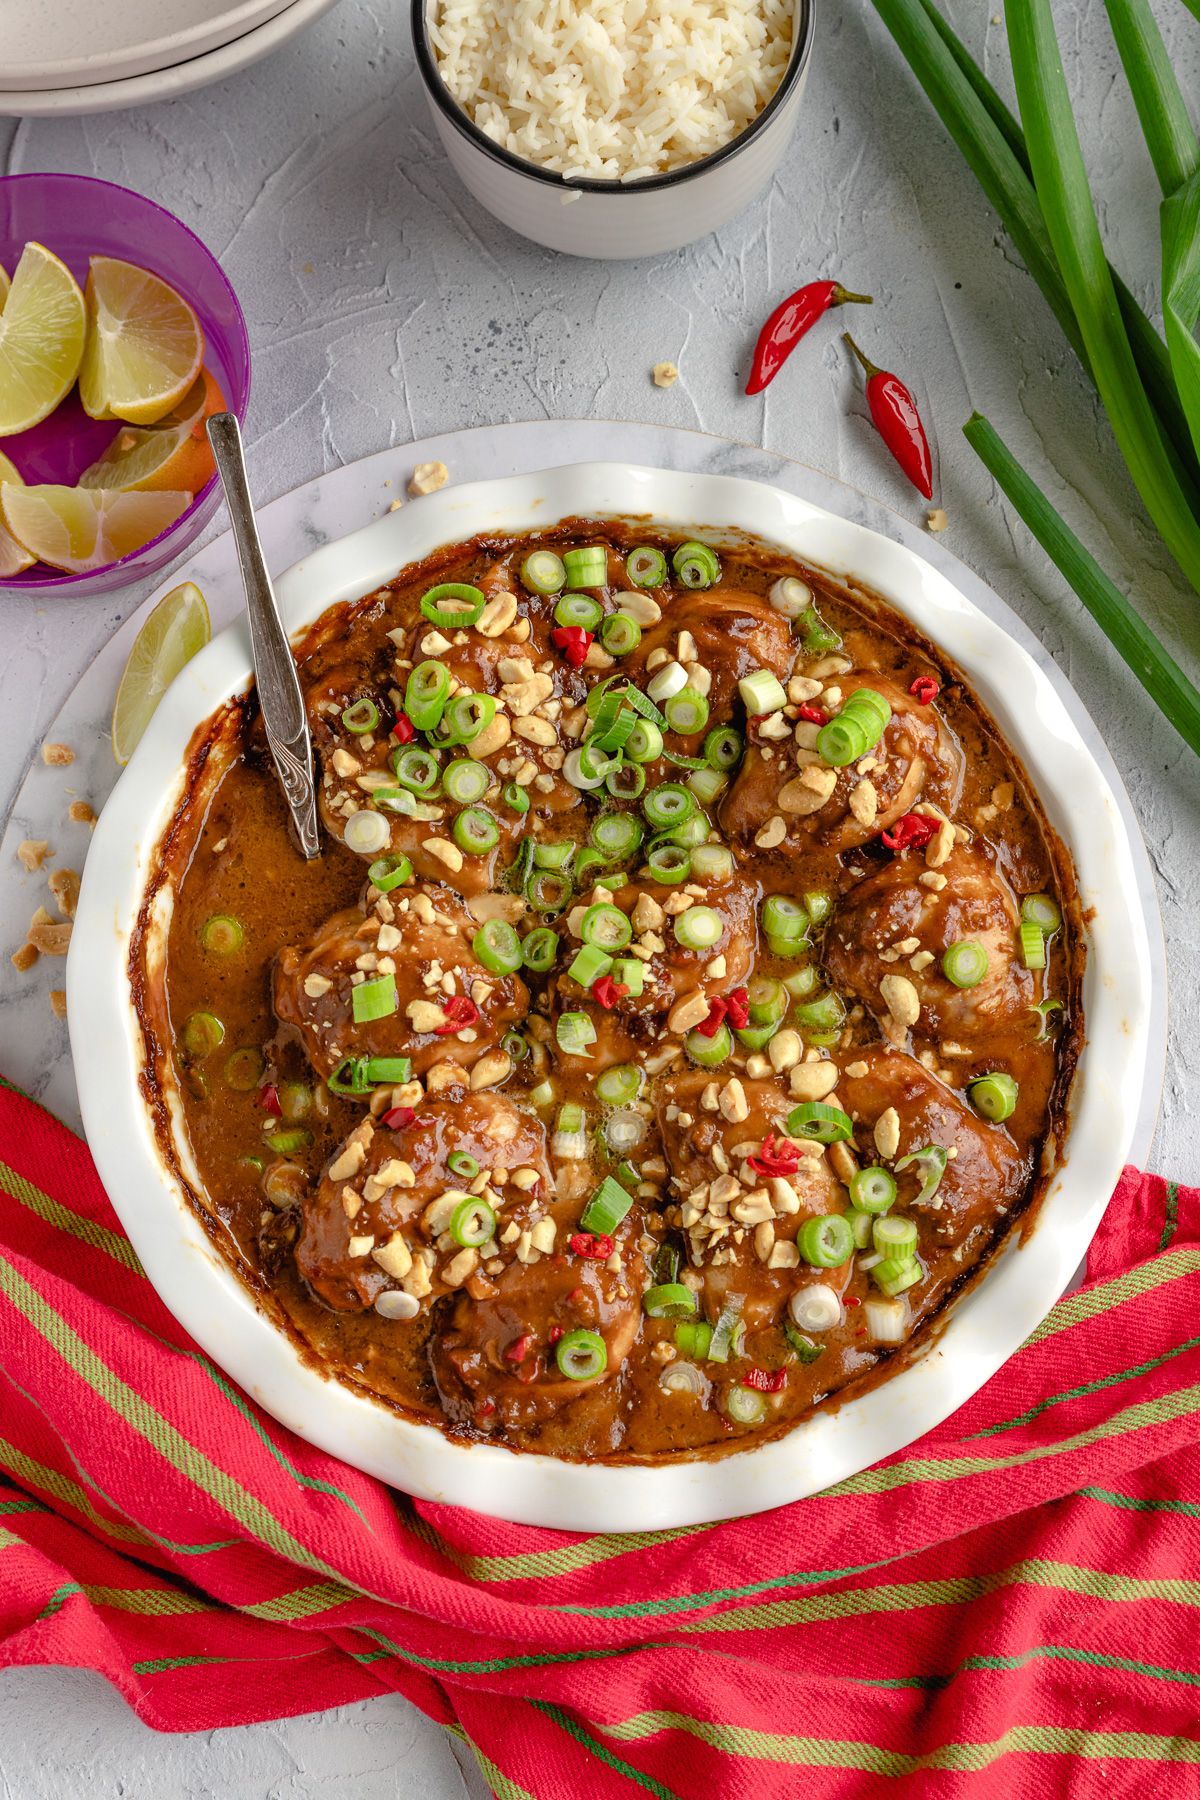
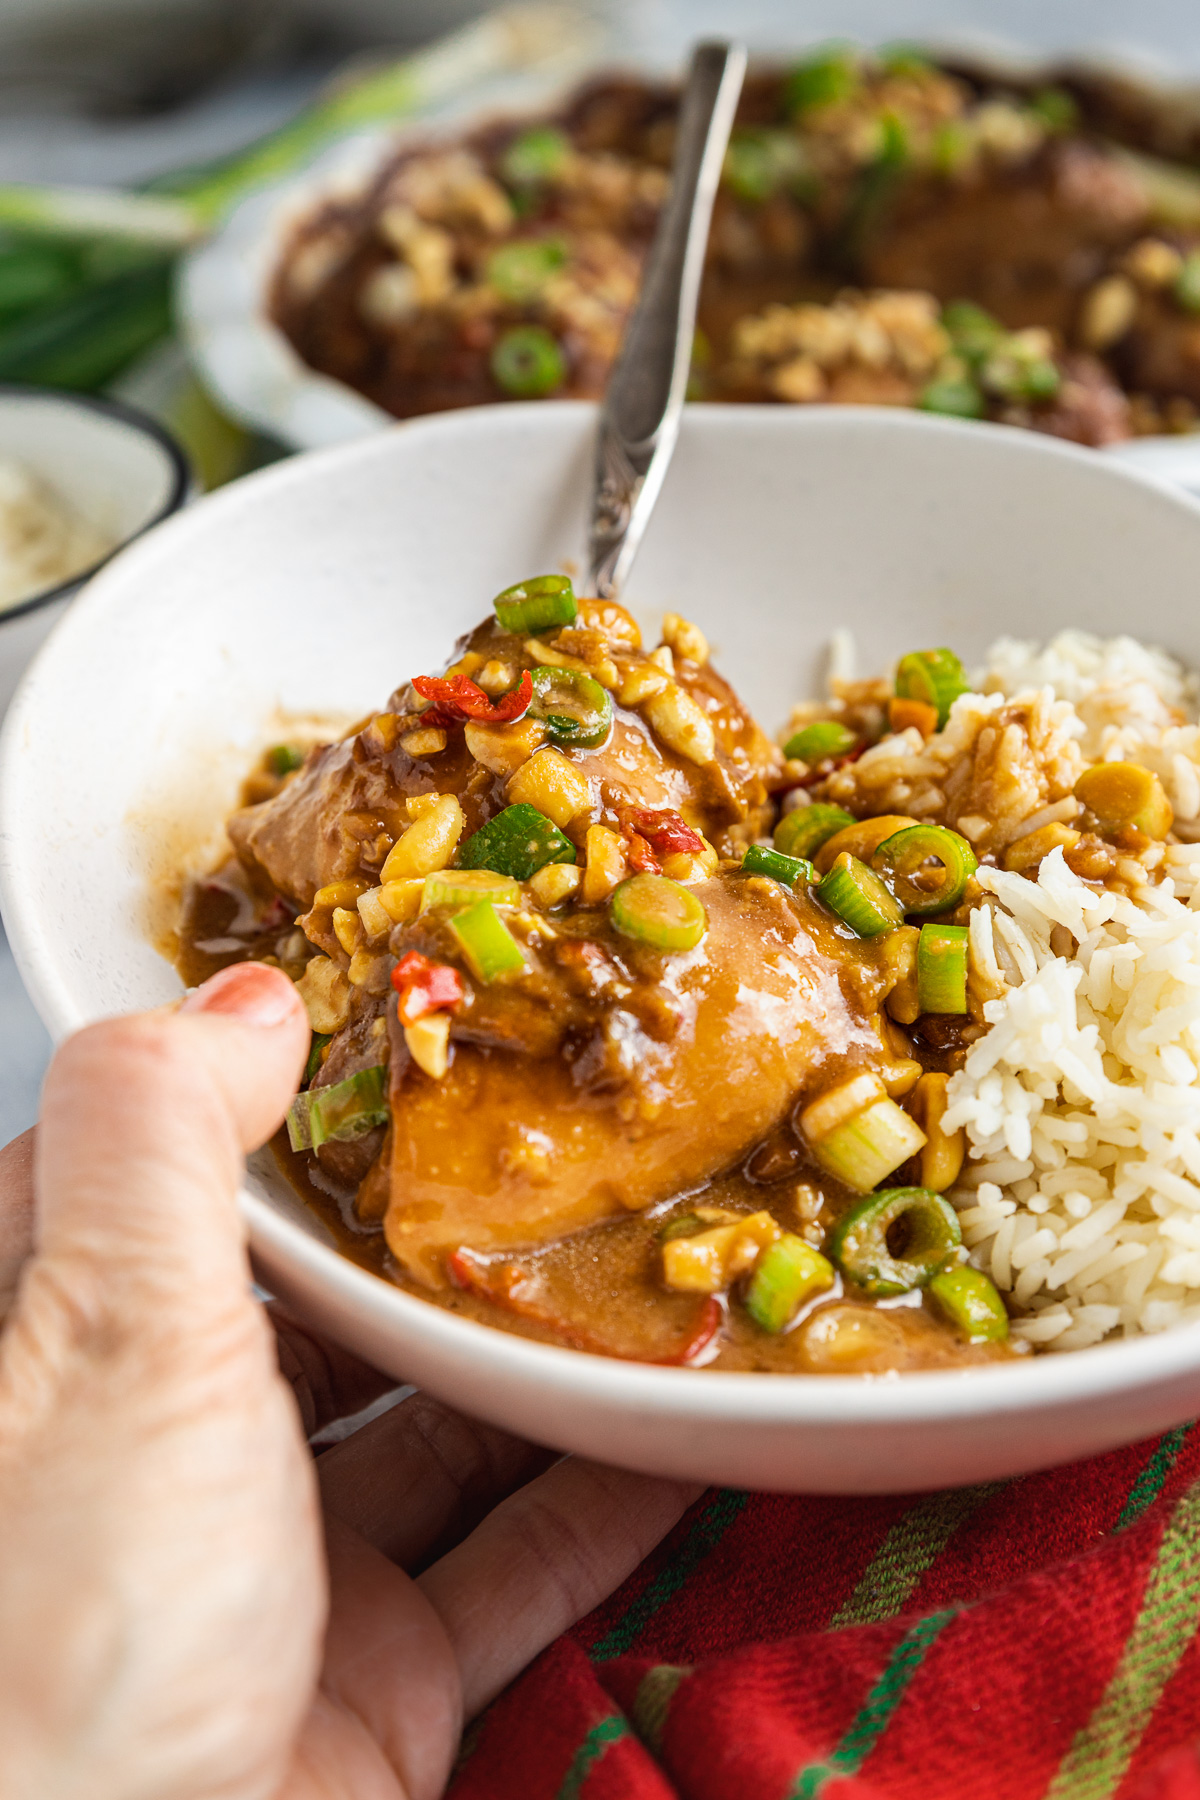
If I’m serving this to my family, I tend to serve the chicken and sauce over rice. Then I sprinkle toppings over everyone’s dish.
If I’m serving it to guests (did I mention it’s great for easy entertaining?), I sometimes sprinkle the toppings all over the chicken in the baking dish, then take the dish to the table. Because it’s pretty!
If you feel like the baking dish is a little messy, you can even spoon the chicken and sauce into a big serving dish and then sprinkle over the toppings before you take it to the table. I’ve done both ways.
You might like to have extra chopped chilis on the table for those who want a bit more heat.
Rice, lime wedges and a simple green salad or vegetables such as this 10-minute frozen sautéed broccoli are perfect on the side if you have guests. Naan bread or poppadoms are optional for mopping up the amazing sauce!
Feeling more of a curry vibe?
This dish is supposed to be tasty but super simple, which is why the ingredients are kept to a minimum. But there’s one little variation you can try if you like. You can add a teaspoon or two of red curry paste to the sauce for a bit of extra Thai flavour and kick.
The result will be more like a Thai peanut curry if you do this, but it’ll certainly be no less delicious! Also if you do this you might like to go easy on the added chilis until you see how spicy it is.
And if you’re now craving a proper Thai curry, you just have to try this Thai chicken and butternut squash satay curry. It’s legendary!
More things to know (FAQs)
Sometimes I find the sauce turns out a little thicker, sometimes a little thinner. It depends on how big the chicken thighs are. Bigger thighs means more juices running out during cooking and mingling with the sauce.
I find the amount of cornflour/corn starch stated in the recipe is usually about right. But if you’d like to thicken slightly more, just add another tablespoon of corn flour blended with a bit of water or stock. Drizzle and stir it into the sauce, then return to the oven for 5 more minutes.
On the other hand, if by any chance your sauce turns out a little thick for your liking (although this has never happened to me!) you can add a drizzle more coconut milk, or even water. Mix in around the chicken and return to the oven for another few minutes.
This dish can very easily be gluten free. Simply make sure you buy a gluten free soy sauce and chicken stock. The other ingredients are naturally gluten free. Serve with rice and you have a very delicious and completely gluten free meal. Especially if you finish off with one of these delicious (and not too naughty) gluten free brownies.
Yes! How much should you use? Because different brands vary so much, I’d check the back of the packaging to see what they suggest. It’s best to add just a little at first. You can always stir in more at the end, but you won’t be able to take it out once it’s been added!
Not keen on chili at all? I really feel like this dish is best with at least a bit of chili. If you’re not into super spicy, stick with just 1 chili in the sauce, and another scattered on top. Also make sure you remove the seeds from the chilis before chopping them. Remember to wear kitchen gloves so that the chili oil doesn’t burn your fingers!
You can always serve some extra chopped chilis on the side for anyone who likes more spice.
Yes, absolutely! Just arrange the chicken in a baking dish and pour over the sauce. Then cover and store in the fridge until you’re ready to bake it.
I also like to prepare all the toppings ahead. Just chop everything and put them in little covered bowls until you’re ready to eat. I love to do this when I’m having guests over. This way I can throw the prepared dish in the oven, then concentrate on my guests until it’s cooked!
Absolutely! Simply let the peanut butter chicken thighs cool then freeze in glass containers for up to 3 months. Just make sure you freeze without the garnishes, of course!
Let defrost (ideally overnight in the fridge), then cover it with aluminium foil and reheat in the oven at 325F/160C for about 25 minutes or until properly heated through.
Alternatively, reheat in the microwave. I suggest reheating it at 50% power to make sure it doesn’t dry out. Check the chicken is piping hot after about 5 minutes, and if not keep reheating for a minute at a time until thoroughly reheated.
Completely mad about peanut butter? You just have to try this peanut butter, banana and chocolate chip cake as well! It has great reviews for a reason.
More quick and easy Asian dinners
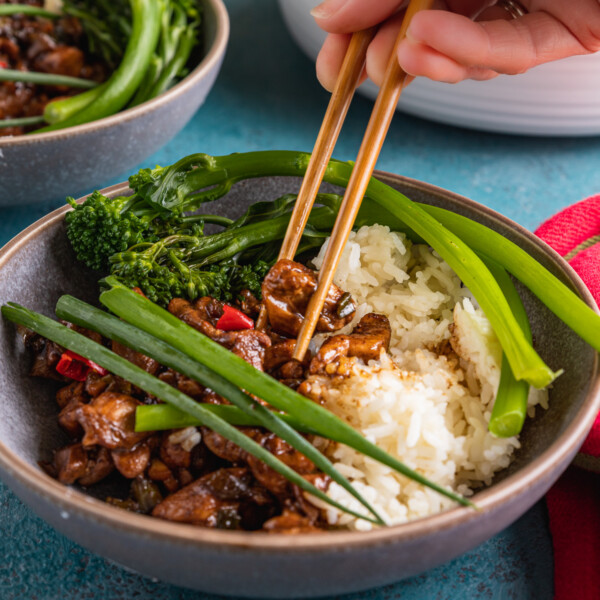
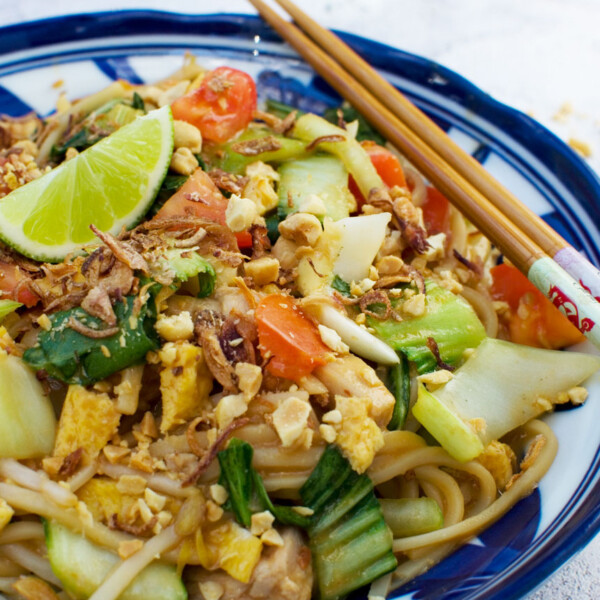
Or see all easy Asian recipes.
Easy Spicy Thai Peanut Butter Chicken Thighs
Equipment
Ingredients
Chicken
- ¼ cups peanut butter
- ¼ cups soy sauce
- ¼ cups coconut milk
- ¼ cups chicken stock, blended into the cornflour
- 2 tablespoons cornflour, (US = corn starch)
- 3 cloves garlic, crushed
- 1 piece ginger, (thumb-width piece, at least) peeled and finely chopped
- 2 tablespoons honey
- 2 tablespoons rice wine vinegar, (I used Japanese mirin, but Chinese is fine, too)
- 2 chilis, small red (increase to 3 if you like, remove the seeds for less spicy)
- 1.75 pounds skinless boneless chicken thighs, around 800 grams or between 7 to 11 thighs, depending on the size (the weight doesn't have to be exact!)
Toppings
- 3 spring onions, (US = scallions/salad onions), chopped finely
- 1½ ounces peanuts, around 50 grams or a large handful, crushed in a food processor or bashed with a rolling pin in a plastic bag (salted or unsalted are both fine)
- 1 red chili, or increase to 2, chopped finely (or serve more on the side if you like)
- lime wedges
- rice or rice noodles and poppadoms/naan bread (if you like), to serve
Instructions
- Preheat the oven to 180C/355F.
- Slowly blend the soy sauce into the peanut butter in a jug or medium bowl, then blend in the coconut milk & stock/corn starch (cornflour).¼ cups peanut butter, ¼ cups soy sauce, ¼ cups coconut milk, ¼ cups chicken stock, 2 tablespoons cornflour
- Stir in the minced garlic, chopped ginger, honey, rice vinegar and chopped chilis.3 cloves garlic, 1 piece ginger, 2 tablespoons honey, 2 tablespoons rice wine vinegar, 2 chilis
- Arrange the chicken thighs in a large baking dish (A medium round baking dish, or a 9 x 12 inch rectangular one), then pour the sauce all over them.1.75 pounds skinless boneless chicken thighs
- Cover with aluminium foil and bake for about 40 minutes or until the chicken is cooked through and the sauce bubbling and thickened a little. 10 minutes before the end of the cooking time, remove the foil, spoon the sauce all over the chicken again and then return to the oven uncovered.
- Spoon the chicken and sauce into individual bowls over rice or rice noodles (or into one nice larger serving dish with a separate bowl of rice/noodles).
- Sprinkle the spring onions, peanuts and remaining chili over. Eat immediately with lime wedges and poppadoms/naan bread if you like. Also serve extra chilis on the side if you like.3 spring onions, 1½ ounces peanuts, 1 red chili, lime wedges, rice or rice noodles and poppadoms/naan bread (if you like)
Notes
Let defrost (ideally overnight in the fridge), then cover with aluminium foil and reheat in the oven at 325F/160C for about 25 minutes or until properly heated through.
Alternatively, reheat in the microwave. I suggest reheating it at 50 to 80% power to make sure it doesn’t dry out. Try 5 minutes, then for a minute at a time until thoroughly reheated.