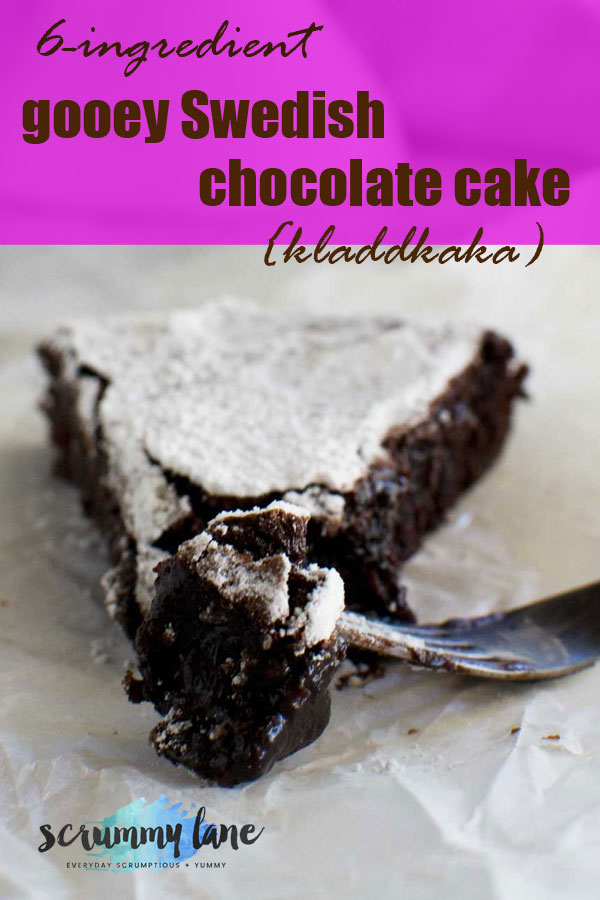
6-ingredient gooey Swedish chocolate cake (kladdkaka)
on Mar 17, 2018, Updated Dec 16, 2019
This post may contain affiliate links. Please read my disclosure for more info.
This Swedish chocolate cake is not only one of the best I’ve ever eaten, but the easiest, too. One pan only and no whisking required. Just melt the butter and stir everything else in and you’re only 20 minutes away from oozy, gooey, richly chocolaty heaven!

Easy chocolate desserts like this always call my name, so when I saw it in one of those free supermarket food magazines recently, I filed it away in the ‘to make’ section in my head.Usually these ideas float around there for a long time before they (maybe) make it to the blog, but I couldn’t get this one out of my head.
Because, well, chocolate. And can you see how gooey and oozy and chocolaty it is? How could I resist? How can YOU resist?

What’s kladdkaka, anyway?
The recipe in the magazine was called Swedish chocolate cake, which in Sweden is called Kladdkaka. Apparently this is a very famous cake in Sweden and everyone has their favourite recipe for it. The cake should be very rich and chocolaty with a delicate crisp and chewy top but soft and gooey inside. A bit like a cross between fudgy brownies and a chocolate soufflé.
The easiest chocolate cake you can imagine… all in one bowl!
After I began to do a bit of research on this special-sounding Swedish chocolate cake, I found out from Top With Cinnamon’s Izy Hossack that there is a much easier way to make it than in the supermarket recipe I saw. So ridiculously easy that it only took me about 5 minutes to get it into the oven.
ALL you do to make this kladdkaka is:
- Line and grease one 18-20cm cake pan (a spring form pan is best).
- Melt the butter in a saucepan.
- Stir in sugar, cocoa powder, vanilla essence and flour.
- Bake for 20 minutes.
But look how incredibly chocolaty it looks!
")
I really think this easy chocolate cake is hard to beat … certainly as a quick chocolate desert to whip up for guests that looks quite impressive even though it’s only one tier and doesn’t have any kind of frosting.
So how do you serve kladdkaka?
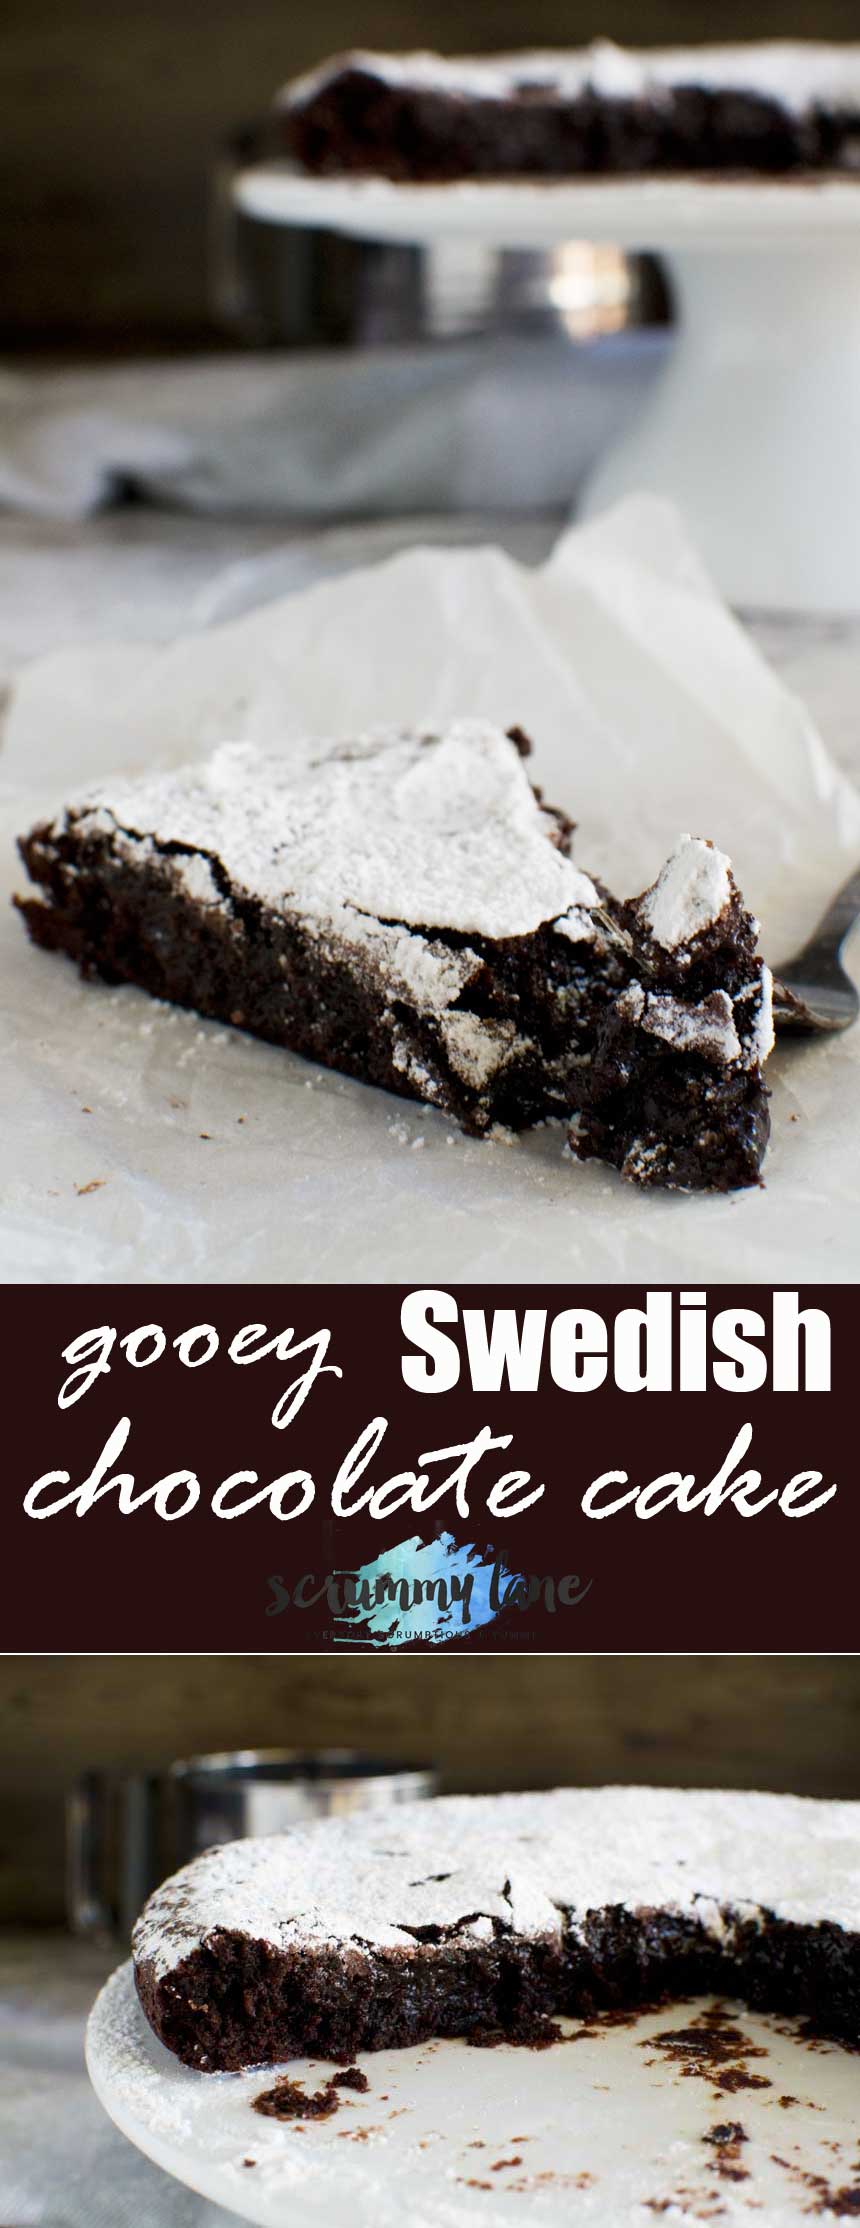
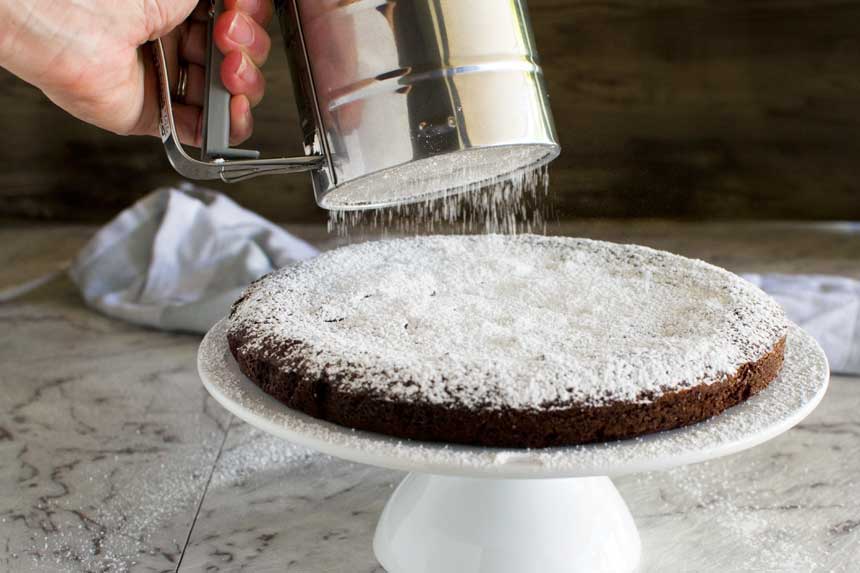
Swedish chocolate cake doesn’t need any frosting or topping. Just turn it out and sprinkle generously with powdered sugar/icing sugar or cocoa powder.
There. It looks quite impressive just as it is, doesn’t it?
If you like, you can serve it with whipped cream and ice cream and some strawberries or raspberries.
I’ve made similar sticky chocolate things to this that tasted quite good too but they took 3 or 4 times longer to make. This cake only has SIX ingredients in it.
Just try not to overbake the kladdkaka because you don’t want to lose that lovely sticky gloopy-ness in the centre. The cake is done when the top is firm but breaks quite easily when you put a bit of pressure on it.

Can you make this Swedish chocolate cake ahead?
Yes! Make it a day or two in advance and keep it in the fridge if you like, then simply warm each piece separately in a microwave for about 20 seconds.
If there are any leftovers (and this is a big ‘if’!) pop them into the fridge and steal little bits every time you open the fridge. Well, this is what I always do. Oops. You’ll find when cold this chocolate cake tastes just like fudge! You could even cut it into small squares and tell your friends that it actually IS fudge!
Even Mr. Scrummy, who doesn’t usually like chocolaty cake things of any kind, loved this quick chocolate dessert. It was so scarily good that we ate half and froze the rest to stop ourselves from eating it all in one go.

This yummy chocolate cake would be perfect to serve to guests at Easter with mini chocolate eggs sprinkled over the top, or really for any special occasion.
To help you with this recipe:
I like to use a 7 to 8 inch springform cake pan like this one to make this gooey chocolate cake. Because it’s such a gooey cake, it’s quite delicate when just cooked and this makes it really easy to turn out onto a plate or cake stand.
More really easy desserts
5-minute chocolate banana ice cream (healthy nice cream!)
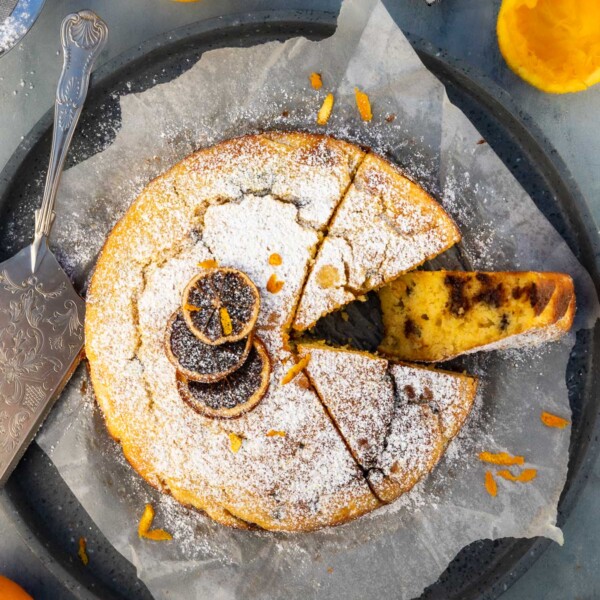
Easy magic lemon pudding (most controversial recipe on the blog!)
Addictive peanut butter Cheerio bars
No bowl chocolate pecan bars (magic bars!)
5-minute chocolate pots (only 4 ingredients!)
6-ingredient Gooey Swedish Chocolate Cake (Kladdkaka)
Ingredients
- 4¾ ounces salted butter, (US = just over ½ cup, or just over 1 stick)
- ½ cups cocoa powder, (plus 1 tablespoon) unsweetened, plus extra for sprinkling
- 1¾ cups sugar
- 1 cup plain flour, (actually, just less than a full cup, about 0.85 cups)
- 1 teaspoon vanilla extract
- 3 eggs, lightly whisked
Instructions
- Pre-heat the oven to 180C/350F. Line the bottom of a 7-9 inch (see note below) springform cake pan with a circle of baking paper, then grease the paper and the sides of the pan.
- Melt the butter in a medium saucepan, then take off the heat and set aside.
- Add the cocoa, sugar, flour and vanilla to the butter and stir a little. Then add the eggs and stir everything together until well combined.
- Pour the mixture into the cake pan and bake for 20 to 25 minutes (see note below) until the top is set but the centre is still gooey (the top should be firm but crack under a little pressure from your finger).
- Let the cake cool in the pan, then run a knife between the pan and the cake to loosen it. Turn out onto a plate or cake stand (see note below). Dust generously with cocoa powder and serve warm with ice cream or cream.
Video
Notes
A note on which cake pan to use
I usually use a 9 inch spring form cake pan for this cake, because that's what I have, and it comes out as you see in the photos. The original recipe that I adapted this from, however, states to use a 7 inch pan. I'd say that anywhere from 7 to 9 inches will work well. You might need to make the recipe a couple of times to get the baking time just right (yes, it's one of those recipes, but once you've nailed it, you've nailed it). See below for more hints on getting your cake just right!Getting your cake just right
Although this is a super quick, easy and delicious cake, it can 'sometimes' (not always) take a bit of perfecting. If your cake still isn't cooked on top after 20 minutes, keep checking it every couple of minutes until it is. I usually find 20 minutes is about right, but of course it depends on your oven/the exact size of your cake pan etc. One reader reported that the cake took 30 minutes in her oven. So the first time you make this might be a bit of an experiment to see how long you need to cook it in your oven! You want to avoid overcooking the cake though, because then it won't be as deliciously gooey.After your cake is cooked...
You'll find that your cake is quite delicate just after cooking. Let it cool in the pan, then turn it out onto a plate or cake stand. I usually hold a plate on the top, then invert it quickly. Your cake will then be on a plate, but it will be upside down. To turn it back the right way, I put another plate on the bottom of the cake and turn it back the right way.Can you make this chocolate cake gluten free?
Yes! I officially tested this recipe using just almond flour in February 2020. It works just as well as it does with ordinary flour. In fact if anything it's slightly more delicious (if that's possible) because you can very slightly taste the almonds. I haven't tried the recipe with gluten free plain flour, but I'm pretty sure you'd have no problem doing a straight swap. The recipe doesn't contain a lot of flour, so flour substitutions tend to work well. Good luck! Serving suggestion: I like to serve this cake warm with ice cream on top. It's also delicious with fresh raspberries! Or elevate the dessert even more with this 5-minute raspberry puree - you won't believe how easy it is to make. Love gooey chocolate cakes? Try these gooey strawberry brownies as well. Also love layer cakes? Try this easy chocolate orange cake with 3-ingredient ganache.Nutrition
IF YOU MAKE THIS RECIPE, LET ME KNOW HOW YOU GET ON BY LEAVING A COMMENT AND RATING BELOW… AND DON’T FORGET TO SIGN UP TO RECEIVE ALL MY NEW RECIPES BY EMAIL!


I made this recipe gluten and sugar free. I used a silver, non stick spring form, and did a convection bake at 350 which took 40 minutes. I used a 1:1 gluten free flour and whole earth stevia/monk fruit sweetener and dusted with pyure brand confectioners sugar substitute. This was delicious and i will definitely make it again. Thanks!
Hello Jason. Thank you so much – this is really helpful for those wanting to make a gluten and sugar free version. It’s interesting that it still worked! 🙂
HI! So i just made this, and the tookpick came out clean, on the side and the middle…….
I baked it for exactly 20 minutes, and the texture of the top was fine, but the middle didn’t feel any different from the rest of it. I made this to serve in two days, so i haven’t tried it yet….
Should that affect anythting? Thanks
Hello Rose! I recently made this twice in a new oven. The first time it came out as you describe and I was a bit worried. I made it for the next day so also similar to you. I re-heated individual slices in the microwave for 20 to 25 seconds and it was still very delicious with ice cream – soft and moist and melt-in-your-mouth but not as gooey as usual. The second time I kept a very close eye on it and took it out of the oven ‘just’ as the whole of the top was set. this time the inside was gooey-er. Both ways were good! Let me know how you get on. Once you’ve got it in your oven, you’ve got it…
Thank you Helen! The cake was a bit dry, but otherwise delicious. I cut down on the sugar a bit, so it wasn’t too sweet, and added powdered sugar on top which balanced everything out. Will try this again and maybe lessen the baking time.
I’m pretty sure you’ll nail it next time! 🙂
Hi! Can I leave this out over two days and just cover it with plastic wrap, or should I keep it in the fridge? Thanks!
Hello Jennie! It will be absolutely fine covered and left out of the fridge for 4-5 days, I’d say. However, if you do want to put it in the fridge, that will be fine too. It will taste more like fudge cold, but what I do is re-heat individual pieces for around 20 seconds in the microwave to make it gooey again. Enjoy!
Thank you so much Helen! Question, would it be harmful to warm up the whole thing in the microwave at once, or would that ruin it?
Hi Jennie! I think you could do that – perhaps for 30 to 40 seconds – but you might find that it reheats more unevenly than individual slices warmed up separately. I understand though that you might like to serve it whole at the table. If you stick to a short amount of time, I don’t think you’ll ruin it. Enjoy!
I just made this and it looks and feels just like the recipe says it should. Question: Can I keep it for two days and dust it with the cocoa powder/powdered sugar the day I am serving it? Or will it be fine if I dust it now and warm it up and serve it in two days? I haven’t read the other comments so I don’t know if this question has already been addressed. (Sorry I know I am kind of rambling here) thx.
Hi Rozi! I’m glad you like the look of it so far! Either of those options will work, although I usually dust it with cocoa powder just before serving so that it doesn’t sink in. Just cover it well and keep it on the countertop. If the weather is hot you can keep it in the fridge if you like, then just re-heat individual pieces in the microwave for 20-25 seconds until gooey again. Enjoy!
Actually, my name is not Rozi. That was my cat sorry. My name is actually Lisa.
Oh sorry, Lisa – hahaha! Rozi just happens to be a nice name both for a cat and a person!
Love this with butter! But I’m now baking for a dairy free friend, so I’m curious. Have you ever tried it with coconut oil instead of butter?
Hello Mary! So glad you like the butter flavor – I do too and think butter is right for this recipe, but I do think it would work with other fats. Of course the flavor would be different and I haven’t tried it, but I do think you could risk giving it a go. Coconut oil would be great, but I’d suggest heating it in a saucepan first, the same as you do with the butter, then working quickly so that it doesn’t start to solidify. Let me know how you get on if you do try it! 🙂
I melted, mixed, and baked in a normal size pie plate since I have no intention of taking a picture of the end result. And I plan to fork out of the same pie plate. The recipe filled it fully so it should be gooey if only due to the thickness. I expect it will take longer because of this as well. Since the batter was too thick to stir, I added a half cup of amaretto. Still too thick so it should be fine. The batter is delicious.
Hello Christina, great idea to save on dishes! I really hope it turned out well and you enjoyed it!
Absolute breeze to make, it too just under 30 mins to bake and set perfectly with a springy, delicate crumb exterior and a decadently gooey and morish centre! Thanks for a perfect recipe that is sinfully easy.
Hello! So happy you were pleased with the end result! You’re right… way too easy for our own good! 😉
Very easy to follow and delicious! My people didn’t like the cocoa powder on top but I tried again with powdered sugar and it was a major hit
Hello Mary, so happy you all liked it! This is still one of my quick and easy go-tos, after many many years of making it! 🙂
Delicious! Has a brownie-like texture, and good flavor! I made it in a tart pan and served it with whipped cream and strawberries. The whole family enjoyed it! My aunt suggested using it for the base of a cookie pizza…next time!
Thank you so much for the feedback, Laura! I find serving with fruit lightens this up a little and also makes it very guest worthy! I love your idea of making a cookie pizza – yum!
Is it normal for this cake to go hard like a rock the next day?
Hi Laura! No, it shouldn’t go hard like a rock. If you keep it in the fridge it will set almost like a chocolate truffle, but it shouldn’t be crispy hard/stale. Try popping into the microwave for a few seconds (maybe 10 to 15) and see if it softens again.
Have you tried this in an airfryer by any chance? X
Hello Jess! I actually haven’t yet, but I know that the general rule of thumb is to reduce the temperature by 25F and also to reduce the time by about 20%. I really don’t see why it wouldn’t work if it fits in your air fryer, but it would probably require a bit of experimentation to get it absolutely right. I’d love to hear how you got on if you try it!