Chocolate Fruit And Nut Clusters (Chocolate Rocks!)
on Sep 11, 2019, Updated Mar 11, 2022
This post may contain affiliate links. Please read my disclosure for more info.
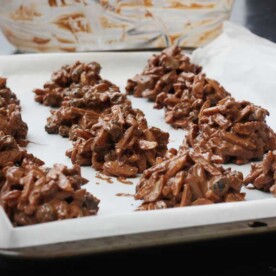
These chocolate fruit and nut clusters are the easiest edible gift you can imagine. They take just 5 minutes to make with just chocolate and your favourite nuts and dried fruit. But they have a touch of class, don’t you think?
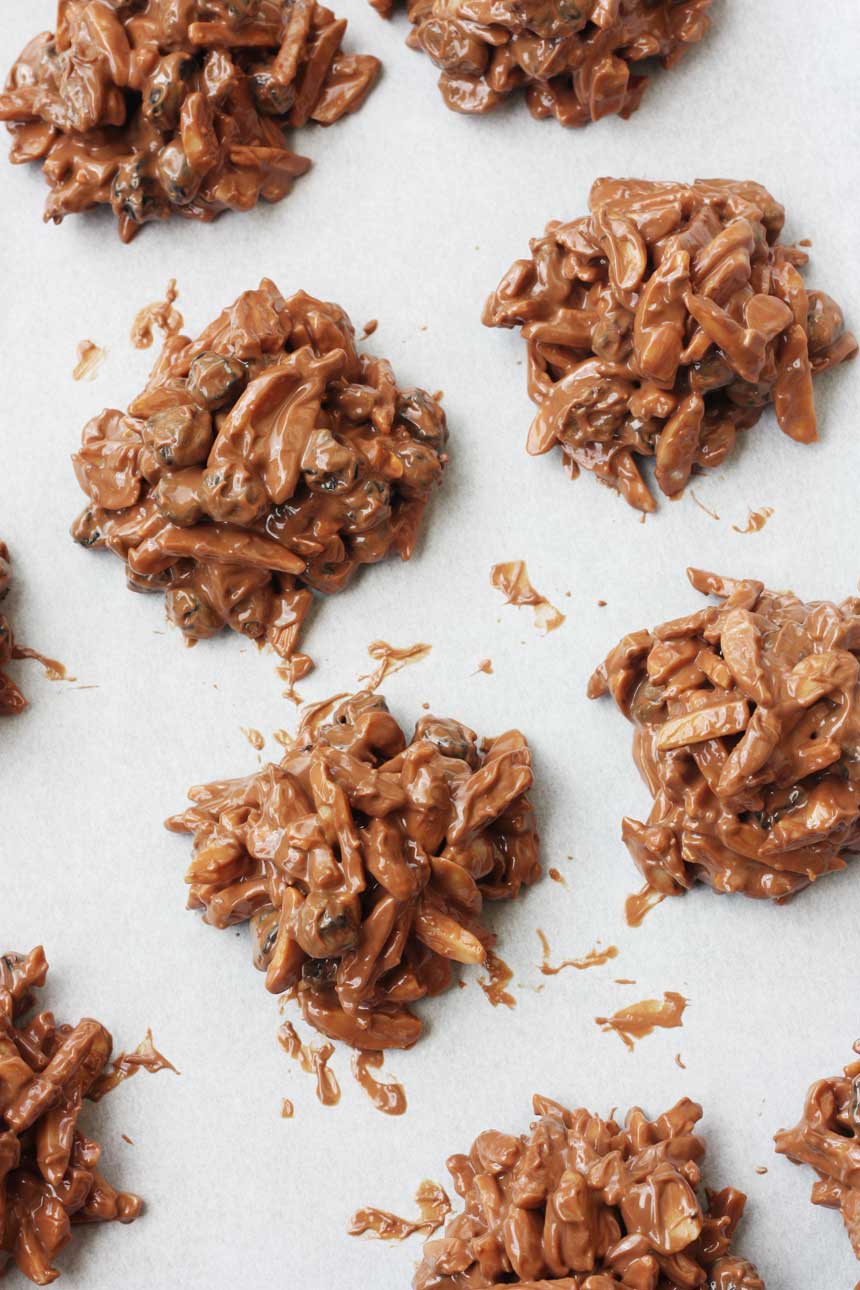
A quick and easy gift for anyone
I’m a huge fan of quick and easy homemade food gifts. Chocolate bark takes just minutes to make, as do chocolate pretzels, and… these yummy chocolate rocks!
Other reasons I think you’re going to love them:
- You can adapt them so easily to different tastes. Don’t like or can’t eat almonds? Replace with peanuts. Or skip the nuts altogether and add crushed biscuits or something else instead (see more ideas below!).
- They’re great gifts but they also make excellent party food, or ’emergency’ treats to have in the fridge ‘just in case’.
- They’re great snacks to make with children. They’ll love stirring the fruit and nuts into the chocoate… and of course licking the bowl!
- Perhaps surprisingly, if you use dark chocolate with 70% or more cocoa solids, they’re a healthy snack. Nuts, seeds, berries and dark chocolate are all foods that reduce inflammation and help boost brain health!
Fan of healthy snacking in general? You have to check out this list of 50+ healthy sweet snacks that don’t taste boring!
Ingredients
This is going to be a very short section because you only really need 2 or 3 main ingredients to make these:
- chocolate (any kind you like – milk, dark, white, or a combination)
- nuts (again, any kind you like! In the photos you see here I’ve used sliced almonds, but any kind of nut works.)
- dried fruit (Here I’ve used dried blueberries, but any kind of dried fruit works. Just use easy-to-find raisins, or chop up dried apricots, dried apples or another kind of dried fruit.)
How to make chocolate nut clusters
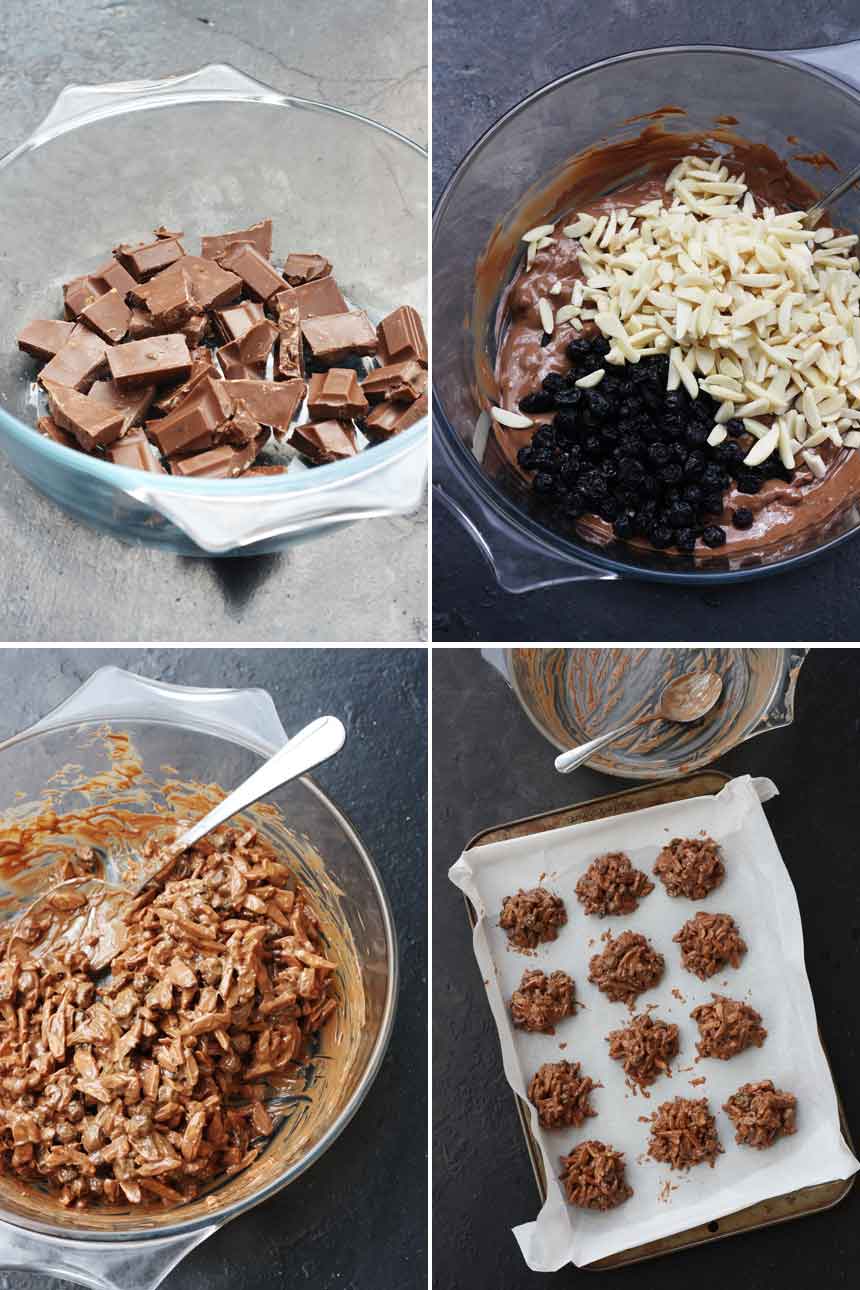
This ‘recipe’ (really just an idea?) is so easy it’s almost – but not quite – embarrassing.
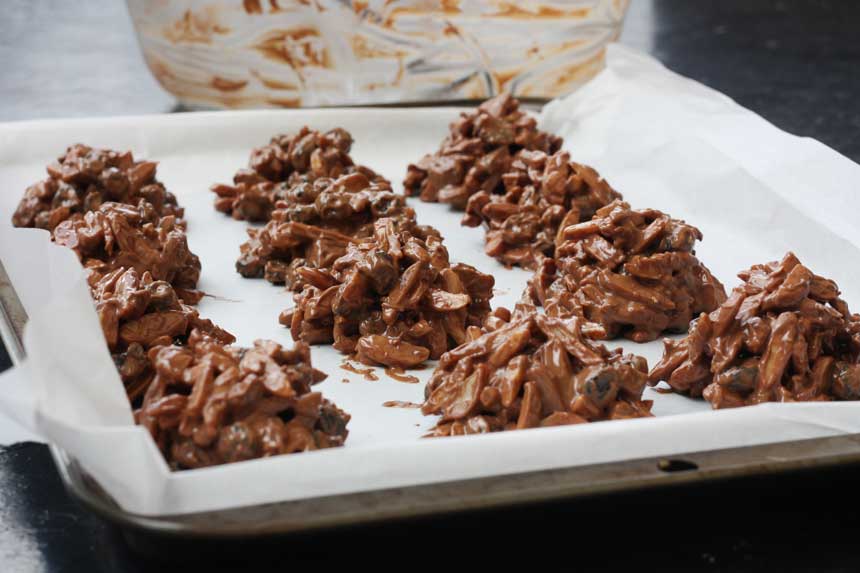
Literally all you do is melt chocolate and stir in your goodies. Take spoonfuls of the mixture and place it in little piles on a baking tray.
Let set in the fridge for a while. Done and ready to package up for gifts. Or to just snack on at home! (why not?)
How to melt the chocolate
There are 2 ways you can melt your chocolate:
- This is my favourite way. Simply break the chocolate up into a glass bowl or jug. Then microwave on full power for 1.5 to 2.5 minutes. The trick is to microwave in 30-second bursts. Check the chocolate after each 30 seconds.
I find some types of chocolate melt faster than other types. White chocolate for instance usually melts faster than dark chocolate with a high cocoa content.
What I recommend is to melt the chocolate until MOST of it has melted. Then stir it together well until it’s smooth and completely melted. This is a very effective and quick and easy way to ‘temper’ the chocolate so that it doesn’t get weird white streaks in it when it sets. - If you prefer you can melt the chocolate on the stove. Simply break the chocolate into a glass bowl, then set the bowl over a saucepan of simmering water.
Don’t let the bowl touch the water. If it does it can kind of ‘cook’ the chocolate and change it to a sticky, stodgy texture that you don’t want!
Some ideas for different kinds of chocolate clusters
For the clusters you see in the photos here I used chopped almonds and dried blueberries. Here are some alternative ideas:
- white chocolate with pistachios and chopped apricots
- dark chocolate with chopped crystallised ginger and hazelnuts or another kind of nut
- milk chocolate with dried cranberries and peanuts
- skip the nuts altogether and add crumbled biscuits/cookies, mini marshmallows and raspberry jelly sweets/candies (rocky road!)
- swirl a bit of nut butter through the chocolate
You’re only really limited by your imagination. Other mix-ins I can think of:
flaked coconut, mini m&ms or chopped chocolate/candy bars (naughty but nice), seeds like sunflower or pumpkin seeds, banana chips, chopped caramel sweets/candies…
How to give these as a gift
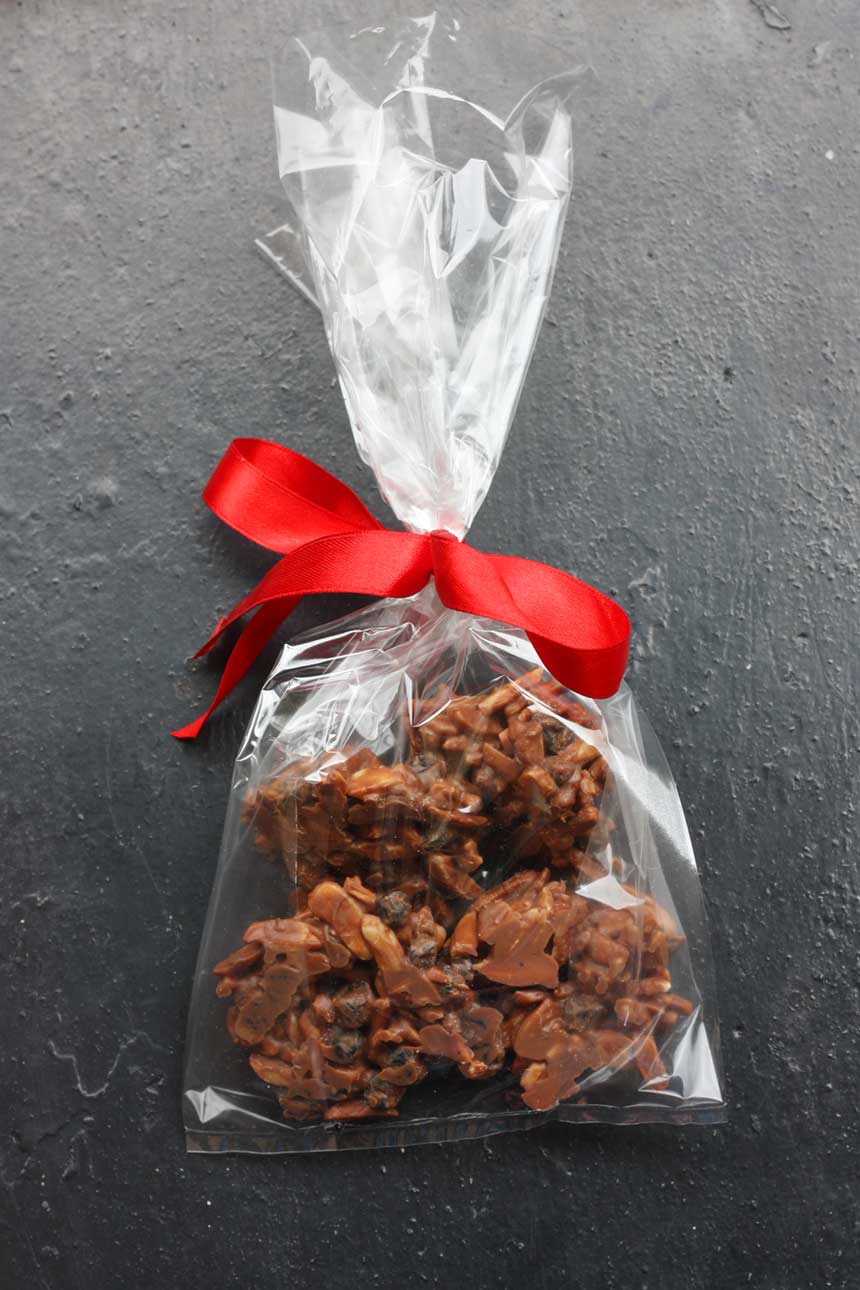
I sometimes like to put the chocolates into a little food gift bag and tie up with a pretty ribbon.
Like this:
More easy chocolate food gift ideas
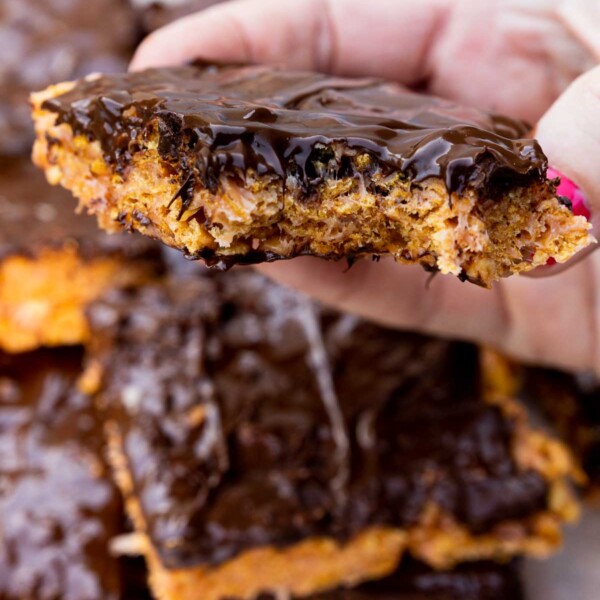
- These addictive peanut butter cheerio bars make a great gift. Make them with your kids, then package them up in a nice box.
- I love these super easy chocolate lollipops. Another easy one to make with the kids!
- This list of 11 easy homemade chocolate ideas has some great ideas, too, especially for Christmas!
- If you’ve never made chocolate bark, you have to try it. It’s ridiculously easy! Christmas? You have to make this 10-minute Christmas rocky road – everyone loves it!
- I call these chocolate pretzels the easiest chocolate biscuits ever! You have to try them!
Or see all my food gift recipes.
IF YOU MAKE THIS RECIPE, LET ME KNOW HOW YOU GET ON BY LEAVING A COMMENT AND RATING BELOW… AND DON’T FORGET TO SIGN UP TO RECEIVE ALL MY NEW RECIPES BY EMAIL!
FOLLOW ME ON FACEBOOK, INSTAGRAM, PINTEREST AND YOUTUBE.
Chocolate fruit & nut clusters (chocolate rocks)
Ingredients
- 7 ounces chocolate, I used milk, but use dark or white if you prefer
- 2½ ounces dried fruit, I used blueberries
- 5½ ounces nuts, I used chopped almonds
Instructions
- Line a baking sheet with baking paper.
- Melt the chocolate in a microwave in 30-second bursts or in a bowl over a pan of boiling water.
- Stir in the fruit and nuts until all of the nuts and fruit are well coated in the chocolate.
- Scoop up spoonfuls of the mixture and place them in little piles on the baking sheet. Leave them to set in a cool place.




Hey these are really sweet! I know I would love to receive them as a little gift, what a neat idea!
Thanks so much, Jessica! I was really pleased with these!
I plan to make these as gifts and wondered how long can they be kept at room temperature?
Hello Pamela! As long as it isn’t too hot, they should be fine for 2-3 weeks at room temperature, and even longer in the fridge in an airtight container. Enjoy! 🙂