Chocolate Covered Rice Krispie Bars (4 Ingredients)
on Apr 17, 2025
This post may contain affiliate links. Please read my disclosure for more info.
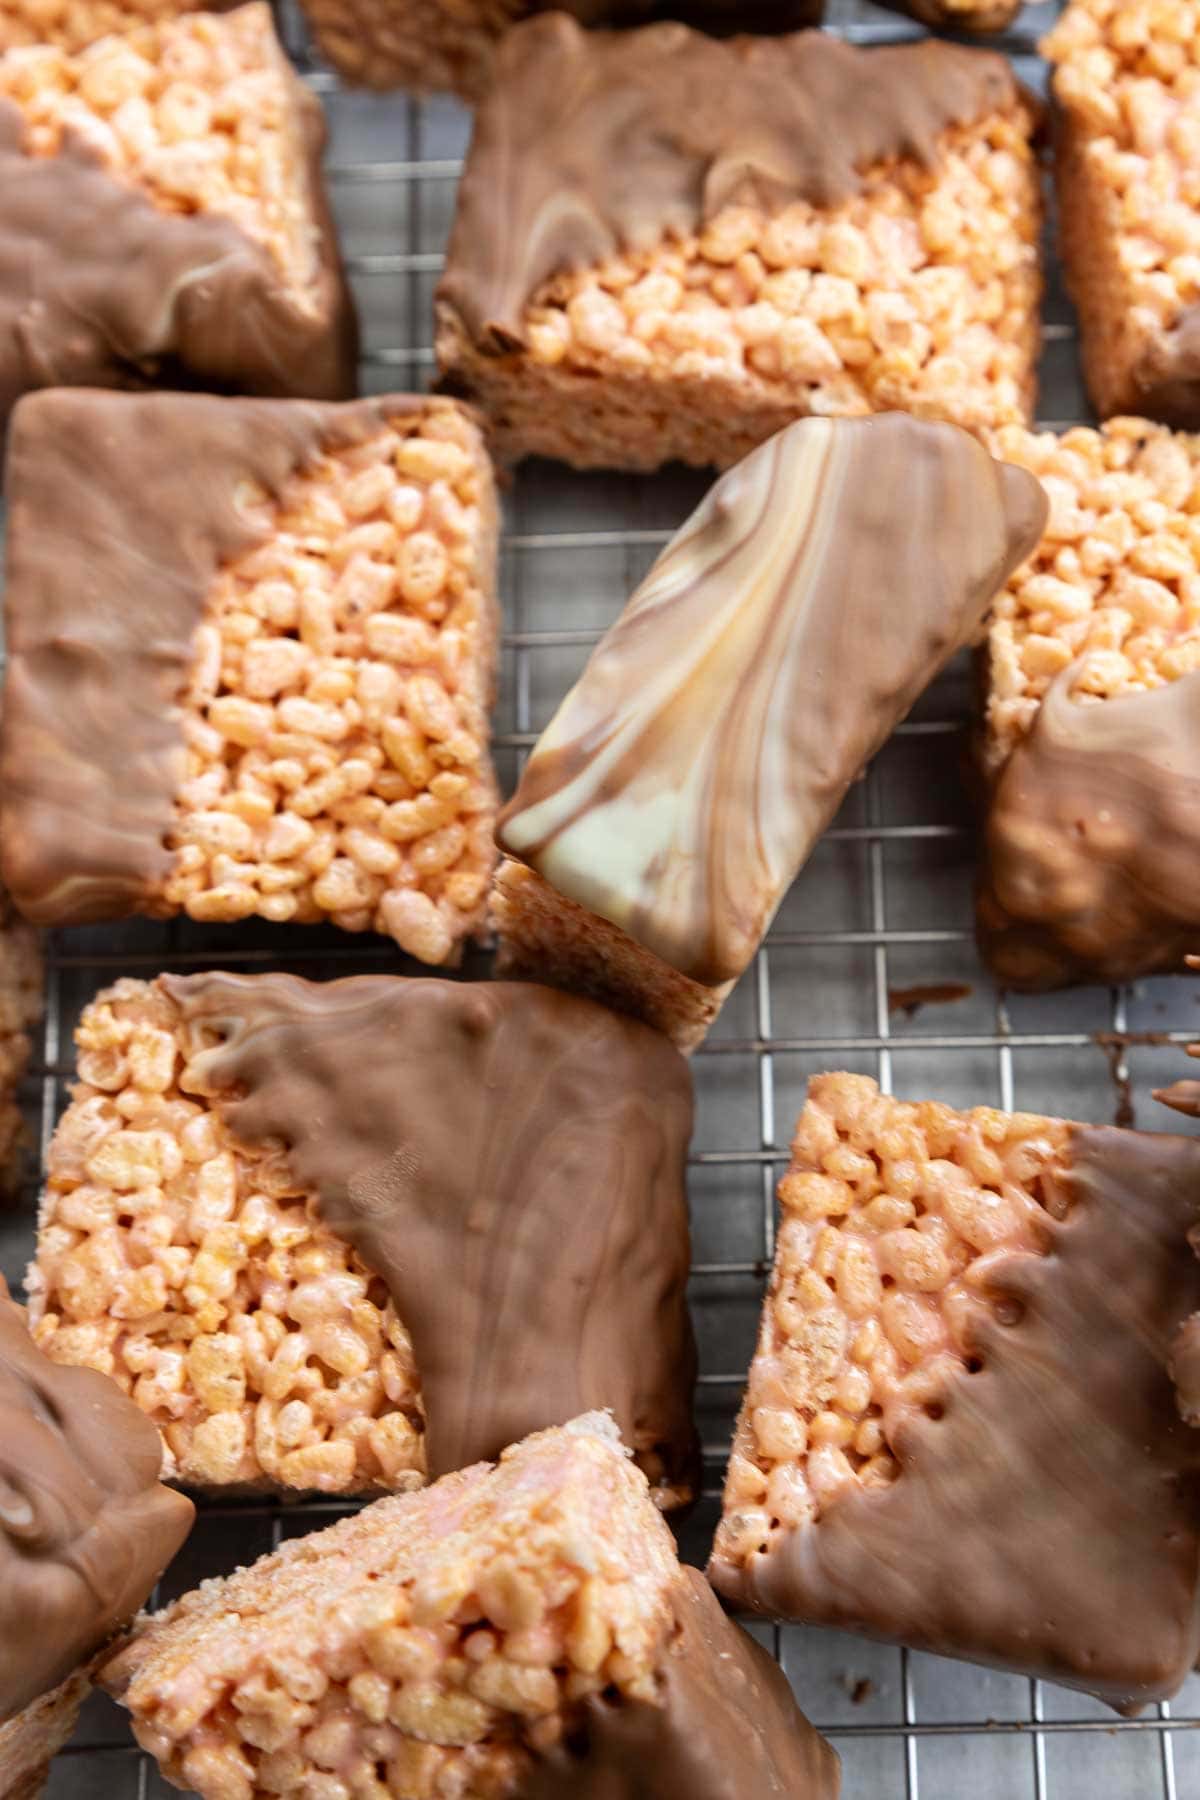
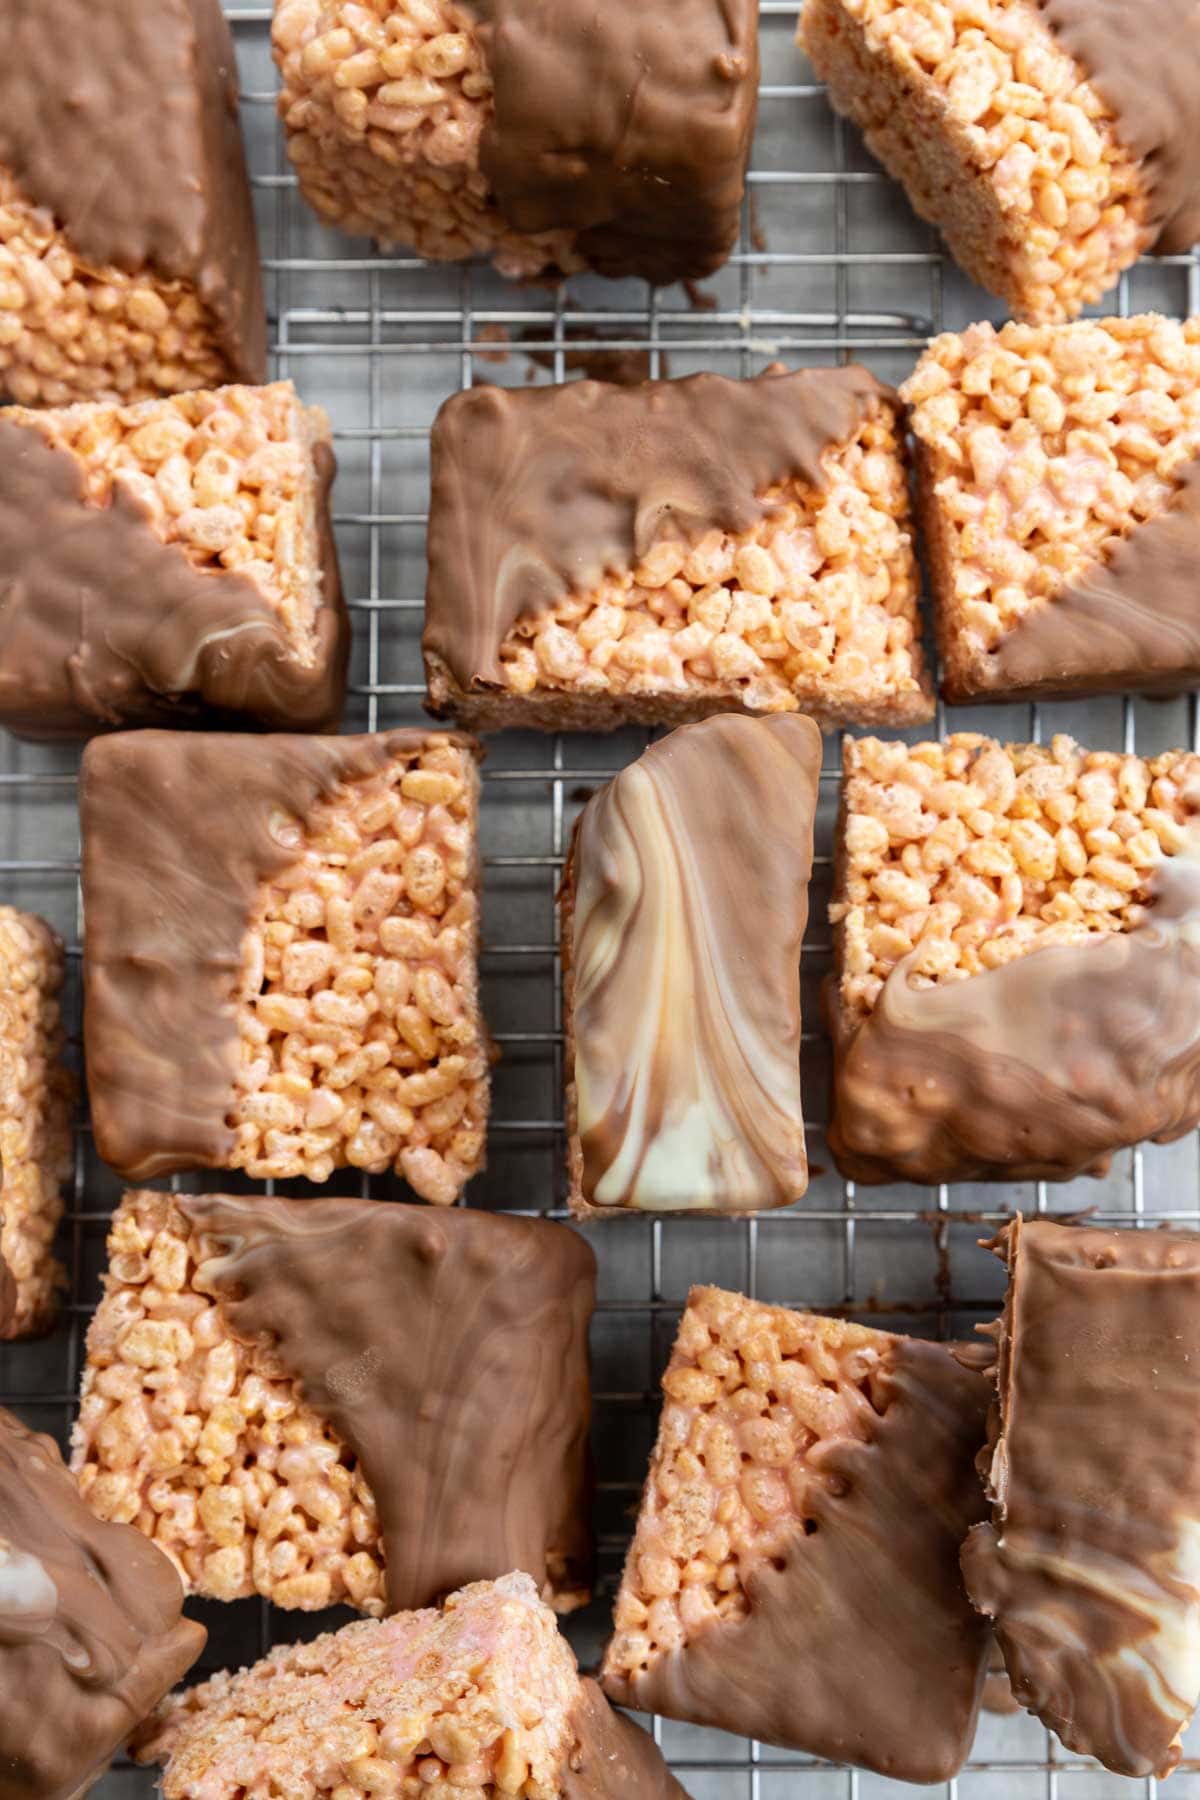
These chocolate covered Rice Krispie bars take just minutes to make with only 4 ingredients—and no, they’re not just for kids! Dip into melted milk and white chocolate for a classy swirled effect that even the grownups will love.
Why you’ll love them
We all ate versions of these chocolate covered rice krispie treats when we were kids, and there’s a reason they’re still popular! No baking required, and it’ll take you just a few minutes to melt together the marshmallows and butter, stir in the rice krispies and pat the mixture down into a pan.
The best news is that I’m giving you permission to make them for the grownups, too, not just the kids. With the swirled milk and white chocolate that you dip them in, there’s a sophistication about my take on this classic and perfectly gooey, crispy, chocolaty and altogether satisfying treat.
If you’ve already tried my peanut butter cheerio bars and peanut butter cornflake bars and liked them, I think you’ll enjoy these too (and it can be handy that they’re nut-free!).
Here’s a summary of what I think you’ll love:
- It’s a 10-minute recipe (roughly!), plus some chilling time. Perfect when you need a treat for a bake sale, picnic, BBQ or other occasion, but you’re short on time.
- Just 4 very simple ingredients – marshmallows, butter, rice krispies and chocolate. Maybe you already have these things!
- A no-bake recipe. Always a bonus!
- Easy to make ahead. These keep well in the fridge for a few days – if they last that long! Surprisingly, they freeze well, too.
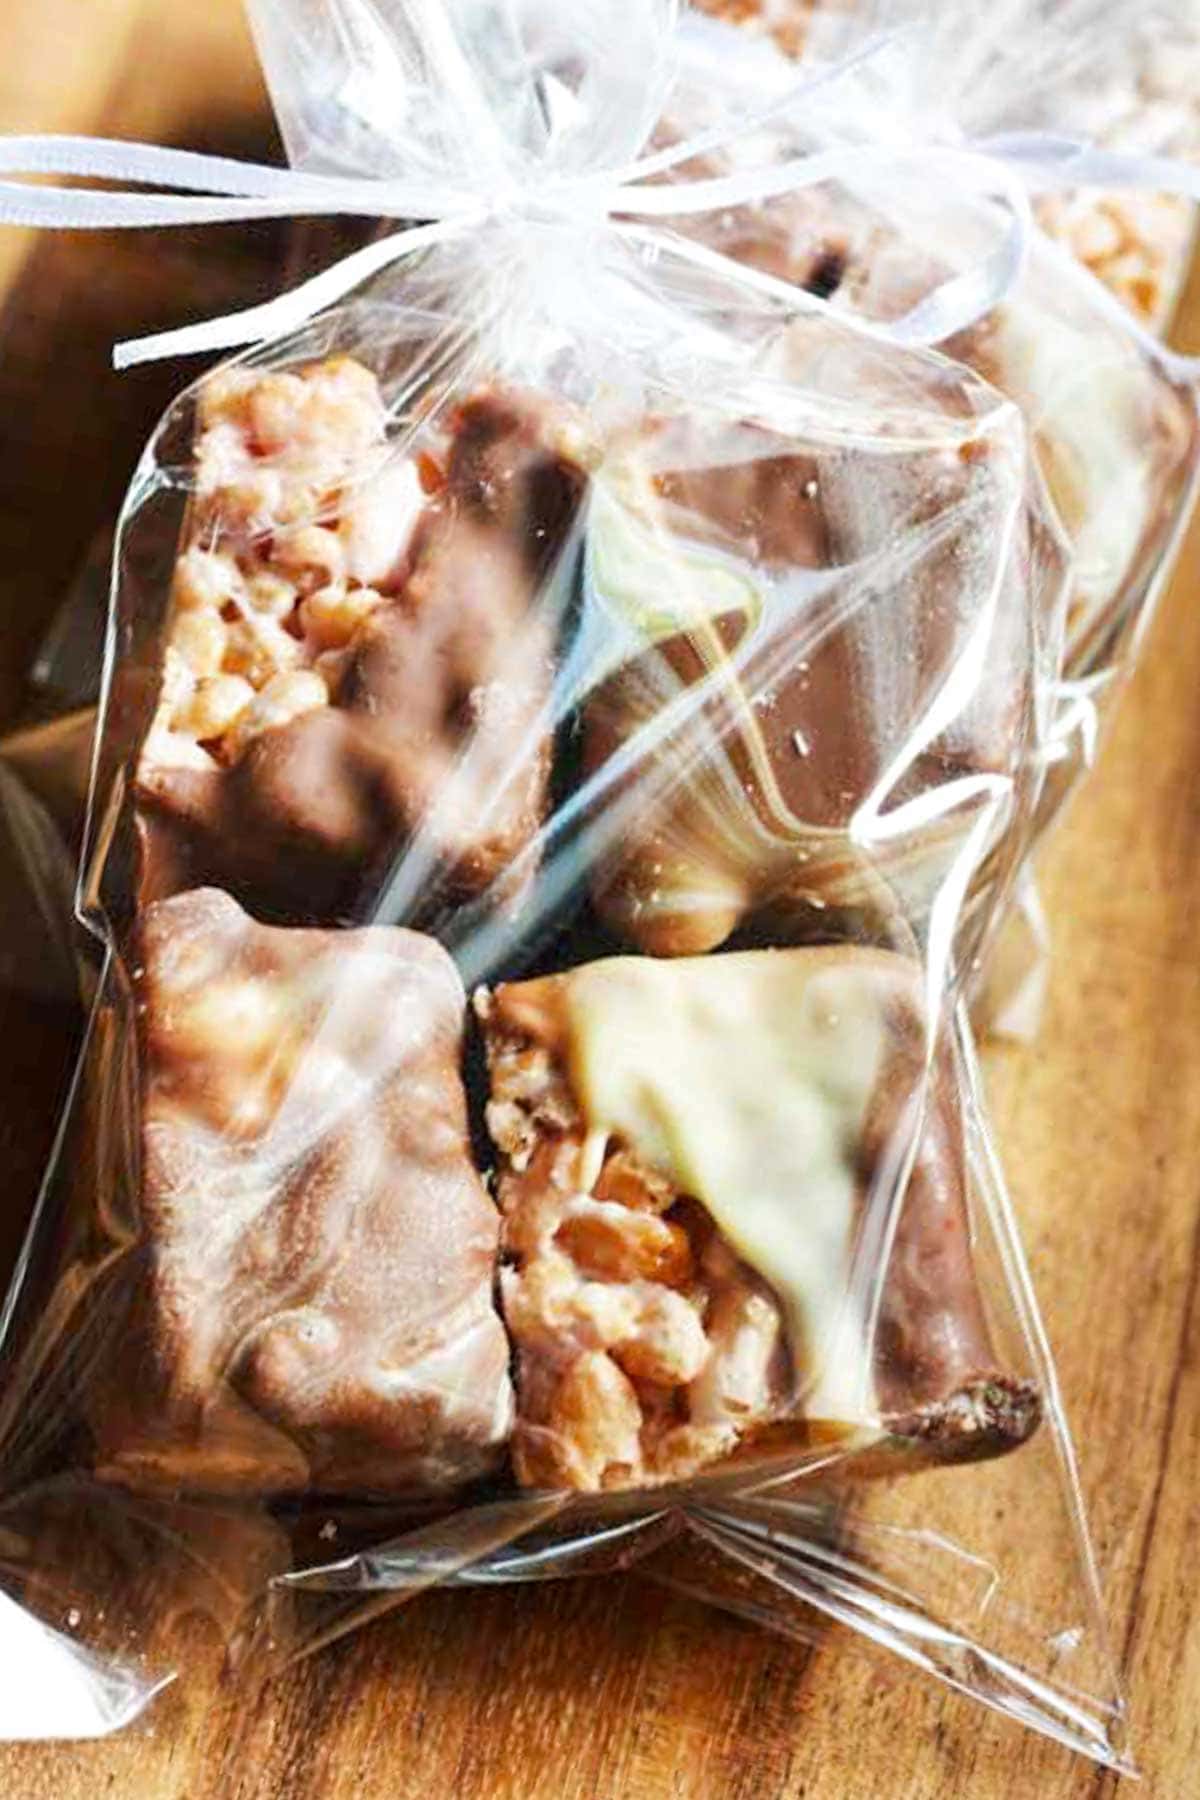
- A real crowd pleaser! The kids will love them, but so will the adults. You can even make smaller ‘cube-shaped’ bars and package them up to give as gifts.
About the ingredients
You’ll find a full list of ingredients with amounts in the recipe card below. But here’s a summary of what you need to know.
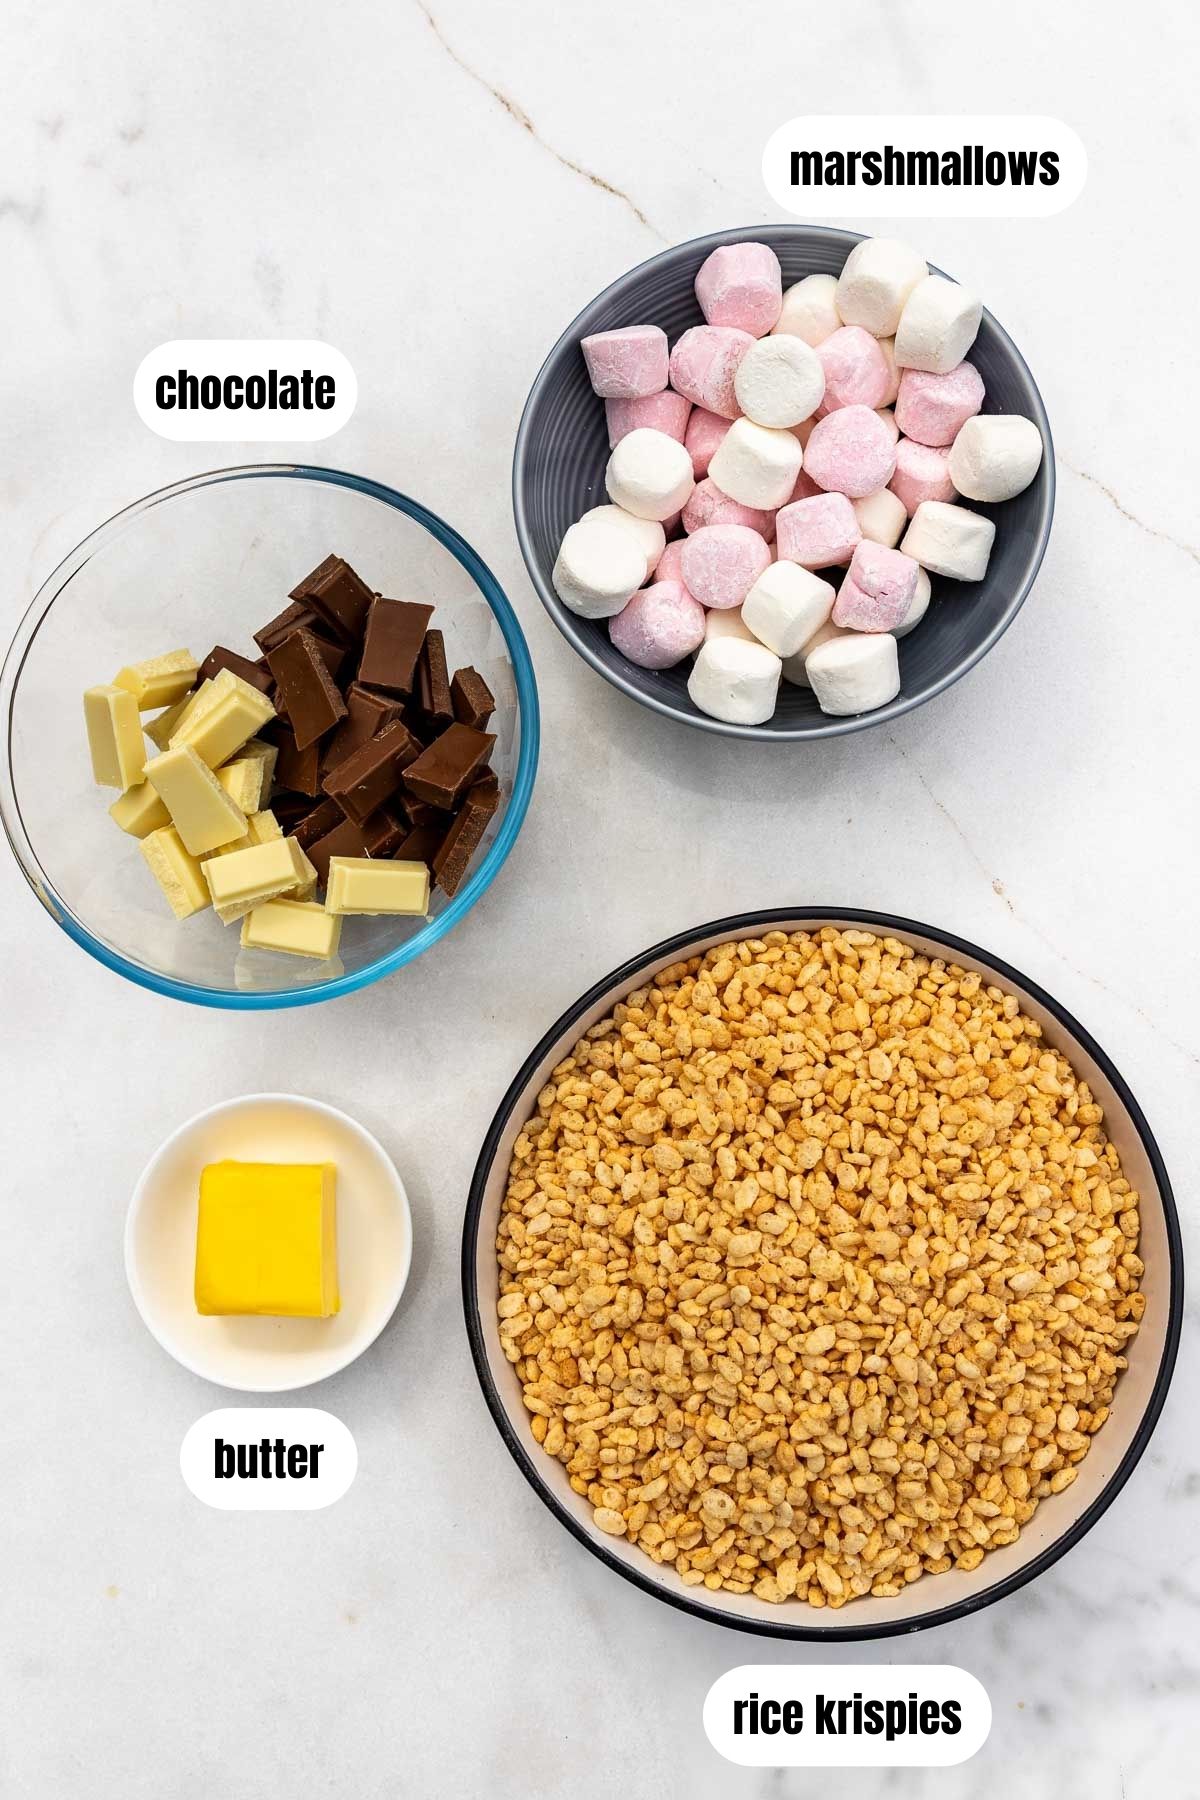
Marshmallows: You can use any marsmallows you like, since you’ll melt them along with the butter. Personally, I like the medium-sized mixed pink and white ones to give the treats a slight pink tinge!
If the marshmallows are very large, you might want to chop them up into smaller pieces to help them melt. Mini marshmallows are also a good choice. Just make sure that you use fresh marshmallows since old ones can go hard and unappetizing.
Butter: Salted butter adds a little salt to cut through the sweetness of the rice krispie treats, but unsalted is fine, too. If you like, you can add a pinch of salt to the marshmallow mixture, or even sprinkle a little sea salt over the chocolate layer after dipping.
For dairy free, vegan butter is fine.
Rice krispies: Any brand is fine – you don’t have to use the most expensive ones.
Chocolate: Use your favorite, but I like a mixture of good quality milk chocolate and white chocolate. Dark chocolate is fine, too. If you prefer, you can use chocolate chips instead – semisweet, dark or white chocolate are all great.
How to make chocolate covered rice krispie bars
These might be one of the easiest desserts you’ve ever made! They’re perfect for making together with your children, or last minute when you’ve been asked to bring something along to an event.
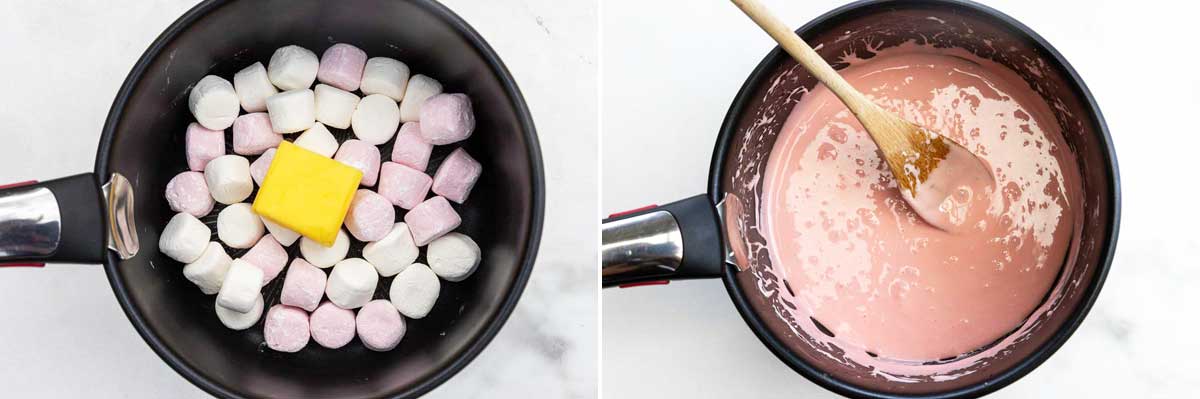
So firstly, grab a large saucepan and gently heat and stir the marshmallows and butter until they’ve melted together.
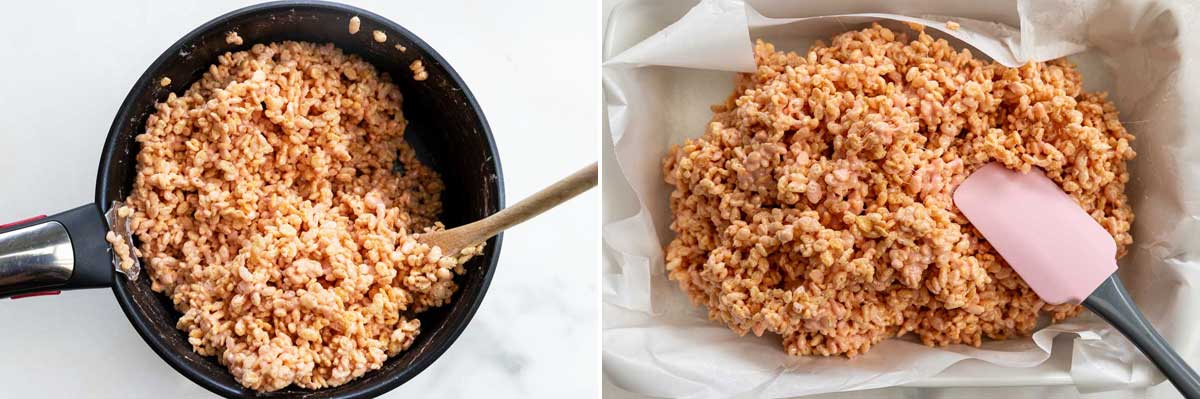
Use a wooden spoon or a silicon spatula to stir in the rice krispies. Make sure they’re all well covered with the sticky marshmallow mixture.
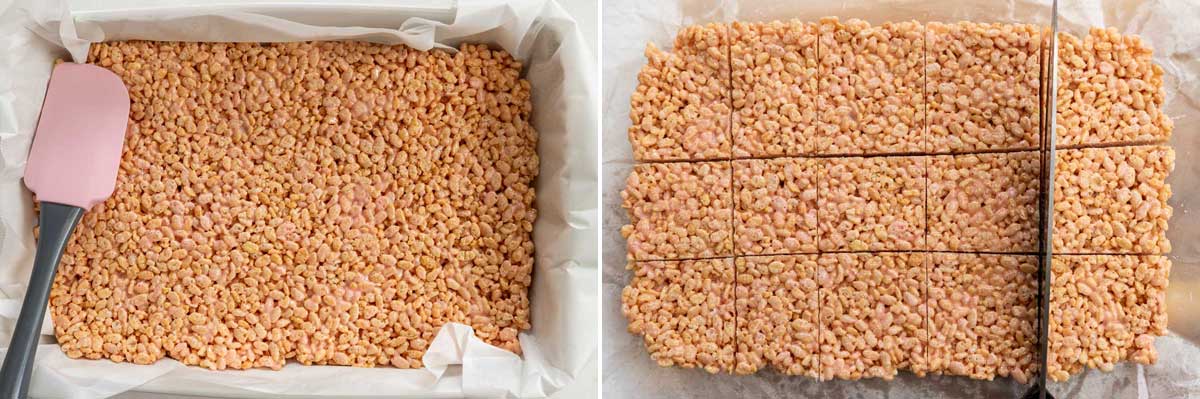
Then empty into a cake or baking pan lined with baking or parchment paper. Smooth down with a spatula (or you can just use your hands).
Cover the pan with plastic wrap and chill in the fridge for 30 minutes to an hour. Then take the paper and rice krispie mixture out of the pan and cut it into 15 bars (or more – it’s up to you).
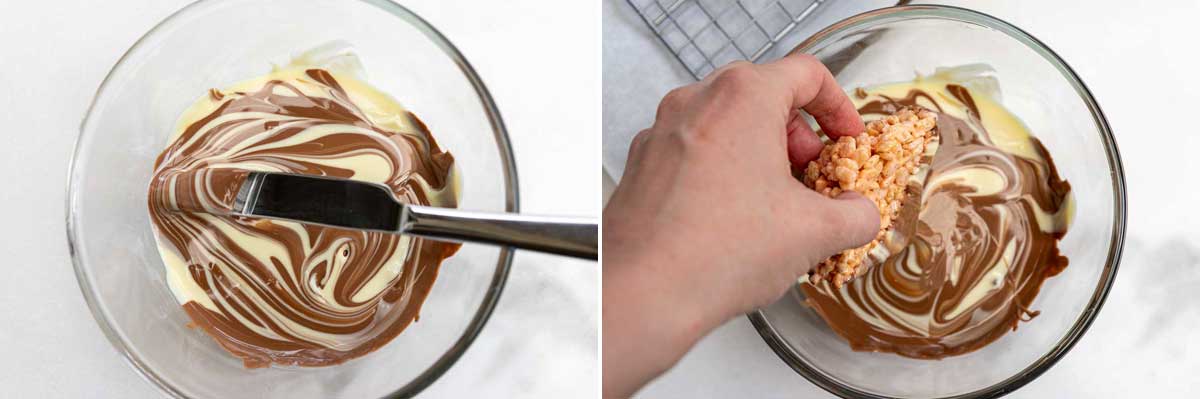
Melt the chocolate in a microwave safe jug or bowl. Then swirl it just a few times and very gently with a knife to make fun swirly patterns with the two different types of chocolate.
Dip the bars into the chocolate so that half of it gets covered. You can either dip the whole of the top in, or dip corner first – up to you!
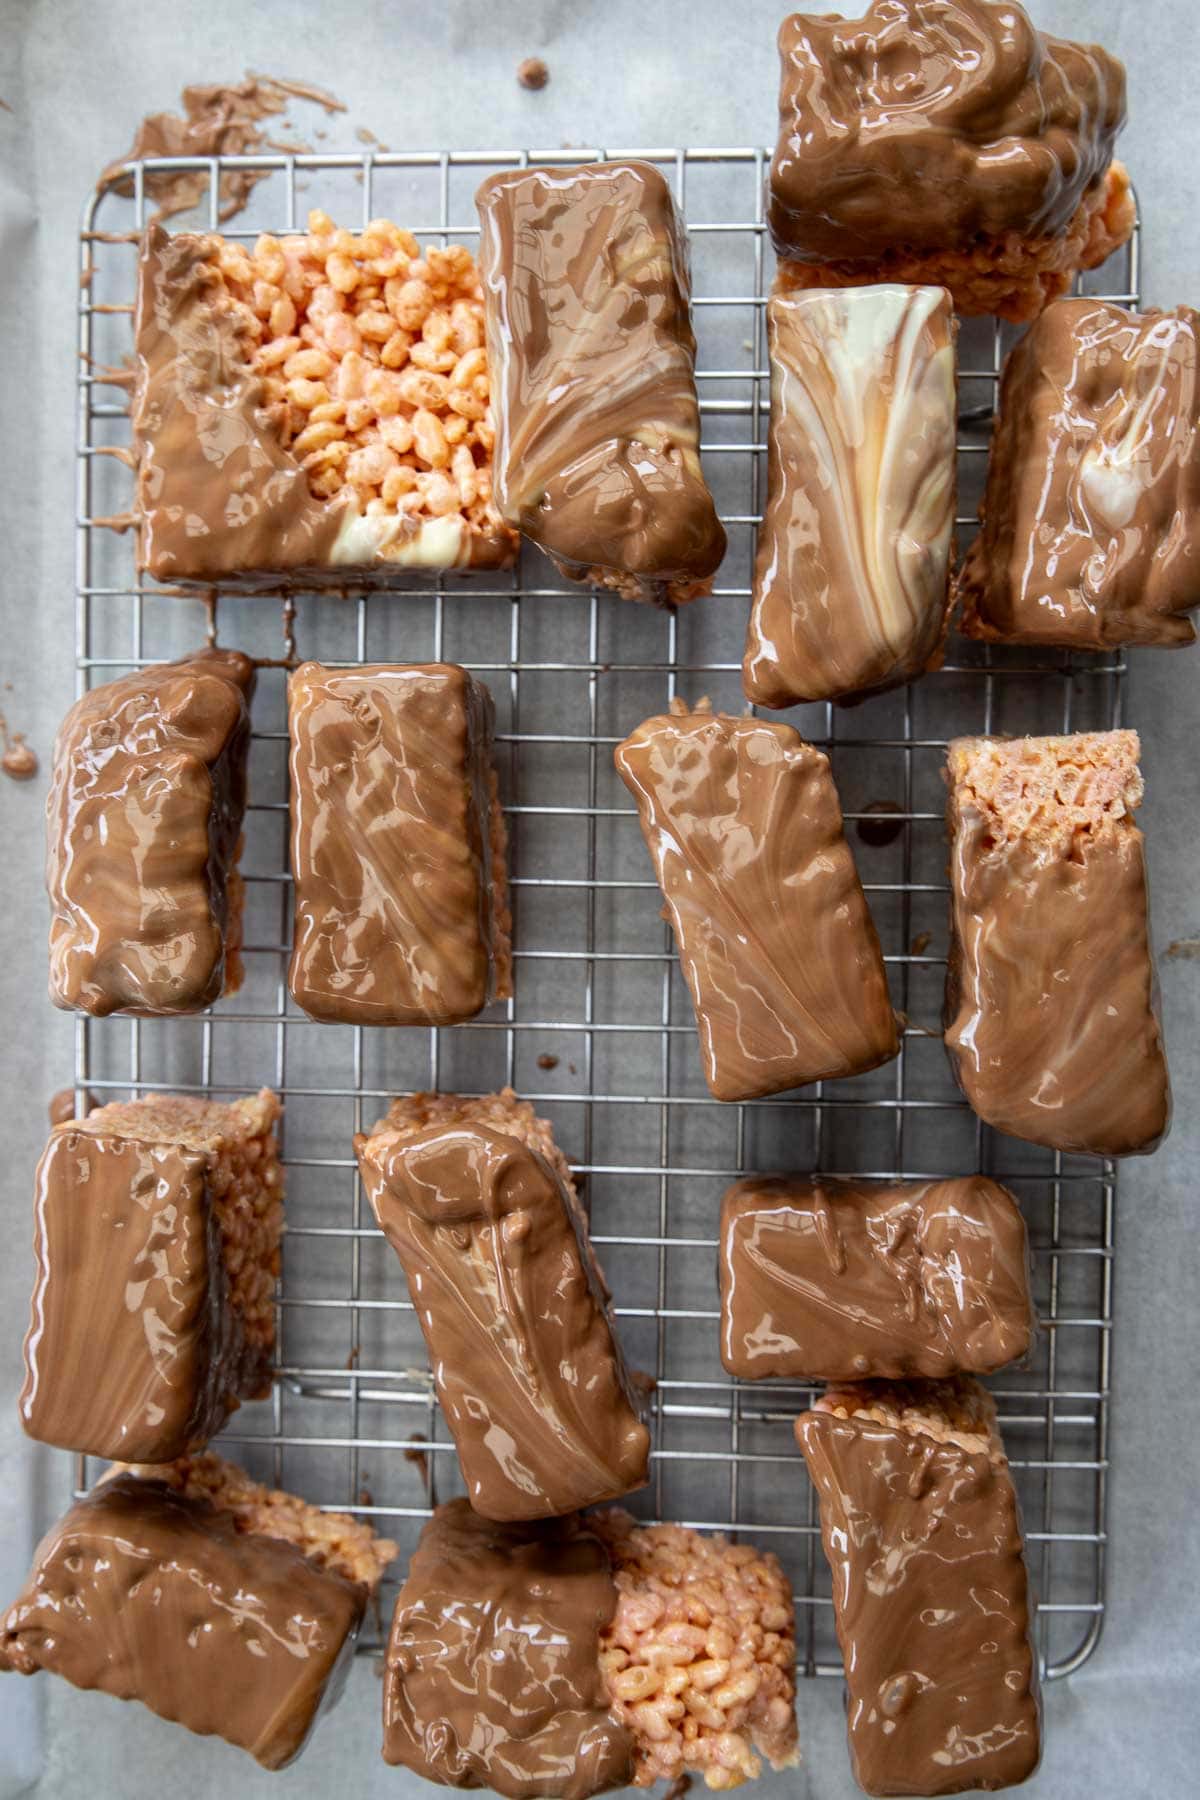
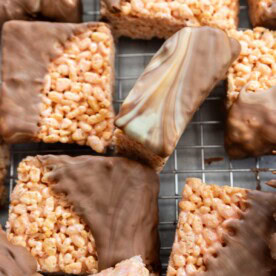
Then set them on a cooling rack or lined sheet pan to let the chocolate set. Set them down on the side that you haven’t dipped into chocolate, if possible. As shown below!
I usually pop them into the fridge to speed up the setting process.
Helen’s Top Tips
- Make sure you melt the marshmallows and butter on a low to medium heat. Otherwise the mixture can make your rice krispie bars too hard (or it can even burn).
- Use a medium sized narrow and tall glass jug or bowl to melt the chocolate in. You need the chocolate to be deep enough for dipping.
- Melt the chocolate pieces in the microwave in 30 second bursts. I find that if you stop just BEFORE the chocolate is fully melted, it won’t get white streaks on it after it’s set. Think of it as a kind of ‘cheat’s’ method of tempering the chocolate.
- Use a big sharp knife to cut the rice krispie mixture into bars. As long as you’ve left them to harden in the fridge for long enough, you should find that they’re easy to cut into neat bars.
- Consider giving them as a classy gift! Cut the mixture into small squares, then dip so that half is covered in chocolate. They look lovely packaged into a transparent bag.
Variations
Chocolate dipped rice krispie treats may be super simple to make, but there are a few ways to make them your own. I bet you can think of some of your own ideas, too!
- Experiment with the chocolate. Cover the whole square in chocolate, or just the top, or keep the different types of chocolate separate and dip some squares in each.
- Add sprinkles to the chocolate while it’s still wet. How about rainbow sprinkles for a kids’ party, pink or blue for a baby shower, or silver and gold for an anniversary? Or swap the sprinkles for crushed nuts such as peanuts or pistachios.
- Sprinkle a little sea salt over the chocolate while it’s still wet, to cut through the sweetness of the chocolate treats.
- Stir 2 to 3 tablespoons of peanut or almond butter into the melted marshmallow mixture. It won’t really make them taste too peanut-y, but it does make them extra delicious. Biscoff spread or Nutella would add a tasty twist, too!
- Add favorite chopped candy bars such as Twix, Snickers or M&Ms into the marshmallow mixture before pressing it into the pan.
- Make them seasonal. I’m thinking sprinkling with crushed candy canes or green and red sprinkles for Christmas, orange and black sprinkles or candy eyes for Halloween, or mini chocolate eggs for Easter. You could also add a few drops of food coloring to the marshmallows and butter mixture for different occasions, such as orange for Halloween, or pastel colors for Easter.
- Experiment with different kinds of cereal instead of Rice Krispies. Try cornflakes, cheerios, or whatever you like!
Recipe FAQs
They keep for a surprisingly long time if you keep them in an airtight container either at room temperature or in the fridge (your choice). They’ll stay crispy and delicious for at least 3 to 4 days.
If you want to keep your treats for longer, you can indeed freeze them. Layer them in a freezer safe container between layers of baking or parchment paper for up to a month. Freezer bags with the air squeezed out will work too.
There are two possibilities – either you heated the marshmallow and butter mixture too much, or the rice krispie bars have gone stale. It’s best to eat them within a few days for crisp but still soft and gooey treats.
Leftover marshmallows?
Check out this list of marshmallow recipes for loads of ways to use them up!
More easy chocolate treats
- The easiest on this list has to be this magic bar recipe (7 layer bars).
- This caramel slice is no-bake and uses only 5 simple ingredients.
- You honestly won’t be able to stop eating these cheerio bars.
- Hedgehog slice! As tasty and easy as they are cute-sounding!
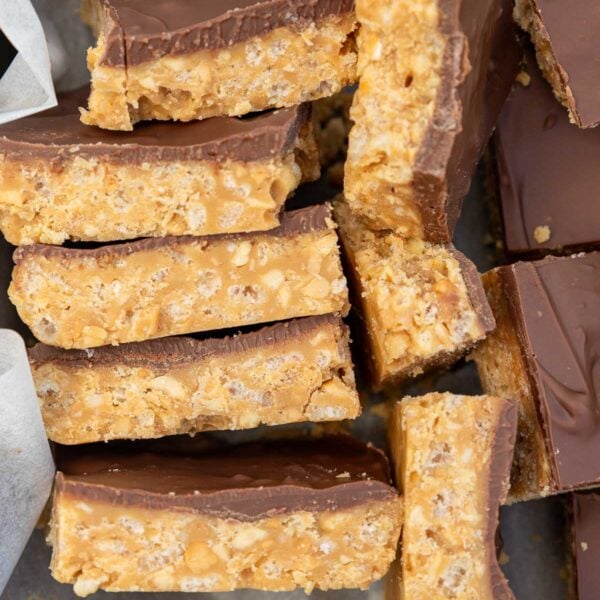
- These 5-ingredient peanut butter cornflake bars are always a crowd-pleaser. Just love peanut butter? Go with these simple candy-bar-like peanut butter crunch bars!
Chocolate Covered Rice Krispie Bars (4 Ingredients)
Ingredients
- 8 ounces marshmallows, you can use pink and white, mini or larger (chopped)
- 3 tablespoons butter, (1 tbsp butter is about half an ounce)
- 7 ounces rice krispies, (1 ounce is about 1 cup)
- 14 ounces chocolate, broken up into pieces (I like a mixture of milk and white chocolate)
Instructions
- Line a roughly 10 or 11 x 7 inch brownie or baking pan with baking or parchment paper.
- Melt the marshmallows and butter together in a large saucepan on a low to medium heat. Stir continuously. As soon as the mixture is fully melted, take it off the heat.8 ounces marshmallows, 3 tablespoons butter
- Quickly add the rice krispies and stir until they are all covered with the sticky mixture.7 ounces rice krispies
- Empty the mixture into the baking or brownie pan. Using either a silicon spatula or your fingers, smooth it down and press it into the corners.
- Cover the pan with plastic wrap and put it in the fridge to harden for 30 minutes to an hour. Then melt the white and milk chocolate in a small but deep jug or bowl in the microwave in 30 second bursts or until almost completely melted. Swirl the chocolates together a few times with a knife.14 ounces chocolate
- Lift the mixture and baking paper out of the pan and place it on a cutting board. With a large sharp knife, cut it into 15 or more bars.
- Line a baking sheet with baking paper. If you have a cooling rack, put that on top if you like. Then dip each rice krispie bar into the melted chocolate. I like to half dip it so that just a triangular shaped half is covered in chocolate. Stand them on the cooling rack/baking paper with the side without chocolate facing down. Leave them until the chocolate has set. If you like, you can speed up the process by putting them into the fridge.
- Keep the chocolate covered rice krispie bars in an airtight container either at room temperature or in the fridge for up to 3 to 4 days.
Notes
Nutrition


kids absolutely love these they don’t last long in this house
I’m so happy to hear this, Richard, and am very grateful for your kind feedback. Thank you!
These might be “simple” but they are gorgeous – adorable!
I love these – what a wonderful gift idea! I also love the story of your and Mr. Scrummy’s first date and first kiss at the same spot your first date was…awww… 🙂
Thanks so much, Shashi! And so happy that you like the story. Beautiful memories, for sure!
Aww.. I have always wanted to go to Athens!! How very romantic ;).
Also, I kind of was expecting that recipe. Oh well, good thing chocolate is also my other weakness apart from cheese. This looks great!
Ha! Sorry about that, Kathleen! Well, I am actually thinking of posting the cheese recipe too sometime soon, so please do check back later! Glad you like the chocolate as well, though! 🙂
omg Helen, this crispy squares looks divine! I love giving sweet stuff as a gift, I think everybody loves to receive it 😀
I agree! I would love to receive any kind of food gift (hint hint to any friends reading this!) So glad you like these crispy squares, Karla!
Sounds like a wonderful memory and this recipe… well, it couldn’t sound any more delicious!
Thanks, Aimee!
Love the swirly effect with the chocolate and dipping them in for the extra chocolate is only a good thing right! 😀
Agreed!! Glad you like them!
What a great story! I love hearing about people’s first meetings and first dates, it is so special! I also really want to eat some fried cheese and honey right now, but I think these rice crispy treats will do! Homemade gifts are the best! Every Christmas I make a bunch of homemade treats and send them out to family and now everyone expects them, so I guess I can’t stop 🙂 I love the chocolatey swirl you created on these and they look perfect all wrapped up in their little bags!
So glad you appreciated the story, Isadora … and don’t worry, I’m considering making the fried cheese and honey for the blog very soon! That’s funny that you are sort of ‘stuck’ making your homemade treats. Thankfully, it sounds like you enjoy it, though! 🙂
Helen, you paint a very beautiful picture 😀 I’m oohing and ahhing at the romance. I can see the kids and I truly enjoying these chocolate crispy squares. They look absolutely divine!
Thank you, Cindy! So glad you like both the story and the crispy squares. I feel honoured! 🙂
YUM! These would be a huge hit for my kids and their friends. Bookmarked.
Thanks, Pam!
These look so scrumptious! Such in fact that I literally want to reach through the screen and grab em. I guess it’s my fault that I still haven’t taken the time to feed myself. Whoa is me.I need someone to start making me breakfast. 🙂
Have a great Monday!
Aw, Melanie! If I was close by I would pop over and make you some brekky! So glad you like these … I have to admit I was pleased with how they turned out. 😉
Aww that is such a sweet story!! And yes, I do think the best things in life are simple. I haven’t made rice krispies treats in FOREVER…but I believe it’s time to change that.
I hadn’t made them for literally YEARS and decided it was time I changed that! So glad you like the story! 😉
That story is just SOOOO CUTE!!!!!!! No date is truly complete without a delicious meal and the fried cheese with honey sounds GLORIOUS!!!!!!!!!! These squares look ADORABLE!!!!!!!!! I love that you dipped them in two kinds of chocolate and that swirly pattern! Oh God! Too much cuteness! And your mom!!! hehehe!!!! How sweeeet of her that she labelled her gift pack! <3 I wouldn't want to share mine either!!!!
I think I’m going to have to make that cheese for the blog soon, Samina. Since writing this post I’ve been craving it again. It is funny that my mum labelled her treats, isn’t it? It worked, though … no one touched them! 😉
I am looking for fun foodie gifts for xmas and these might just be the thing to make with the kiddoes.
Oh, they would be sooo easy to make with children, Bintu. You don’t even have to do the swirly thing with the chocolate if you’d rather keep things really simple. So glad you like them! 🙂
I’m loving all these food gifts you make for friends and family! It is beyond cool and awesome!! And you totally had me laughing with this: “You thought I was going to suggest Mr. Scrummy was ‘simple’ then, didn’t you? ;-)” It was so funny!!
Ha … glad I made you chuckle, Chris! 😉 It suddenly struck me that I probably should have left more of a gap between mentioning ‘simple’ and my husband, so I thought I’d just make it clear that the two weren’t at all related. So glad you like these food gifts. I think they are a developing ‘passion’ of mine!
OK, I am totally swiping this dipping idea from you!!! I’ve been meaning to make Rice Krispie Treats for my daughter since she ripped a recipe out of a magazine months ago. You’ve given me the perfect way to finish them off. THANK YOU! (I’ll definitely link back to you if they are a success).
That’s great, Liz … I’m honoured! I found that my chocolate ‘streaked’ a tiny bit after it had set because I overheated my chocolate. After doing some research I found out that just barely melting it and then stirring the unmelted bits of chocolate in and letting them melt without any more heat helps to stop that from happening. Good luck!
That doesn’t just look super tasty but also suuuuper pretty, with the swirls 😀
Thank you! So glad you like them … and thanks for visiting!
What a cute story about your romance in Athens! You’re so right the simple things are what you remember and cherish after holidays and just in general! These bars look so easy but mainly delicious!
Thank you, Lilli … so glad you appreciated my story and liked the easy, tasty treats!