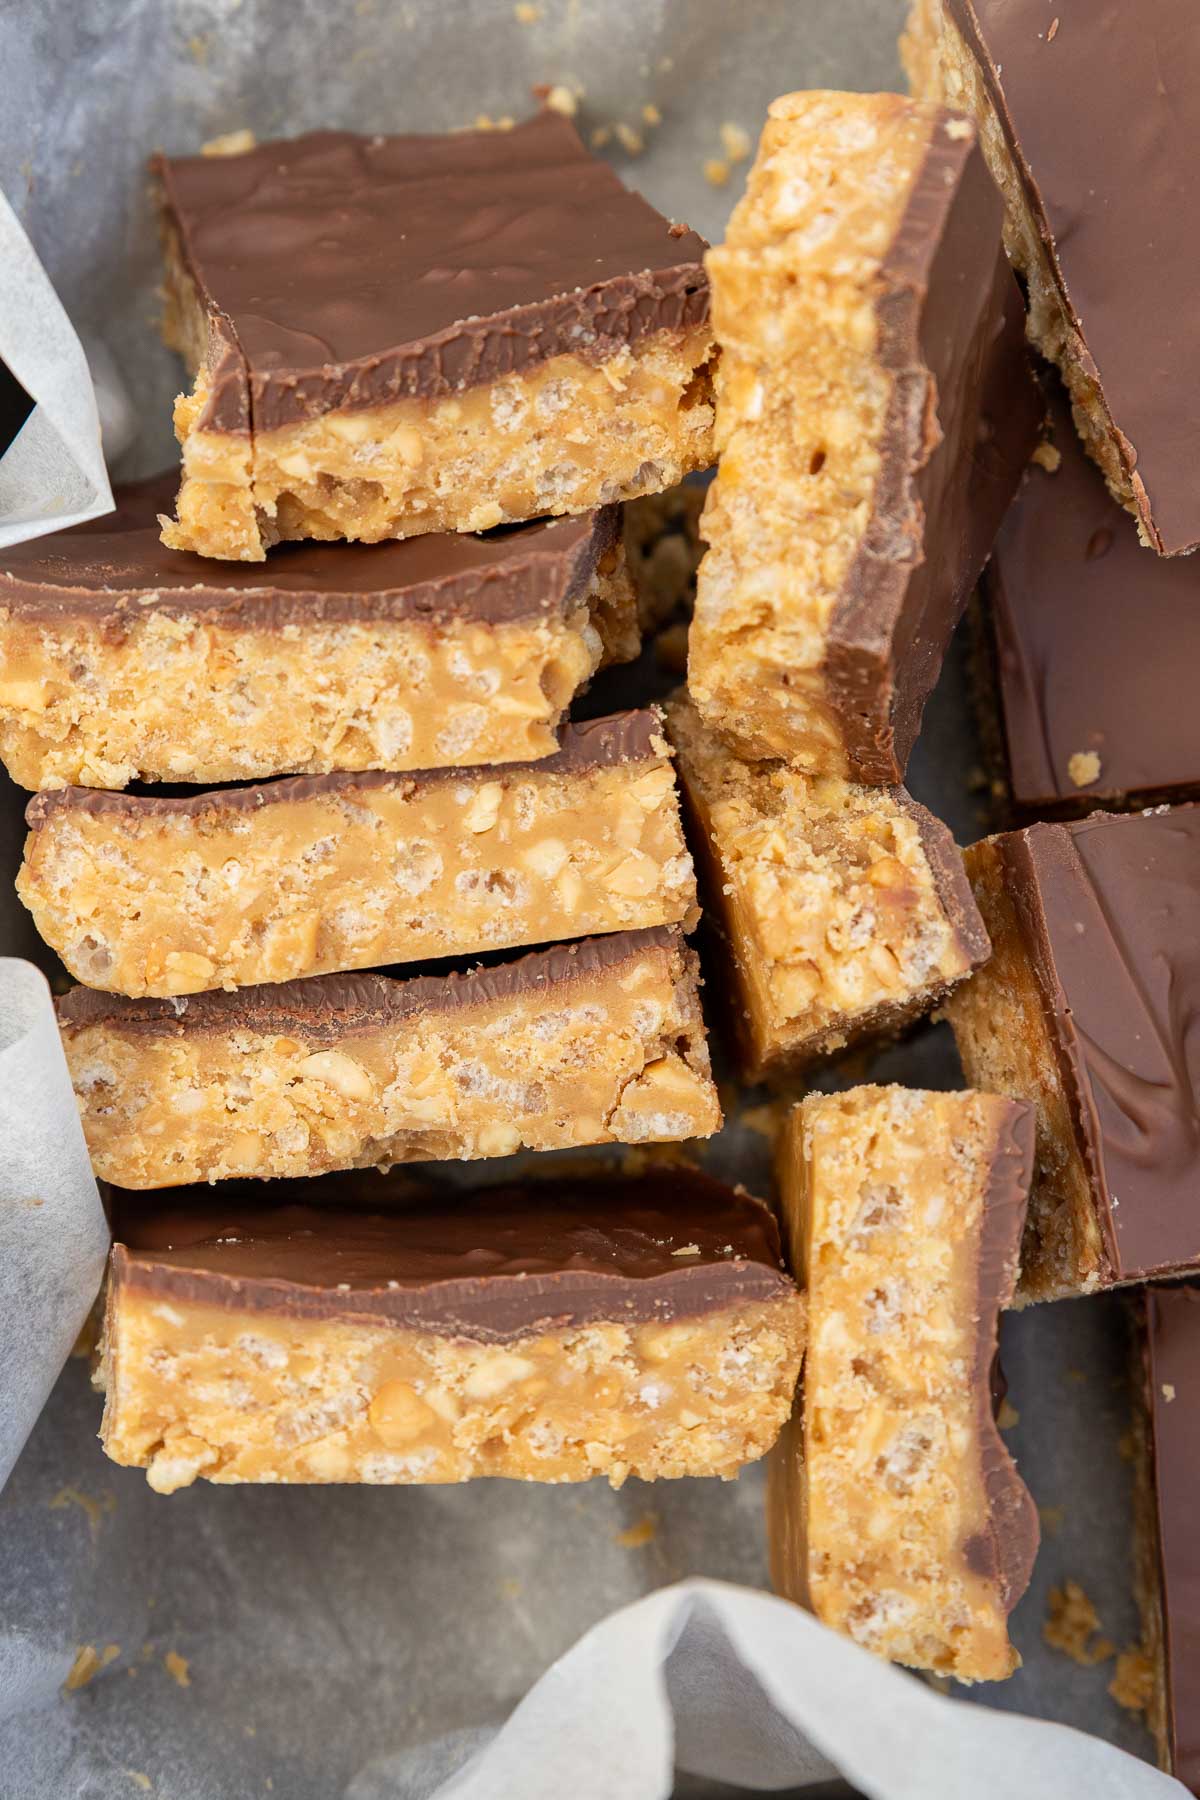
Peanut Butter Crunch Bars (6 Ingredients, No Bake)
on Nov 06, 2025
This post may contain affiliate links. Please read my disclosure for more info.
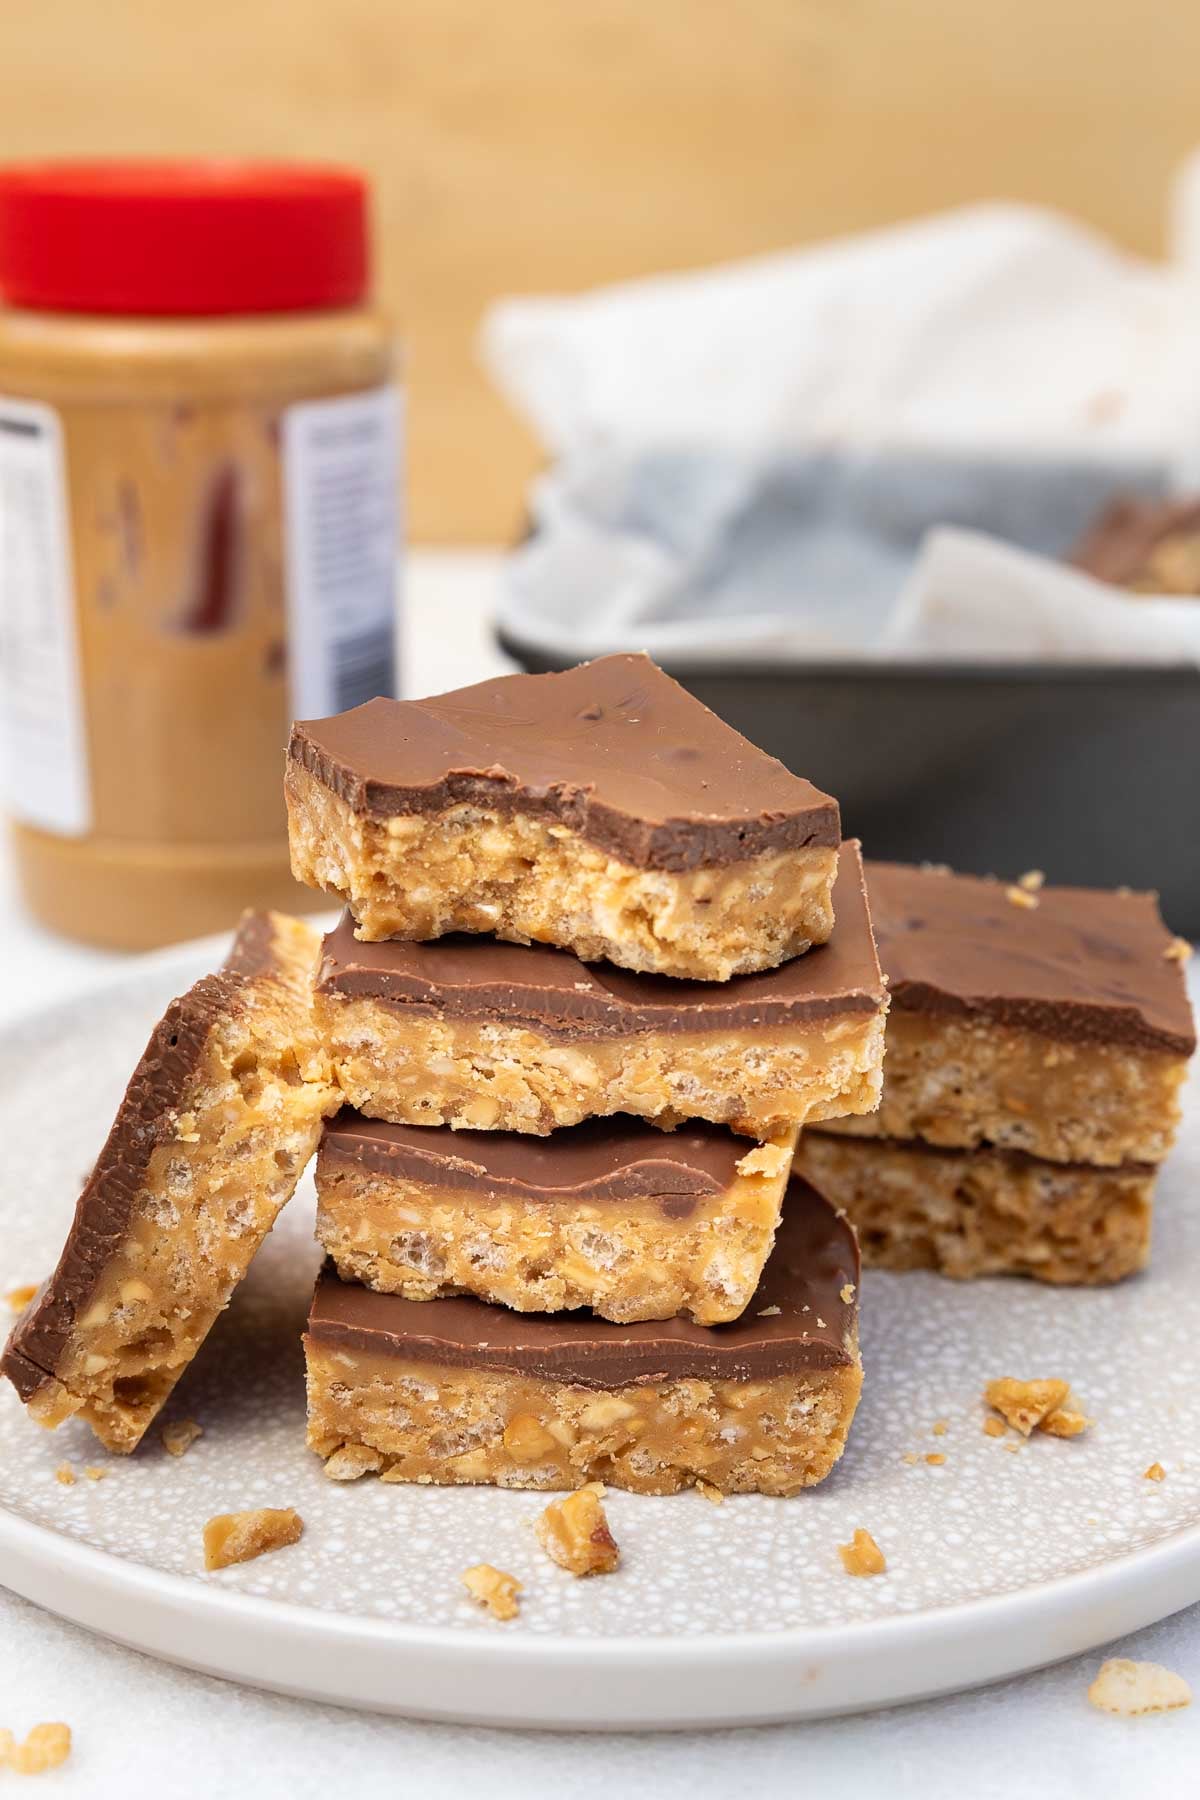
With just 6 simple ingredients and no oven needed, these peanut butter crunch bars are made with not-too-naughty ingredients including peanut butter (of course!), honey and rice krispies. And yet they taste like a candy bar, perfect for an afterschool snack or evening sweet craving. I hope you like them as much as we do!
A simple treat for peanut butter lovers
My inspiration for these peanut butter crunch bars was actually a chocolate peanut butter candy bar that my son likes. it isn’t always available so I thought I might be able to make something that tasted similar. I wanted them to be very simple with no need for the oven, and for the sweet, buttery peanut butter layer to take center stage.
I also wondered if I could make them with honey so that they became a less naughty treat. I think I nailed it the first time I made them, actually. There’s melted butter and a little powdered sugar in them to help bind the mixture together, but what you mostly taste is the subtly crunchy, melt-in-your-mouth peanut buttery deliciousness!
I’d say you can make these bars in about just 10 to 15 minutes. Then you’ll need to leave them in the fridge for a while to set, before cutting into small squares (it’s quite rich, so you don’t need much). I like to keep them in a sealed container in the freezer, ready to grab whenever a sugar craving hits. These make great after school or evening sweet craving snacks, but be prepared to keep creeping back to the container to grab just one more…
📌Recipe snapshot
- 6 ingredients
- No bake
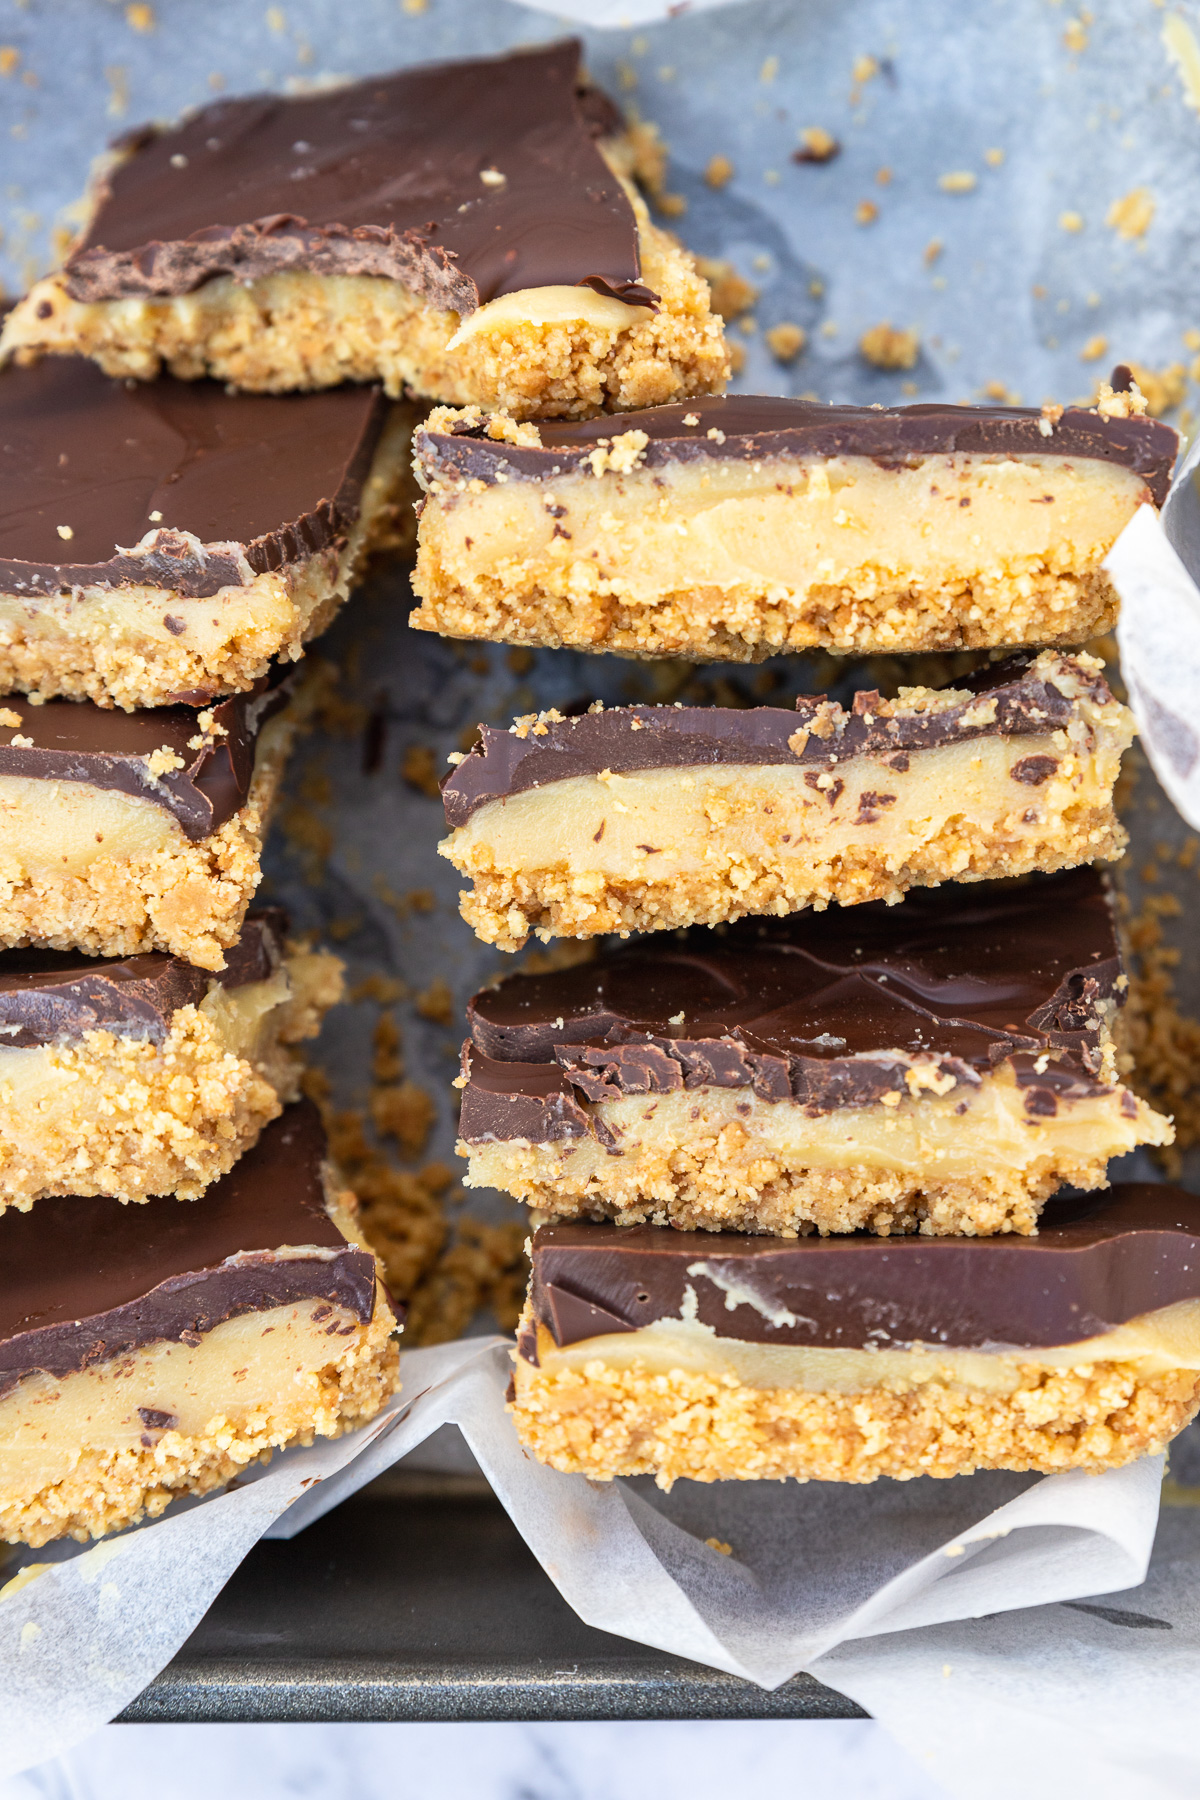
- Sweet & buttery peanut butter flavor (with a hint of chocolate and crunch!)
- Easily store in the freezer for ’emergency’ snacks and treats
- A not-too-naughty treat: Made mostly with peanut butter, honey and rice krispies
About the ingredients
You’ll find a full list of ingredients with amounts in the recipe card below. But here’s a summary of what you need to know.
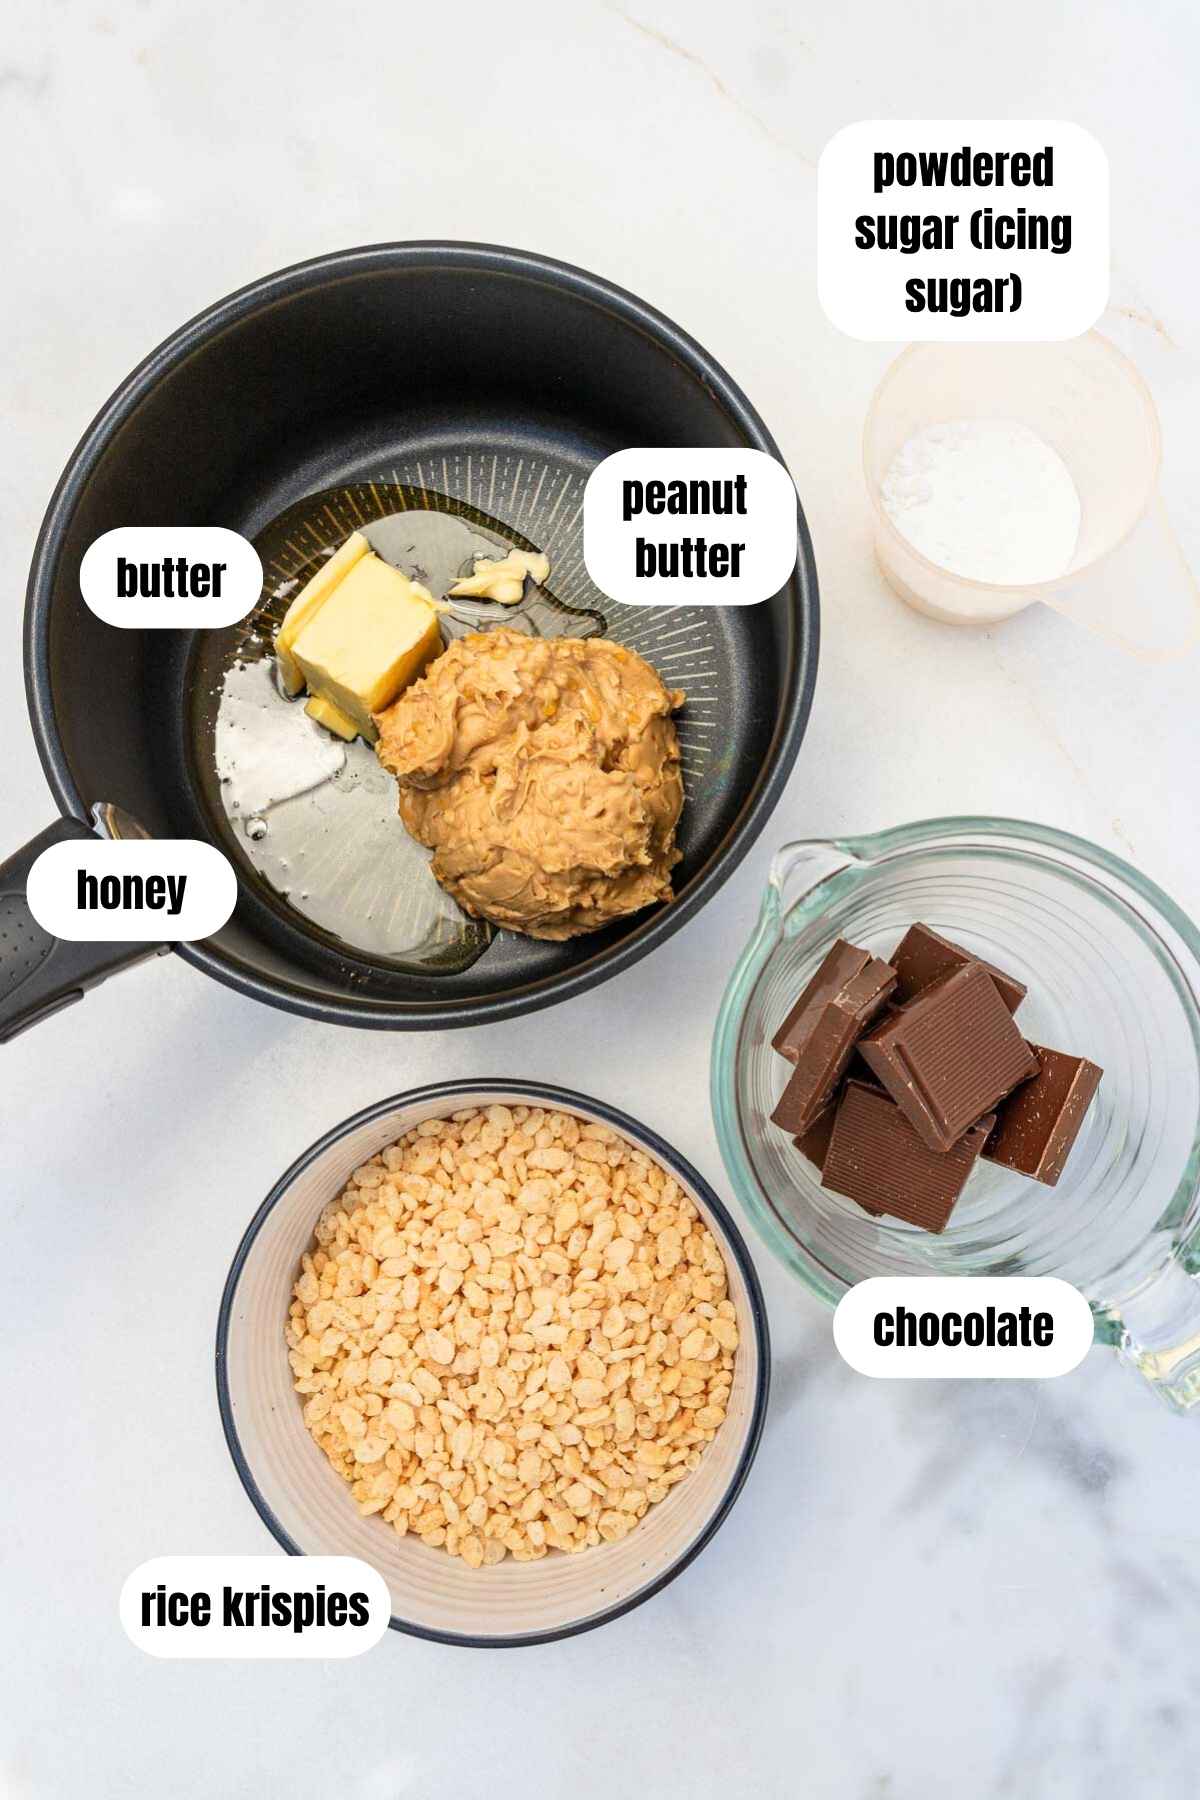
Peanut butter: Crunchy or smooth – it’s your choice. I prefer a brand made with just peanuts and perhaps a hint of salt, but the recipe will work with any kind of peanut butter you like. You’ll need around one whole cup. If the peanut butter you use doesn’t contain any salt, I would recommend stirring a little into the peanut butter, butter and honey mixture.
Honey: This helps to bind together all the ingredients. I usually use runny honey for convenience, but any will work since you’ll be melting the ingredients together in a pan. Maple syrup, date syrup or even brown rice syrup could work as good alternatives.
Butter: This also helps to bind the mixture together. It also gives the bars a delicious melt-in-your-mouth texture! Both unsalted and salted butter will work. A little salt in the bars works well as a contrast to the sweetness, but bear in mind most peanut butters contain salt, too.
Powdered sugar (icing sugar): Once you’ve melted the ingredients above together, stir through a little powdered sugar. This helps to thicken the mixture and helps the bars to stay together once set and cut.
Rice krispies: You’ll add just enough rice krispies (around 1.5 cups) to add crunch without the rice krispies becoming the dominant feature of the bars. And don’t worry, they do stay crisp when stored, even when they’ve been in the freezer.
Chocolate: I played around with the amount of chocolate to get it ‘just right’. I wanted to be able to taste the chocolate but without it distracting from the peanut butter crunch layer! Both dark chocolate and milk chocolate are good. Overall I prefer milk chocolate, but go with what you like best. I usually use a bar but you can use melted chocolate chips if you prefer (semi-sweet is good).
How to make peanut butter crunch bars
You won’t believe how quick and easy these are to make! Here’s a step-by-step guide. Remember to scroll to the bottom for the full printable recipe including exact ingredient amounts and steps.
Firstly, line an 8 by 8 inch (20cm x 20cm) pan with baking paper.
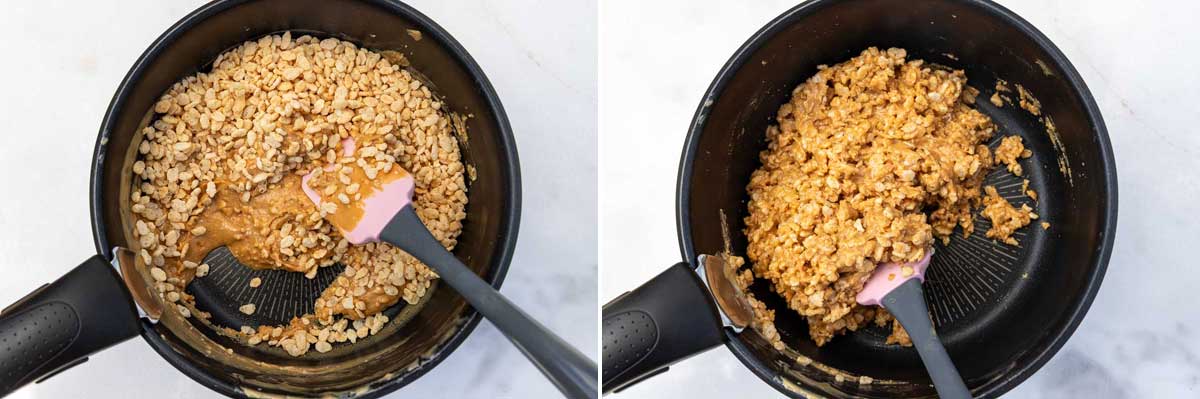
In a medium to large sized saucepan, melt all of the ingredients together apart from the powdered sugar and rice krispies.
Stir in the powdered sugar (icing sugar). Then stir in the rice krispies.
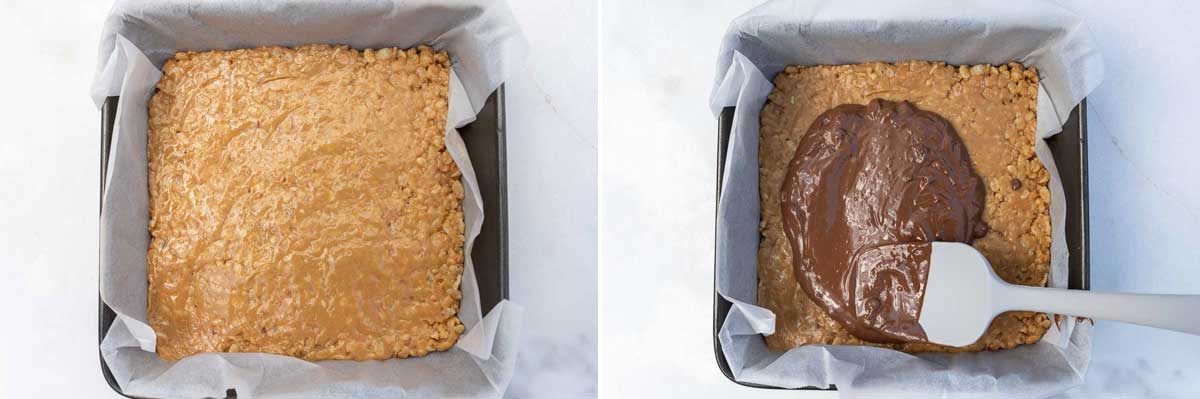
Empty the mixture into the prepared pan. Flatten down with either a silicon spatula or big metal spoon.
Now break the chocolate up into pieces (if using a bar) in a large glass or ceramic jug or bowl. Microwave in 30-second bursts (usually three bursts is enough) until the chocolate is melted.
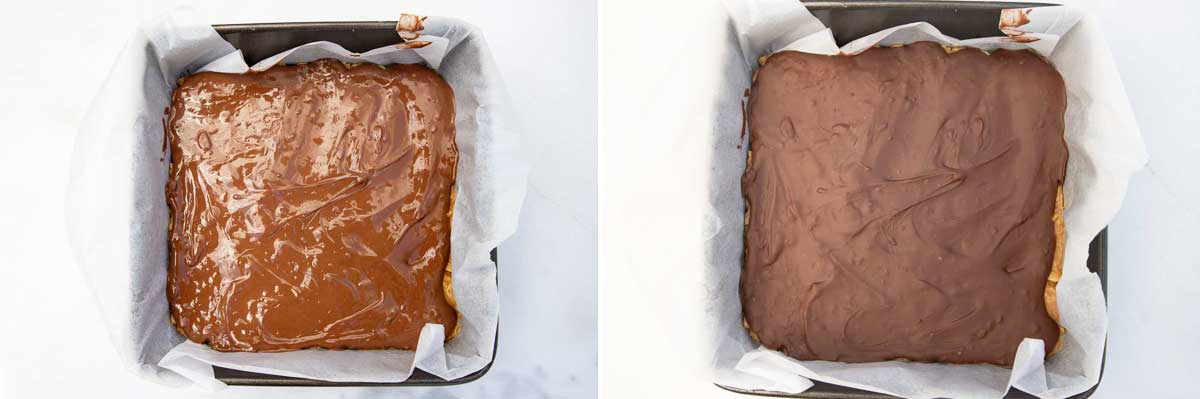
Spread the melted chocolate all over the top of the peanut butter mixture.
Let set in the fridge.
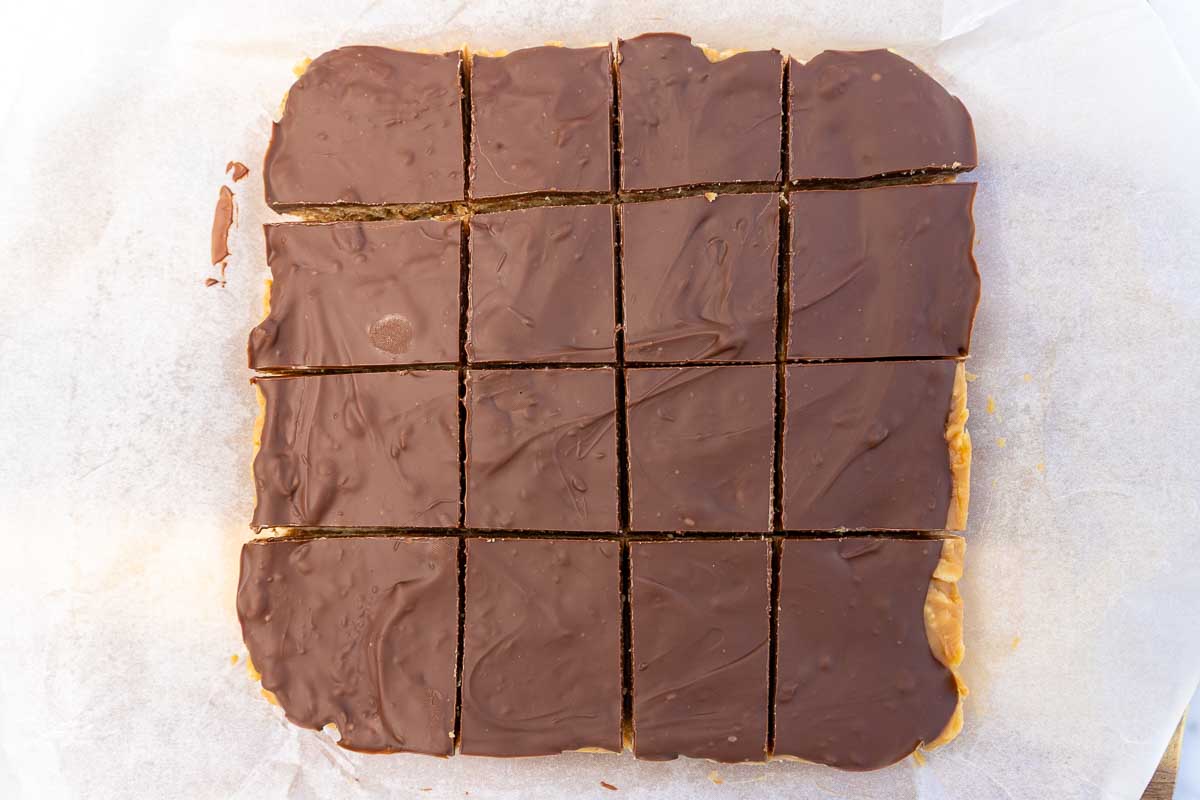
Then cut into small squares using a large sharp knife. Enjoy!
Helen’s Top Tips
- To cut the bars neatly: Use a large hot knife dipped in hot water and wiped dry. Wipe the knife clean between cuts.
- I think these are best kept in the fridge or freezer. This way, they stay firm and don’t melt and crumble until they’re in your mouth!
- Store the bars in an airtight container between sheets of baking paper to prevent sticking. Perhaps surprisingly, they will keep their crunch well in the fridge for at least 3 to 4 days, or for up to 2 months in the freezer.
Recipe FAQs
It’s actually easier than you might think! Just make sure that you let the mixture cool completely before storing the bars in the fridge or freezer. Then keep them in an airtight container between sheets of baking paper. The key is to keep moisture out!
Yes, absolutely. Almond butter, cashew butter or even sunflower seed butter will also work in this recipe. Just make sure that you give it a good stir first however so that the oil is evenly distributed. If it’s too runny, the bars might not hold together as well.
Yes, of course. You can reduce the amount of chocolate or skip it completely. An alternative is to just drizzle a little chocolate over the top instead of spreading it into a full layer.
Not usually because rice krispies can include barley malt, which is not gluten free. If you use certified gluten free rice krispies then they can be. Just make sure you check all the other ingredients too, just to be sure.
More no-bake chocolate treats
- This no bake caramel slice is an even easier version of this classic treat. It’s very popular!
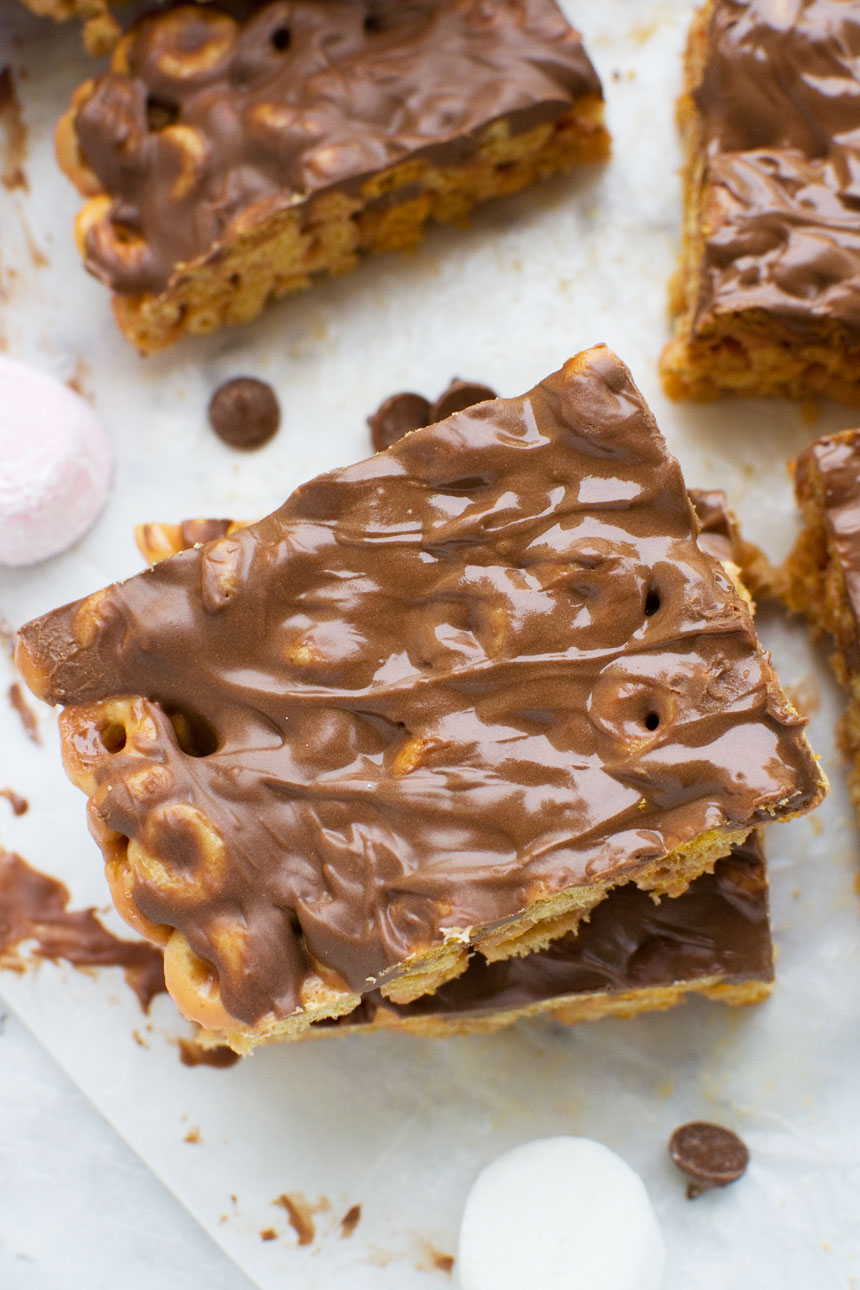
- These peanut butter cheerio bars are more like a sweet cereal bar than the crunch bars above. Just as easy to make and perfect for lunch boxes, picnics and snacks!
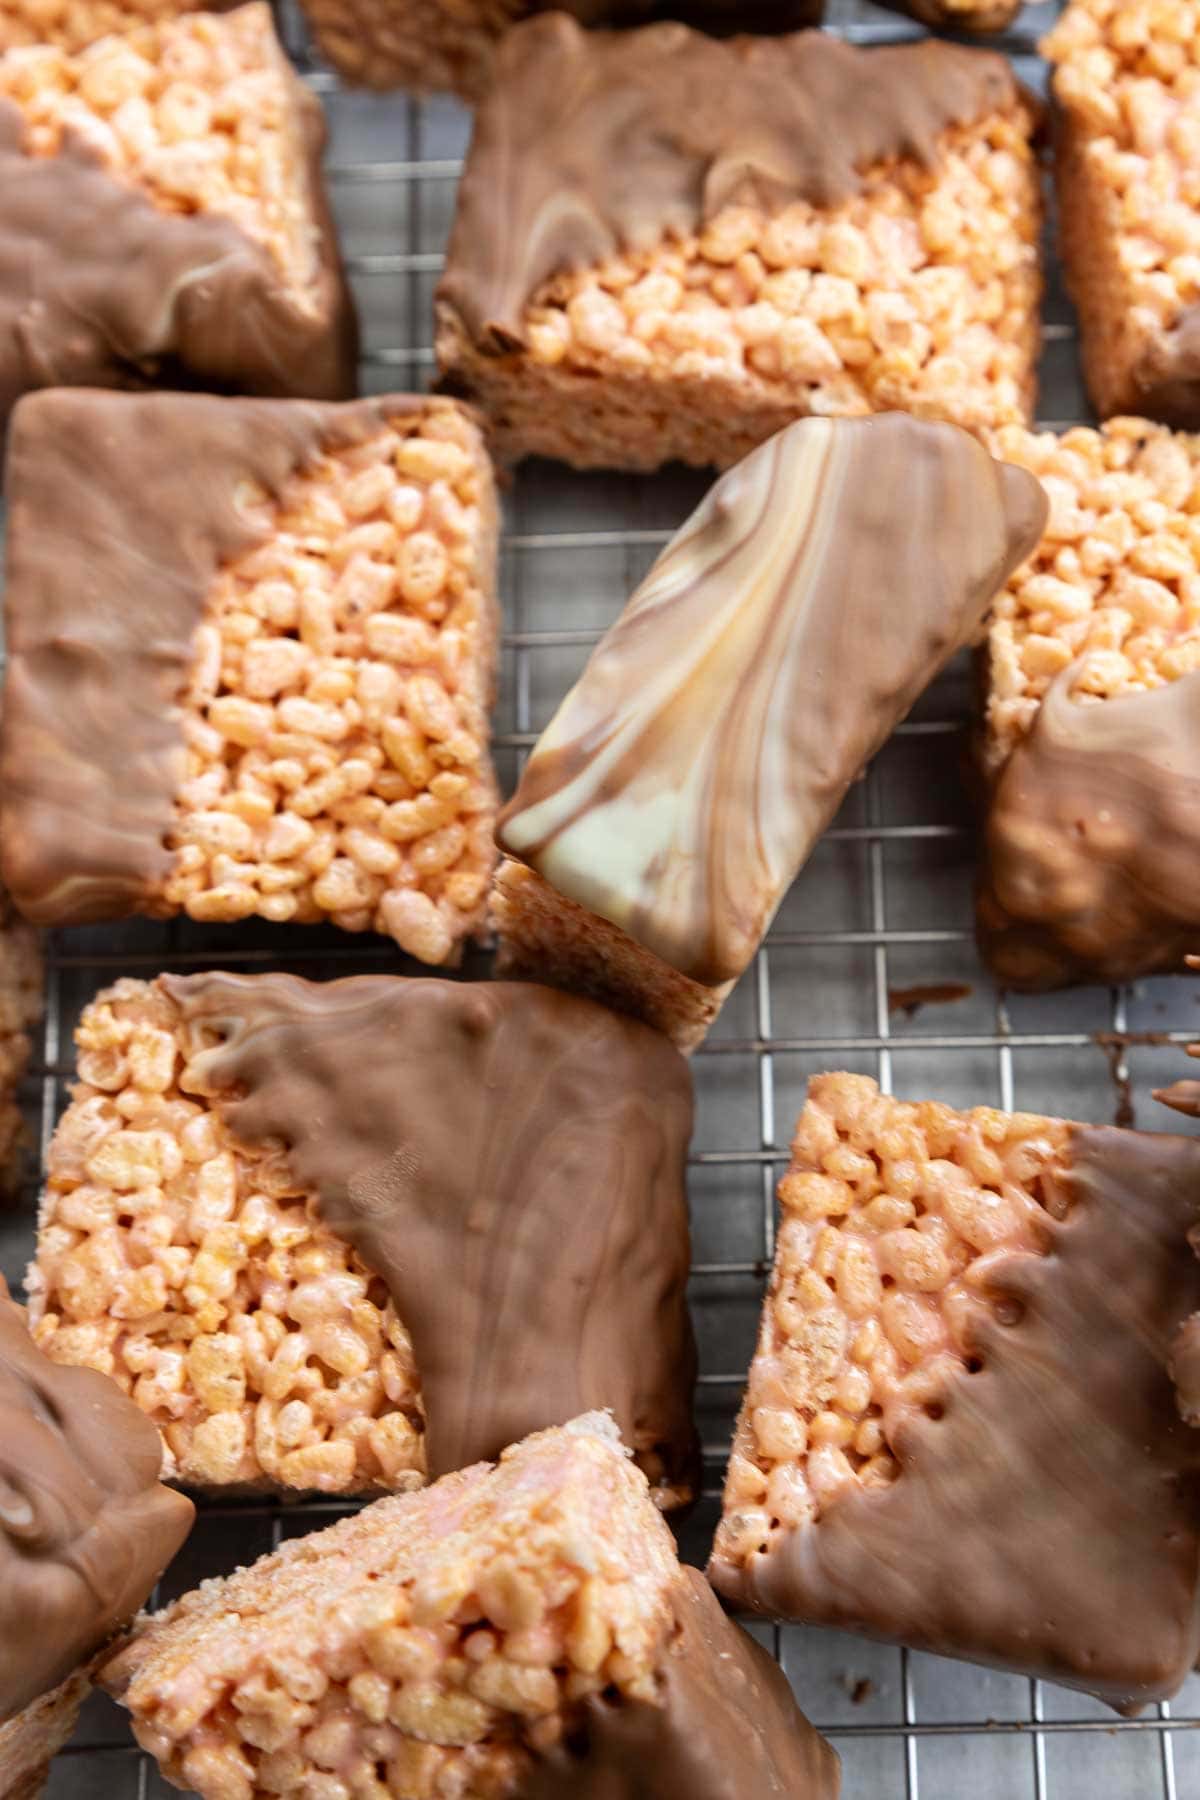
- You just can’t go wrong with classic chocolate covered rice krispie bars! Make them as they are or decorate for a special occasion with sprinkles.
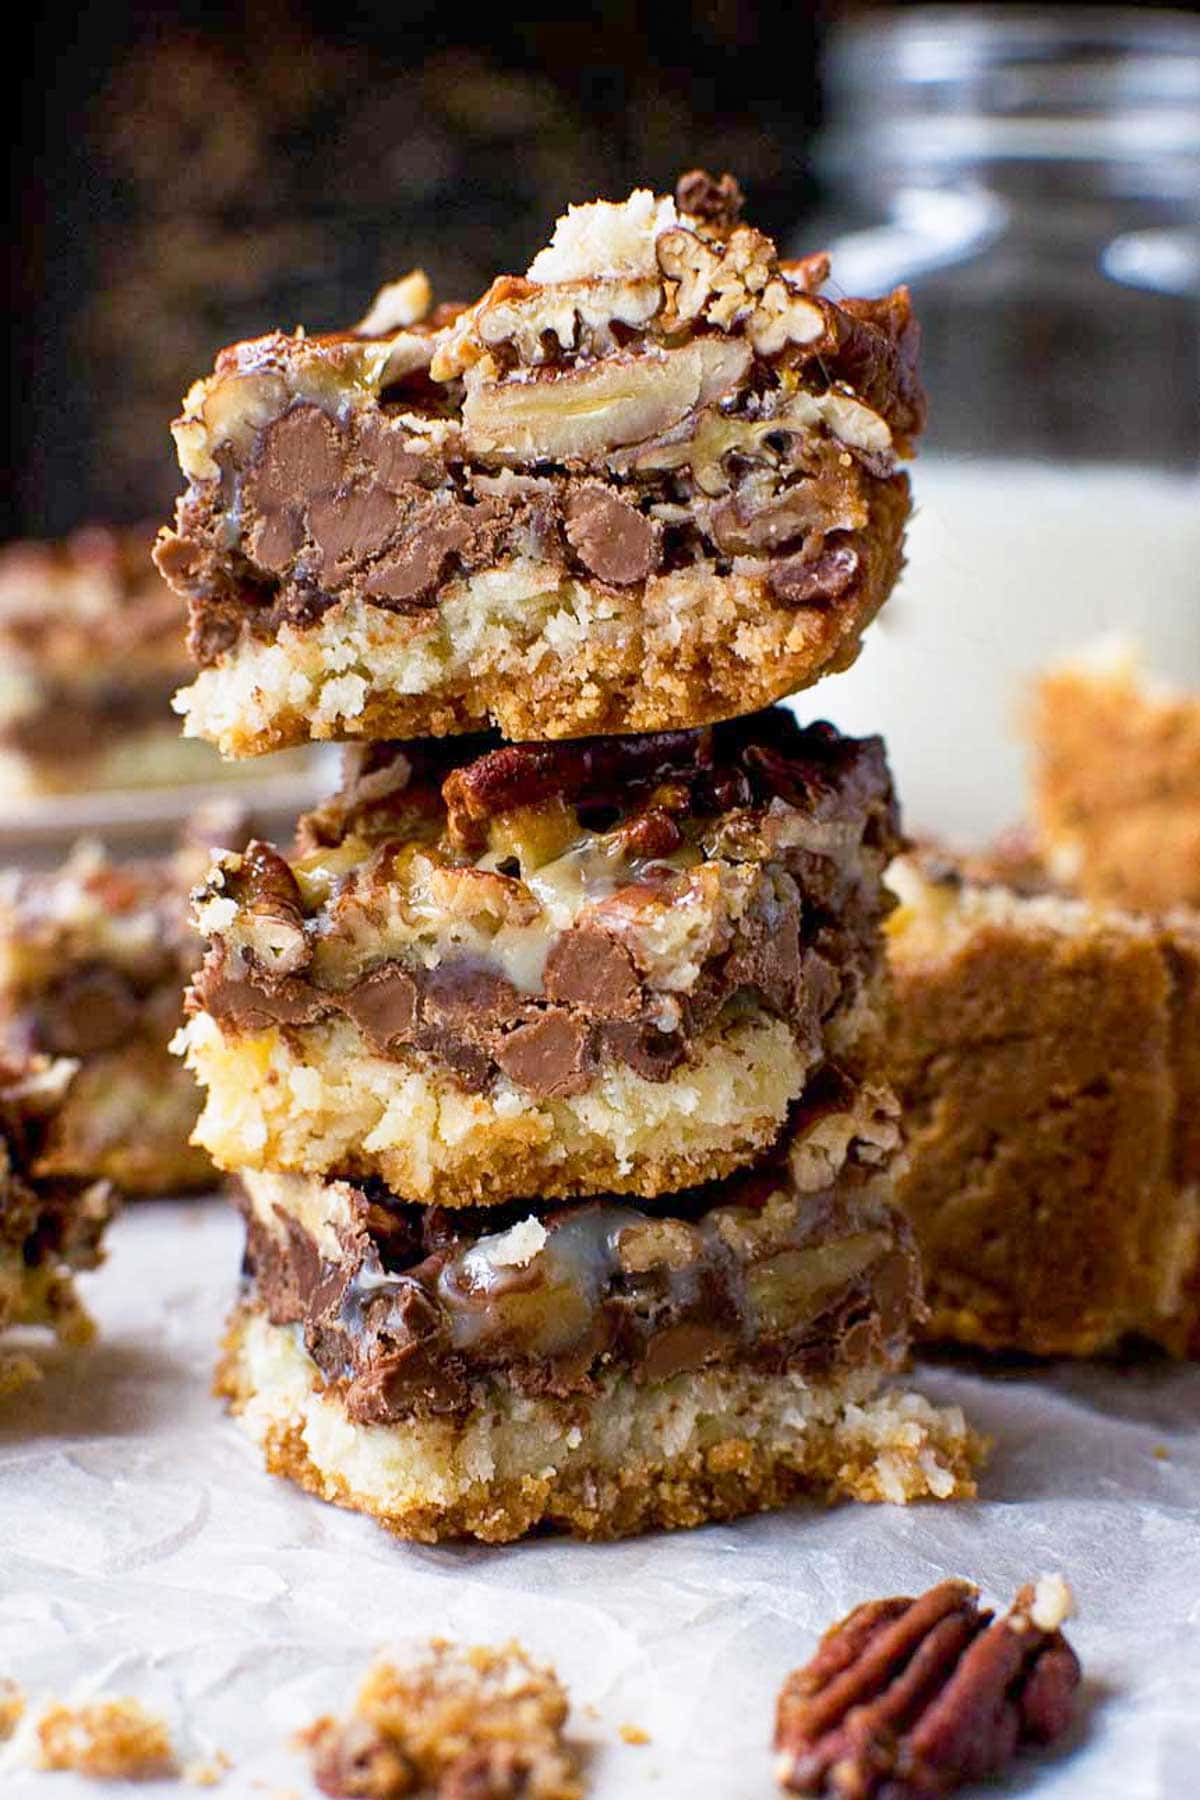
- 7 layer bars are the ones to go with if you want to use up odds and ends in your pantry!

Peanut Butter Crunch Bars (6 Ingredients, No Bake)
Ingredients
- 1 cup peanut butter, (any kind – however if there isn't any salt in it, I would add around ¼ teaspoon to the peanut butter, butter and honey mixture)
- ¼ cup butter, unsalted or salted
- ¼ cup honey
- ¼ cup powdered sugar, (icing sugar)
- 1½ cups rice krispies
- 5½ ounces chocolate, (either dark or milk, or you can use about ¾ cup chocolate chips)
Instructions
- Start by lining a square 8 x 8 inch (20cm x 20cm) baking pan with baking paper.
- Now melt the peanut butter, honey and butter in a medium to large saucepan on a medium heat. Let it bubble together for one to two minutes, then take off the heat and let it cool for a few minutes.1 cup peanut butter, ¼ cup honey, ¼ cup butter
- Stir in the powdered sugar. Then stir in the rice krispies.1½ cups rice krispies, ¼ cup powdered sugar
- Empty the mixture into the lined pan. Smooth it down and into the corners with a silicon spatula or the back of a big metal spoon. Then pop the pan into the fridge while you prep the chocolate layer.
- Now break the chocolate up into pieces (if using a bar) in a medium sized microwave safe jug or bowl. Microwave in 30-second bursts until the chocolate is 'almost' fully melted. I find 3 bursts is about right. Add half a teaspoon of oil (optional, this just makes the chocolate easier to cut without cracking) and stir until smooth.5½ ounces chocolate
- Pour the chocolate over the peanut butter mixture and smooth down with a silicon spatula or the back of a metal spoon. Let set in the fridge until the chocolate is set – at least half an hour.
- Use the edges of the baking paper to lift the set mixture out onto a large chopping board. Then grab a large sharp knife and run it under hot water. Wipe dry, then quickly use it to cut the bars into small squares (wipe clean and repeat several times for the neatest cuts!). Store in an airtight container either in the fridge for up to 4 days, or in the freezer for 1 to 2 months.


Made it several times, so eas. I baked mine for 28 minutes, worked for me. Family and inlaws liked it very much
Hi Joanne! Is it the Swedish chocolate cake that you made, since these peanut bars are no bake? In any case, I’m so glad it worked out well and you all enjoyed it 🙂
Easy, not too sweet with dark chocolate. I would use milk chocolate for the children. Loved them thanks
So happy to hear that they worked out well for you, Julie, and as you say it’s no problem to play around with the chocolate layer a bit. Thank you so much for your review! 🙂
Great easy recipe, everyone seems to enjoy them just the children. Had difficulty stopping people going to the fridge for more. Froze half so I have some for another time and to keep greedy fingers away! 😊
Thank you so much for letting me know your experience with this recipe, Sue. I know what you mean about nipping back to the fridge to grab more. These are very moreish! I’m so glad everyone enjoyed them so much! 🙂
The rice crispy peanut butter chocolate squares sounds absolutely delicious. I will make 1/2 a recipe of-them and the other half will be with marshmallows and of course chocolate on the top yummy. Anne.
So happy to hear you’ll try them, Anne! You could certainly add marshmallows. Enjoy!