Dried Orange Slices (+ 10 Ways To Use Them)
on Oct 14, 2021, Updated Apr 25, 2022
This post may contain affiliate links. Please read my disclosure for more info.
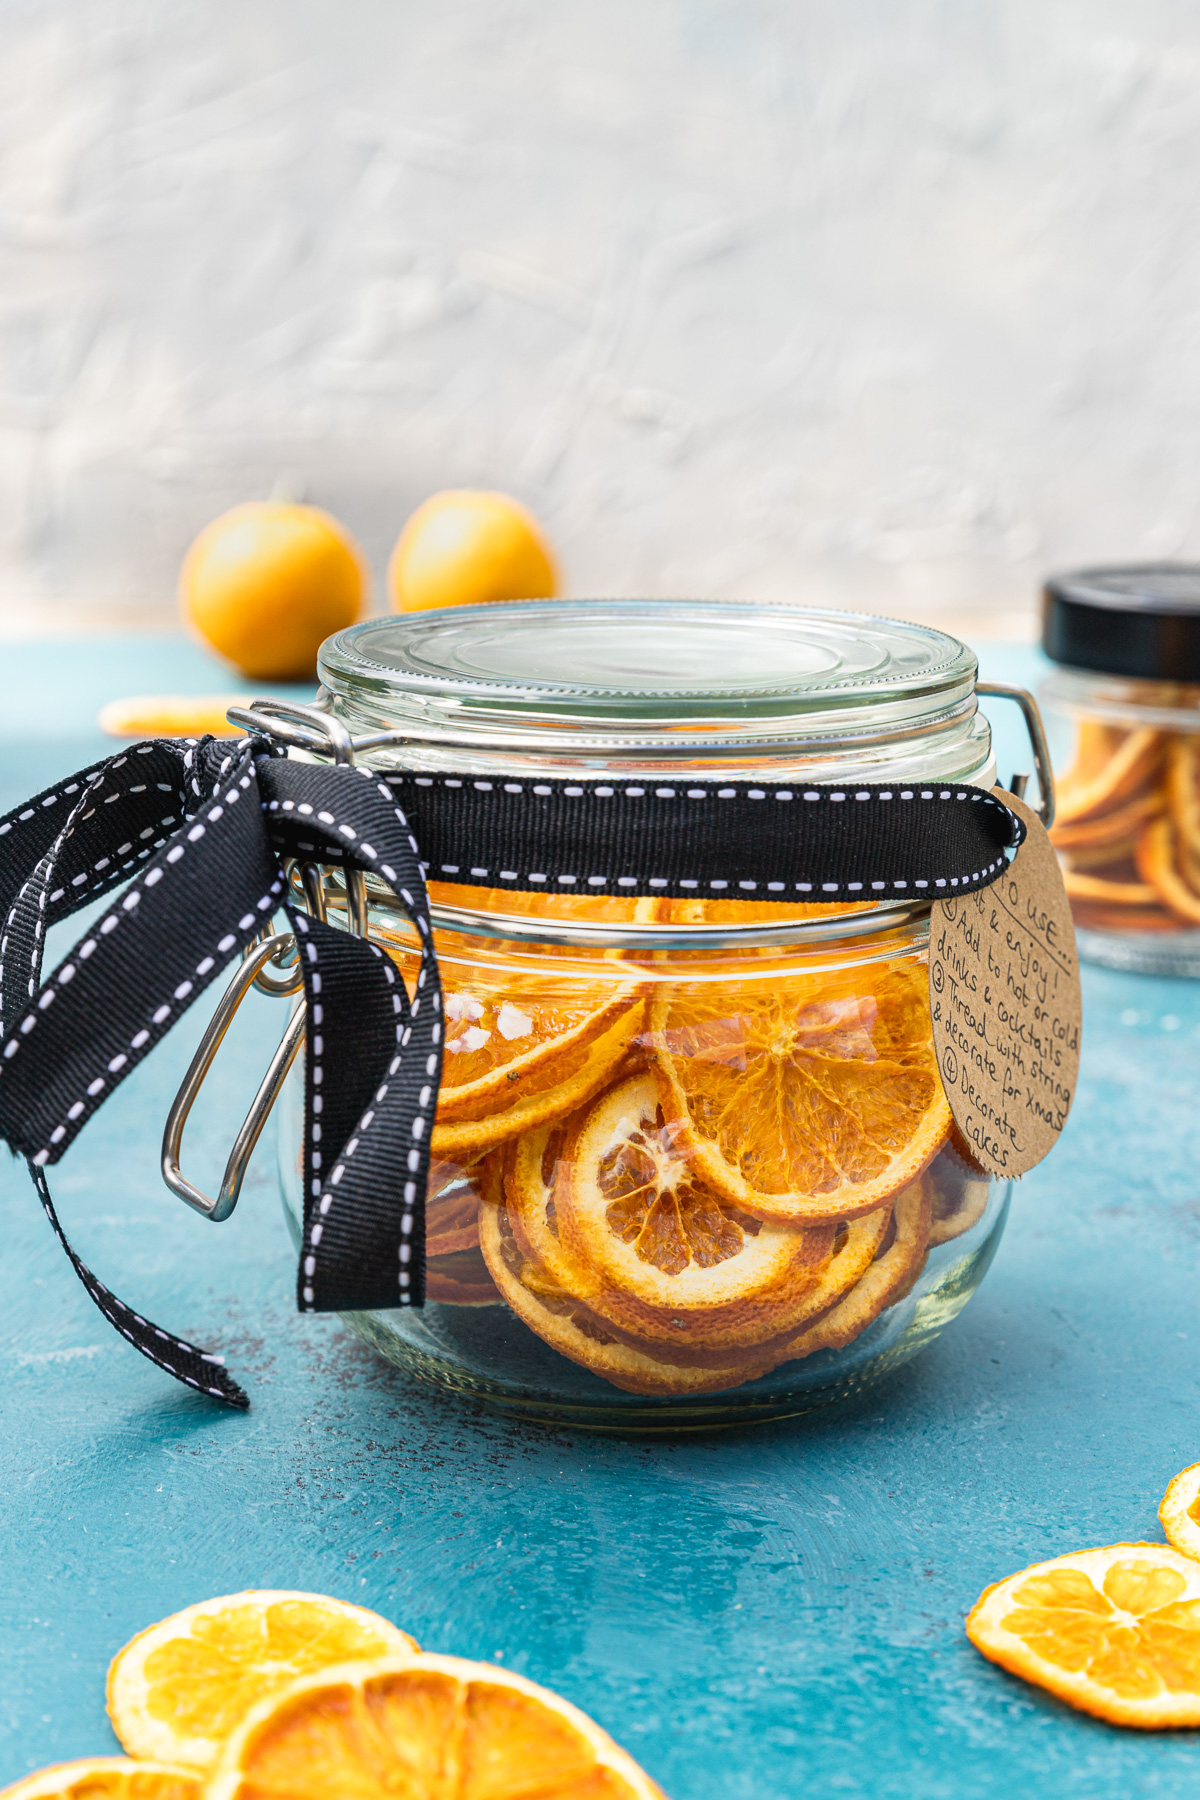
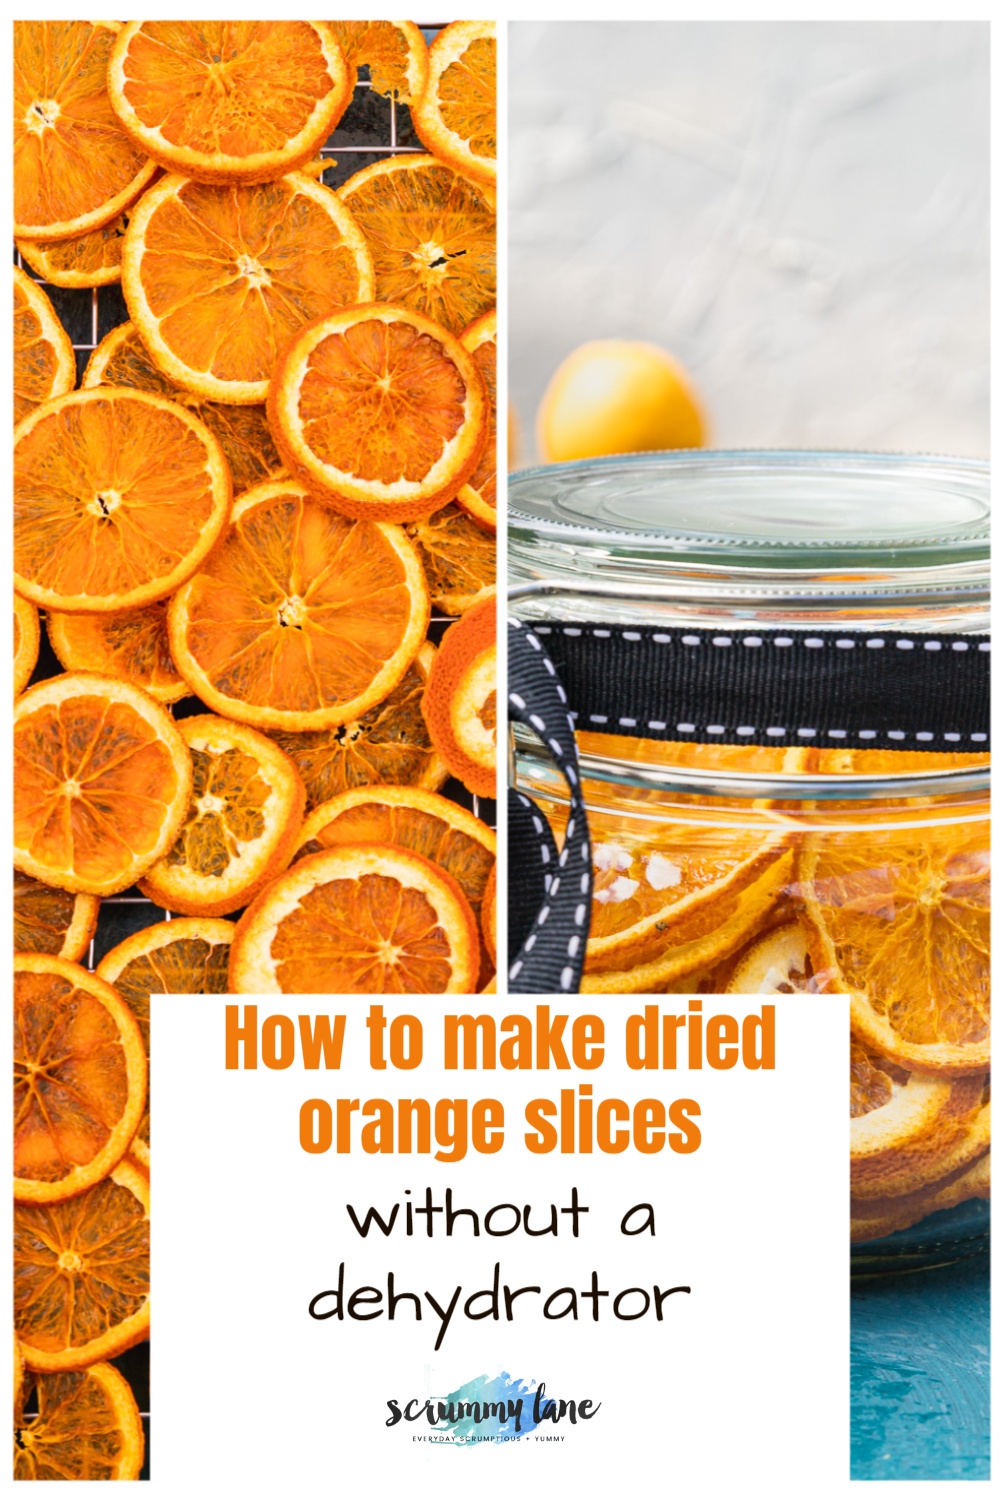
Have you seen dried orange slices in the shops lately? They’re gorgeous, intensely citrusy, and make a great gift. But they’re expensive, right? Luckily, it’s ridiculously easy to dehydrate your own orange slices. Enjoy them plain or dipped in chocolate as a snack, but there are many other fun ways to use them at Christmas… or any time! The best news? You don’t need a dehydrator to make them.
Why dry oranges?
I’ve always loved simple homemade food gift ideas. I have plenty on the blog already if you’d like to have a browse in my food gifts category.
I came across this idea of making dried oranges when looking for the best way to decorate my famous chocolate orange cake. Then suddenly I was seeing them everywhere. You know how that happens. But yes, they’re ‘a thing’ right now. The only problem is, they’re pretty expensive to buy.
That’s one good reason to have a go at drying your own orange slices right there! But that’s not the only reason:
- You only need ONE ingredient. Yes, one – oranges, of course.
- You don’t need a dehydrator. Just use your regular oven.
- You could say they’re the easiest homemade gift ever. But they’re classy, too.
- They have LOTS of uses. Eat them straight, pop into a drink, use as decoration, and much more! (See below for loads more simple ideas!)
You’ll also love candied oranges, the sweeter, chocolaty cousin of this recipe. Try both recipes and see which you prefer!
About the ingredients
I should say ingredient – singular – because all you need to dry orange slices is ONE thing – oranges, of course!
I use 4 oranges from our tree in the back garden. They happen to be medium sized navel oranges. You don’t need to have an orange tree yourself though, of course!
What type of oranges should you use? Any, although for obvious reasons if you can get a seedless or low seed variety like navel oranges or blood oranges – great! The flavour is intensified a lot when they are dried, so the sweeter the better. Try to buy them when they’re in season so that they’re at their best.
If you can find organic or spray-free oranges then that’s perfect. If not, wash them well before slicing and drying.
There are 2 more very OPTIONAL ingredients – dark chocolate for dipping the orange slices in if you so desire. And a tiny sprinkling of sea salt for sprinkling over the chocolate.
How to dry orange slices in the oven
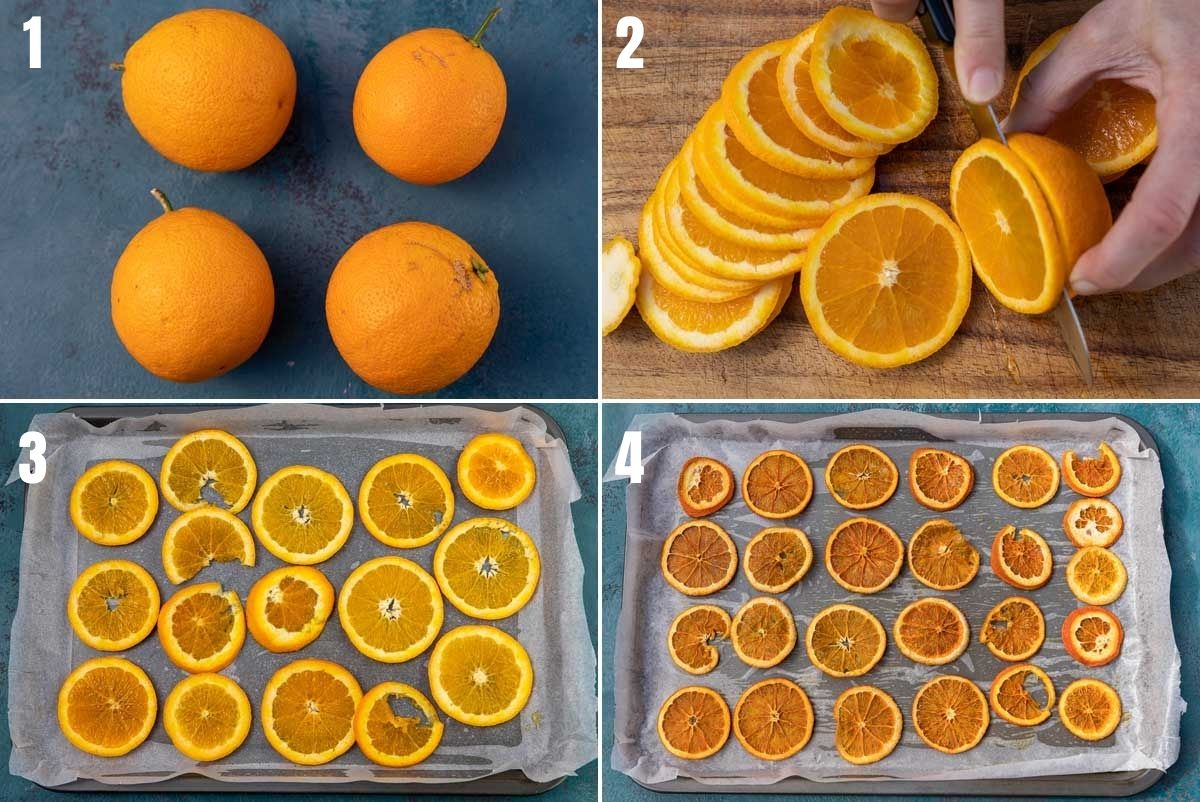
The process is SO easy you’ll hardly believe it. But you do need some time. I like to choose a wet or cold day when I’m staying at home anyway. Your oven will be on at a very low heat for quite a few hours, which is great for warming up the house!
Step 1: Grab 4 oranges. Wash them and dry them well.
Step 2: Preheat your oven to 80C/175F.
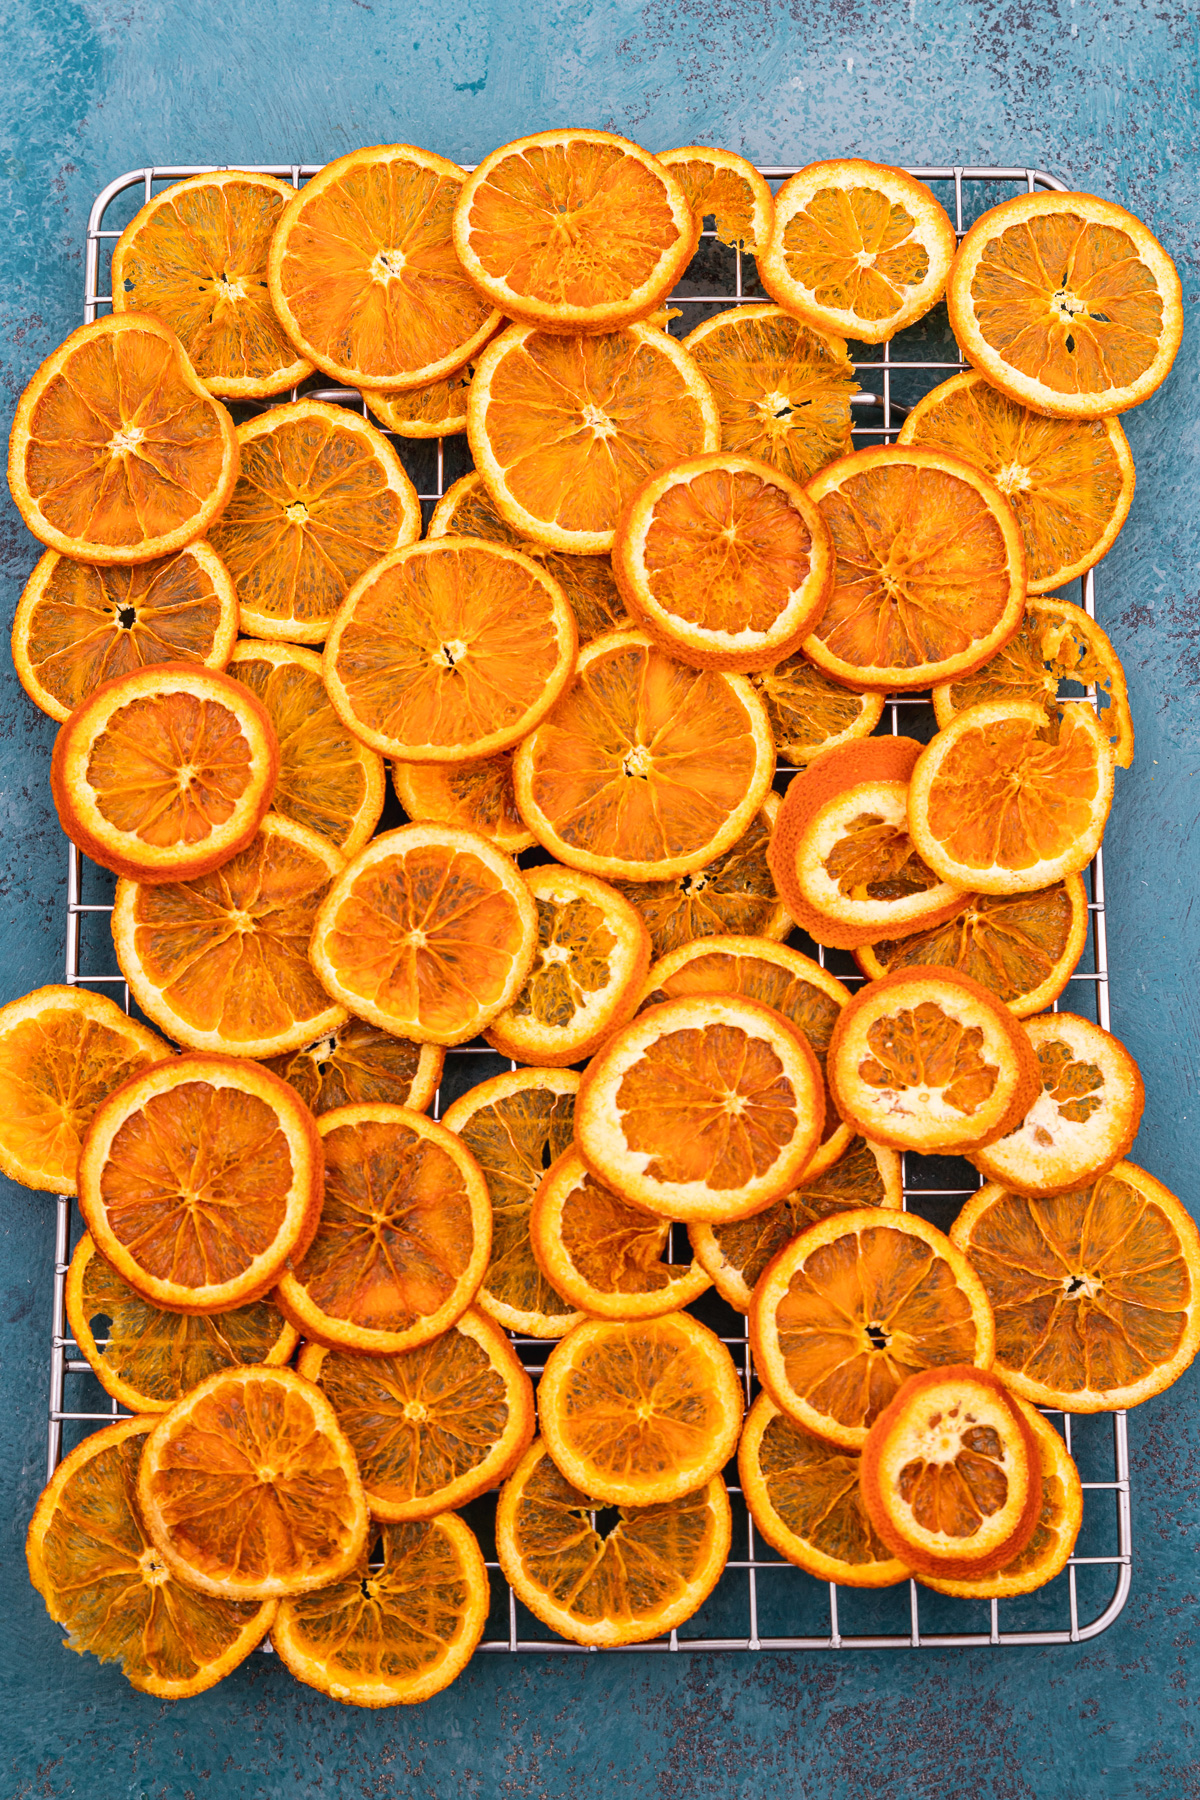
Step 3: With a small, sharp serrated knife, slice the oranges into thin slices. The thinner the better, but I aim for 2-4mm thick (about 1/8 of an inch). The thicker the slices are, the longer they’ll take to dehydrate. You can also use a mandolin or a food processor if you prefer.
Step 4: Pick out any seeds and blot the slices dry with kitchen paper. Lay them on baking trays lined with baking paper. You’ll need 3 baking trays. You’ll want to fit them in your oven all in one go as the oven is on for so long.
Step 5: Bake for 3.5 to 5.5 hours. Exactly how long will depend on the thickness of the slices. Turn every hour or 1.5 hours so that they dry evenly. They’re done when there are no longer any moist spots.
How to use them
The great thing about these is that there are many ways to use them! Here are some of my TOP IDEAS:
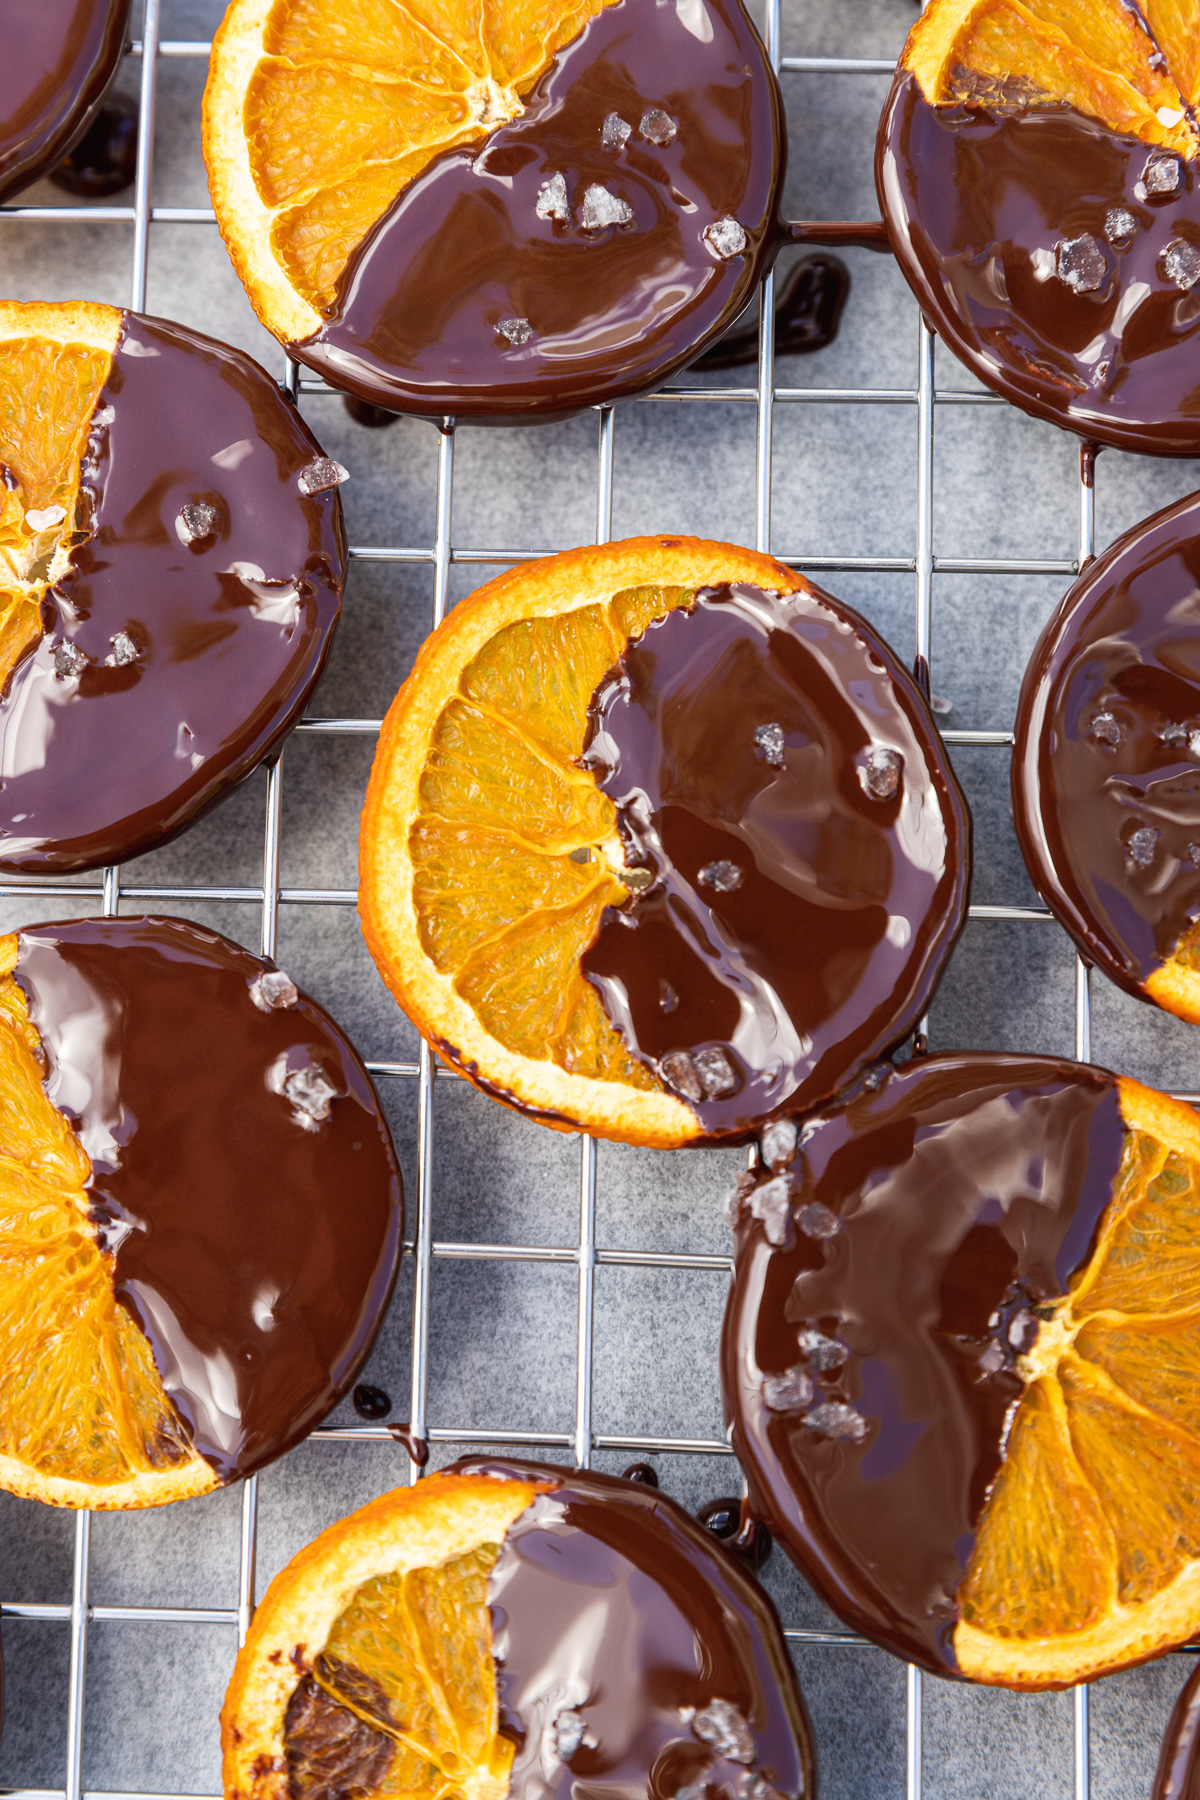
1. A TASTY SNACK. Eat plain or dip in chocolate. Perhaps sprinkle with coarse sea salt, too. A variation on this is chocolate bark! Spread melted chocolate over baking paper, top with the orange slices, let set, then break into big chunks.
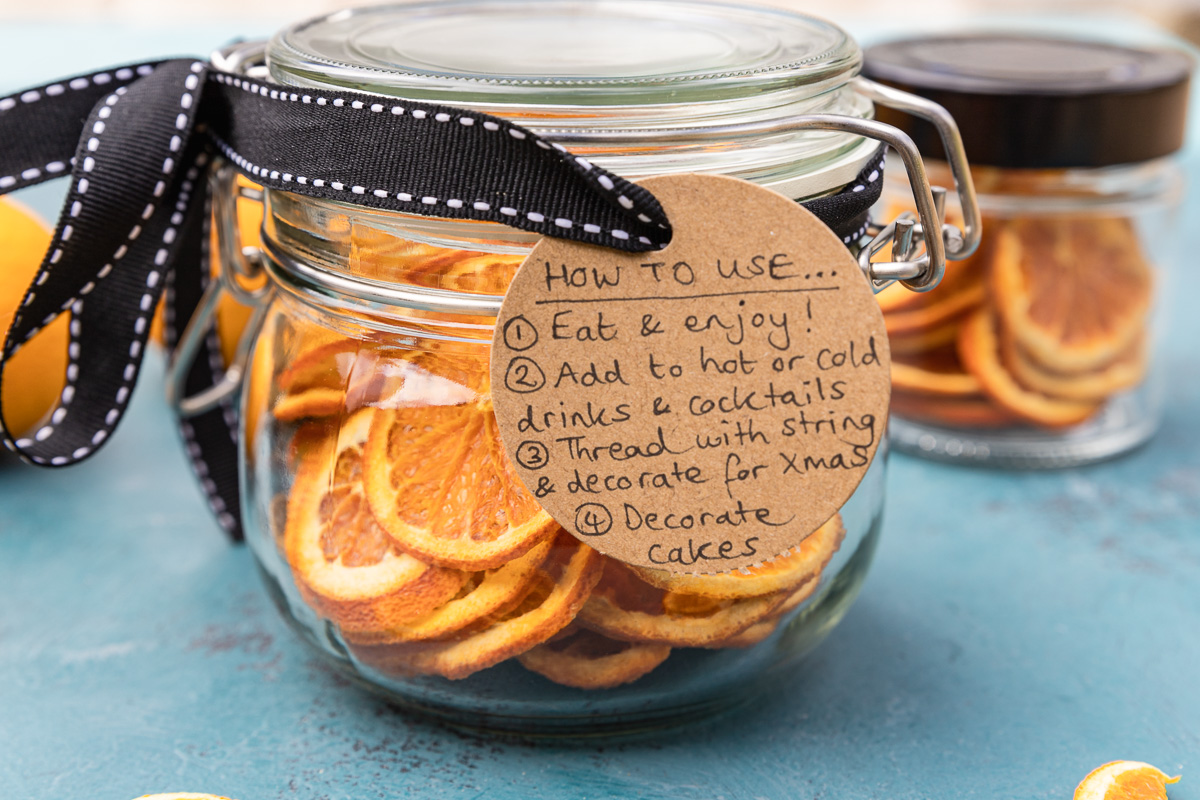
2. GIFTS (SIMPLE & CLASSY!) These make a fantastic easy gift for friends, family, kids’ teachers etc. Grab some jars from a dollar store or similar, pile the slices inside and tie a nice ribbon around the top. I like to add a label with ideas for use on too.
You should get around 3 to 4 small jars of slices out of each batch.
3. ADD TO HOT OR COLD DRINKS. Add flavour and colour to a tea or hot chocolate, a cocktail, glass of champagne, or soft drink such as soda water or cola.
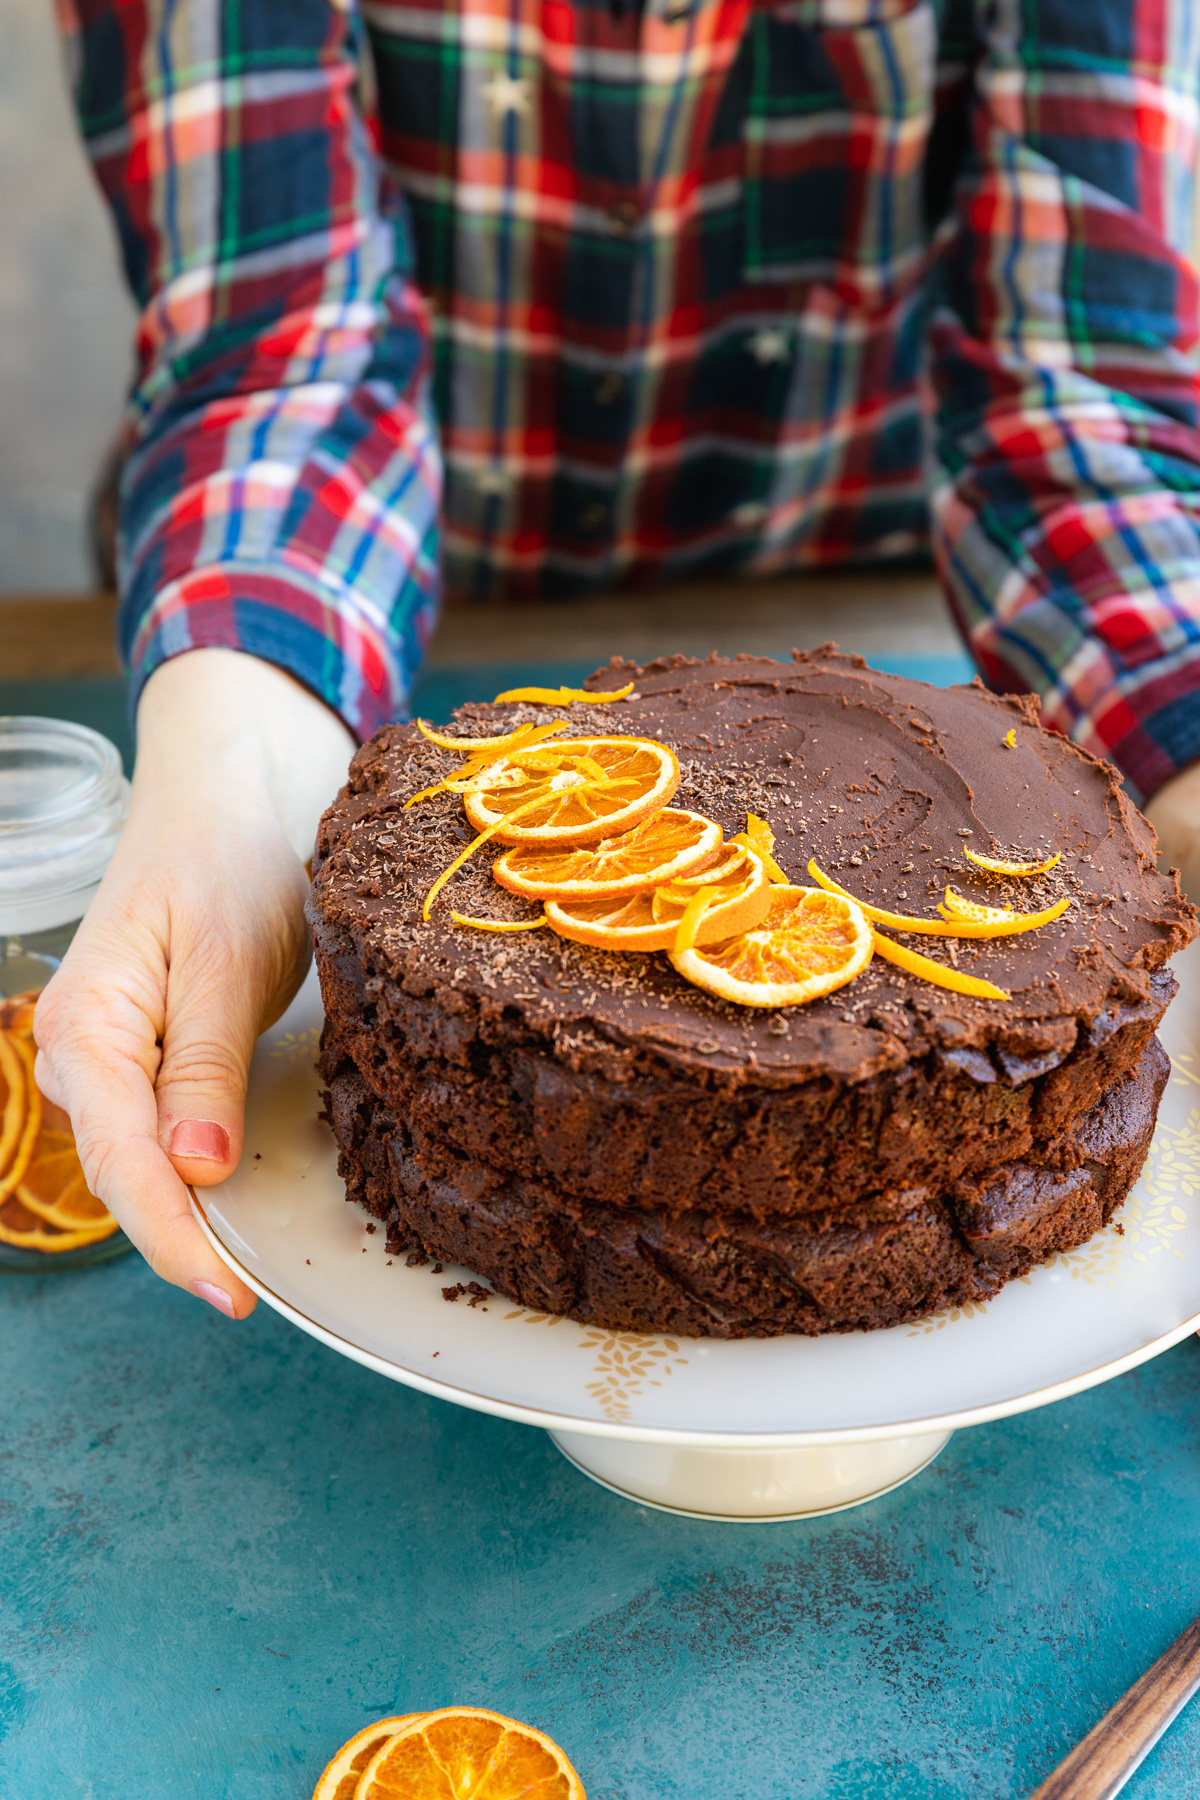
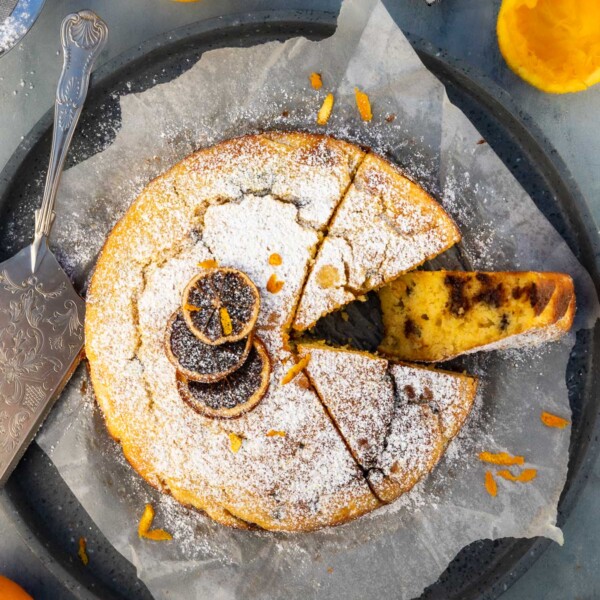
4. CAKE DECORATIONS. I like to decorate my perfect chocolate orange cake and this very easy Italian orange ricotta olive oil cake with these. They’d also make great toppers for cupcakes!
5. GARNISH FOR SHARE PLATTERS & CHARCUTERIE/CHEESE BOARDS.
6. DECORATIONS. Thread string through the natural holes in the slices to make a garland, or make the holes with a skewer or the tip of a sharp knife. Tie knots in the string to keep the orange slices in place. Drape them over your Christmas tree or table decorations.
7. TYING ONTO WREATHS. Add a few to your Christmas wreath for a beautiful splash of colour and citrusy aroma!
8. POT POURRI. Throw into a small decorative bowl with star anise and cinnamon sticks for a quick and easy bowl of natural pot pourri.
9. GIFT TAGS. Tie them onto gift tags – with a sprig of rosemary, maybe?
10. FLAVOURING FOOD. Add to stews, soups, oatmeal, granola or even smoothies (affiliate link!) for a tasty hint of citrus! If you’re feeling adventurous, you can even use a grinder or food processor to grind some slices into a powder. Add to herbs and spices to make a citrus rub for meats or fish.
Helen’s top tips
- Choose bigger slices for dipping into chocolate, making into decorations etc. Use the smaller ones for adding to stews, soups, pot pourri or share plates, or tying to gift tags.
- Make them on a cold day. Your oven will be on for a long time – albeit at a low temperature. Kill two birds with one stone and use the occasion to warm up your house as well! 😉
More things to know (FAQs)
The thinner the slices are, the faster they dry in the oven. Grab a sharp knife (serrated is best) and confidently slice the oranges as evenly as you can. I slice them as thinly as I can, which is usually between 2 and 4mm thick.
Absolutely, if you have one. The advantage of using a mandolin is that all your slices will be an even thickness. Then in theory they’ll all be perfectly dried at the same time.
Some food processors also have an attachment that can slice. This will work, too!
In theory, yes. But I’m afraid of making a mess of my oven so I prefer to line baking trays with baking paper. The paper also stops the slices sticking. You do have to turn the orange slices every hour or so this way, but it’s quick and easy to do that.
The slices are ready when they’re perfectly dry on both sides. There should be no moist patches left. Sometimes they look very slightly moist still but after a couple of minutes out of the oven they look and feel completely dry.
Experiment a little and you’ll see that it’s pretty easy to judge when they’re ready!
You can! However, depending on the type of orange, sometimes it’s a little bitter so you may not want to. Unless it’s covered in chocolate in which case you probably won’t notice!
Yes! Blood oranges, lemons, limes and grapefruit can all be dried and used in exactly the same way as oranges. It would be especially lovely to pile different types of dehydrated citrus slices into a jar and give them as a colourful, original gift.
Believe it or not, it can keep for up to 2 years – another reason why it makes such a great gift!
Just make sure that the slices are completely dried. Otherwise they won’t last long at all and will quickly go mouldy. Also, they are best stored in an airtight container such as a mason jar.
If you have one – of course. Set it to 60C/135F and dehydrate for 3 to 7 hours, depending on the thickness of your slices.
This perfect chocolate orange cake is the most delicious way to use your dried orange slices straight away.
More easy food gifts
- These candied orange slices dipped in chocolate are similar-but-different to these dried oranges. So easy, and there’s also a free downloadable gift tag with the recipe.
- This 10-minute Christmas rocky road couldn’t be easier to make, and it’s such a crowd pleaser at Christmas. Or frankly, any time!
- I make these super easy 1-hour cinnamon scrolls all the time, but they also make a fantastic gift fresh from the oven.
- Chocolate lollipops! SO easy to make and customize, and honestly, EVERYONE loves them!
- These 5-ingredient healthy chocolate orange truffles taste like gooey brownies – honestly! Package in a pretty box and they make a perfect gift.
Or see all my easy food gift recipes.
Dried Orange Slices (+ 10 Ways To Use Them)
Equipment
Ingredients
- 4 oranges, Ideally navel oranges, or another seedless or low seed variety
Instructions
- Preheat the oven to 80C/175F. Line 3 large baking trays with baking paper.
- With a small serrated knife, slice the oranges into thin slices 2 to 4mm thick. Blot with kitchen paper to get rid of any excess juice.4 oranges
- Arrange the slices on the baking trays. Make sure they aren't overlapping.
- Bake for 3.5 to 5.5 hours until completely dry. Turn over every 1 to 1.5 hours for even drying. The exact drying time will depend on the thickness of the slices. Some may be done before others.
- Let cool completely. Store in small airtight jars for up to 2 years. Add a ribbon and gift tag with ideas for use if giving as a gift. Alternatively, dip into chocolate and sprinkle with coarse sea salt.



I really enjoy the dried citrus! I use it in tea and cocktails as well as making powder from the slices. One thing I do recommend is playing with different spices and seasonings with them. Two I really like are cinnamon and anise. Just a sprinkle will do but the flavors blend so nicely with oranges and lemons! For the limes, I like to sprinkle with a little sea salt as it brings out the lime when used in margaritas!!
Ooh those are wonderful ideas, Melinda – thank you! I especially like the idea of the sea salt on the limes. Do you add that before or after drying them? Thank you so much for the feedback 🙂
I want to simmer potpourri on the stove. If the recipe calls for 3 fresh oranges then how many dried slices should I use?
Hi Nancy! Pot pourri sounds wonderful. Since dried slices are more concentrated in flavor, I’d start by using a cup or a cup and a half of dried slices instead of the fresh oranges. Good luck!
How dry do these slices have to be? I have had them in my oven all day @ 100 f & half way through upped to 125 f. But, they ( blood orange slices) are still very moist. Btw, sliced them as thin as I could.
Hi Helga! The length of time does tend to vary a bit in different ovens, but try taking one out of the oven and seeing if any remaining ‘wet bits’ dry out after a few minutes cooling. I find sometimes they can still look a bit wet but they dry nicely once out of the oven. How did you go in the end?
Haha on me. Read the recipe wrong & tried drying them on 100F-125F instead of 175F. (Had a senior moment there). As time went on I reread & found it should have been 175F all along. They did take somewhat longer though as these blood oranges were quite juicy. But in the end…good! I will be mixing them up with other dried varieties (& use the right temp), then storing them for Christmas gifts. Thank you for replying!!
Oh no problem, Helga! Actually a lower temperature for longer is fine, but I was trying to find a balance for the sake of the oven power usage! I’m so happy you’re pleased with the result and will try more varieties. I think a mixture of different fruits looks wonderful in a jar to give as a gift. I love that you’re getting ahead for Christmas! Very wise! 🙂
Hi
My daughter bought a huge bag of dried fruit slices for her tea business. After trying several out, she decided to go in a different direction. We have LOTS of orange slices and I was wondering, have you ever made orange liquor or cordials out of dried orange slices?
Hello Sara! Lucky you being gifted a big bag of these! I’ve never specifically used them to make cordials etc. but I think you could try grinding some slices into a powder using a food processor and adding a little to your recipe but a hit of bitter orangey flavor. I found this recipe that calls for ‘2 tbsps dried bitter orange peel’ which I assume means ‘ground to a powder’: https://www.thespruceeats.com/homemade-orange-liqueur-recipe-5216816 Alternatively you can just use them to infuse subtle flavor and to look nice in the finished drink. I’d love to know if you try the powder and how it turns out! 🙂
Is the nutritional info for 1 slice?
Hi Renee! Yes, that’s right. It’s probably very approximate since there will be different amounts in each batch, but this info is based on 50 slices in a batch. So around 5 calories per slice! 🙂
I made these for friends, family and teachers this year for Christmas! I packaged some in jars like in the photos and others in small food bags. They were really really easy to make. Such a simple and classy gift idea. Thank you for the idea!
Sooo happy to hear this, Suzie! I’m so glad you found the idea useful. I hope your recipients liked their gifts. Merry Christmas!